
Marker Techniques
Author
- Dennis Norman
Introduction
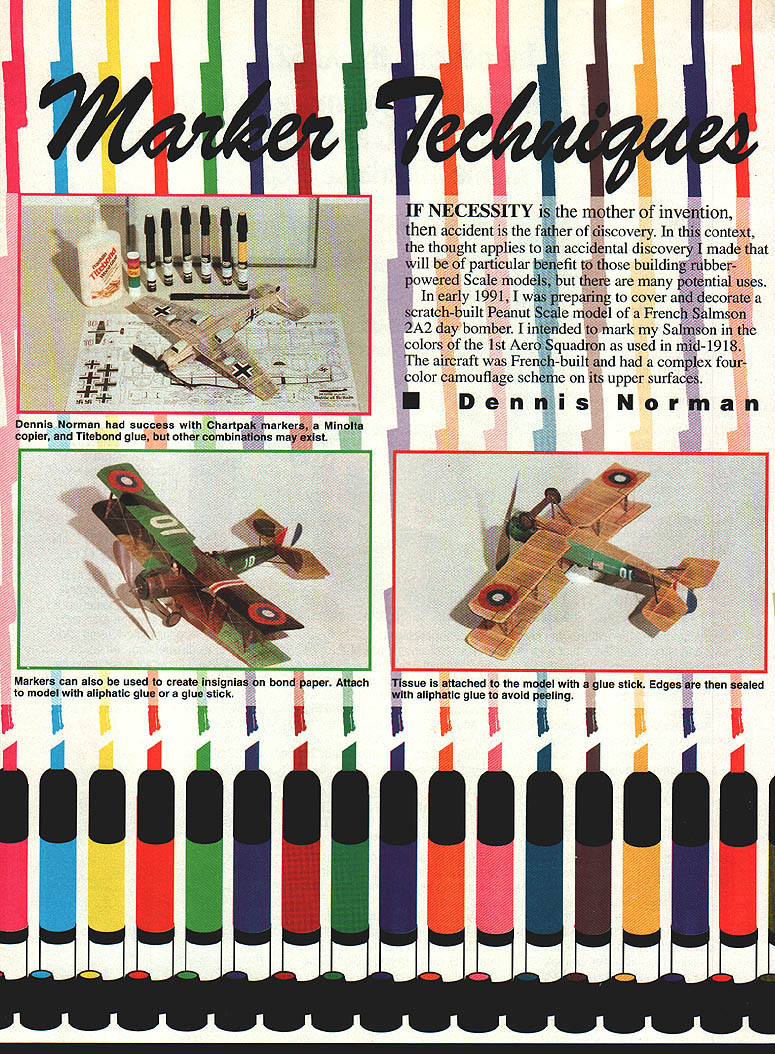
If necessity is the mother of invention, then accident is the father of discovery. In early 1991 I made an accidental discovery that is particularly useful for builders of rubber-powered scale models, though it has many other applications. While preparing to cover and decorate a scratch-built Peanut Scale model of a French Salmson 2A2 day bomber in the colors of the 1st Aero Squadron (mid-1918), I discovered a method of transferring copier prints onto Japanese tissue and other materials using Chartpak markers and a clear Chartpak "Blender."
The initial experiment
- I preshrank Japanese tissue on a frame and placed the shiny side of the tissue directly against an enlarged photocopy of the camouflage demarcation lines (I used a Minolta copier to enlarge the scale drawing to match my model span).
- As I colored the tissue with Chartpak markers, the tissue stuck to the photocopy. When I peeled the copy away, the scale drawing lines had been reprinted directly onto the tissue.
- Repeating the test with other Chartpak colors and other copies from the Minolta produced the same transfer. Something in the Chartpak markers was activating the copier toner.
Marker and copier compatibility
My experiments showed that not all marker/copy combinations work. Key findings:
- Chartpak markers + Minolta copier: transfer occurred.
- Chartpak markers + Canon copier: transfer occurred (including color copies).
- Chartpak markers + Olivetti copier: no transfer.
- Other markers (Berol, Pantone, Stabilo) + Minolta copier: no transfer.
So, the reliable combination found was Chartpak markers (or Chartpak Blender) with copies made on a Minolta or Canon copier. Other combinations may work but were not observed in my tests.
The Chartpak Blender
- Chartpak produces a "Blender" pen that contains a clear solvent used to blend colors.
- The Blender is effective for activating toner on Minolta and Canon copies and can be used to transfer images directly onto Japanese tissue, wood, etc.
- The Blender saturates the tissue quickly and activates the pigment in a color copy, allowing full-color (though less intense) transfers from Canon color copies.
How to transfer images to Japanese tissue (step-by-step)
- Preshrink and stretch Japanese tissue on a frame, shiny side toward the copy.
- Make a photocopy (Minolta or Canon) of the details or pattern you want to transfer.
- Apply the photocopy face down against the tissue.
- From the back (dull side) of the tissue, color over the area with Chartpak markers or the Chartpak Blender, pressing firmly so the solvent activates the toner.
- Let the tissue dry briefly (a minute or so), then carefully peel the copy away. The image will be transferred to the tissue.
- You may repeat the process, but subsequent transfers will be less crisp as toner on the original copy is depleted.
Notes:
- The intensity of color transferred from Canon color copies is less than the original copier output but closely resembles the subtler tones of real fabric, such as WW I lozenge patterns.
- Use smooth, continuous strokes when coloring to obtain even saturation. Color wings chordwise for a natural streaking effect.
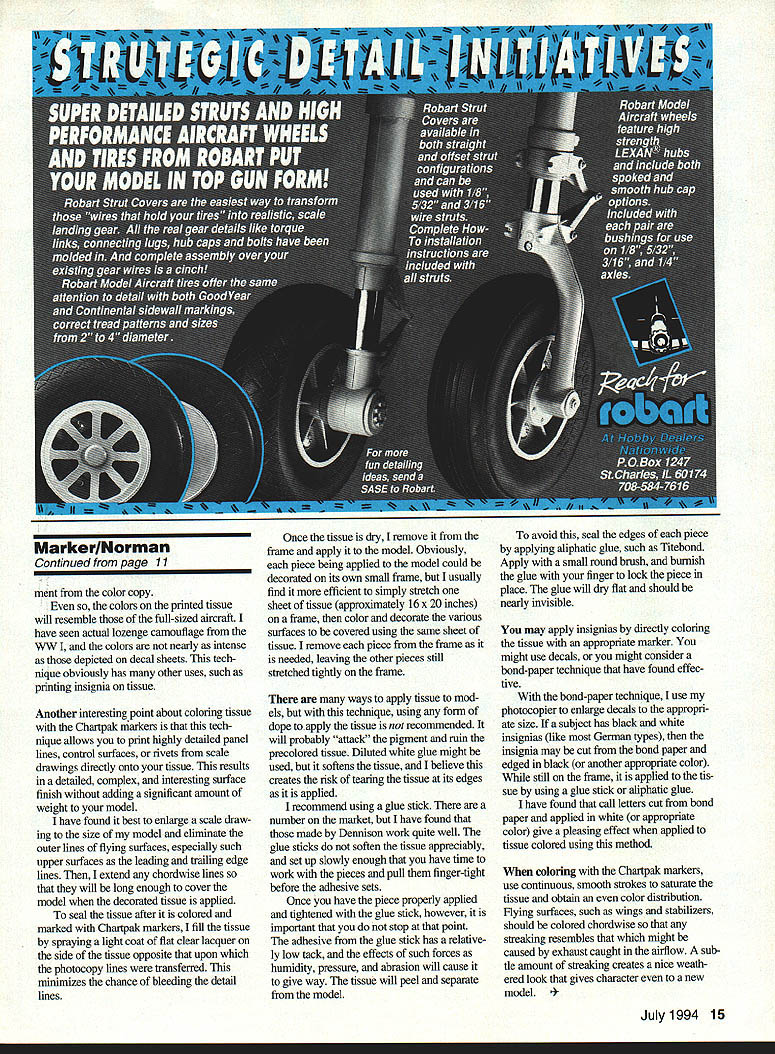
Printing multicolor lozenge camouflage
- Canon color copies work well for multicolor lozenge patterns (used on some WW I German aircraft).
- Recommended source for lozenge decals: American/Gryphon Decals, 4373 Varsity Lane, Houston, Texas 77004.
- Obtain dark lozenge decals for upper surfaces and light lozenges for lower surfaces. Assemble decal strips into a tight block camouflage pattern at the correct scale and have a Canon copier produce as large a sheet as practical (e.g., 11 x 17).
- Place preshrunk white or ivory tissue shiny side toward the color copy, and use the Chartpak Blender on the back of the tissue to transfer the pattern. Colors will be less intense than the copier sheet but appropriate for scale modeling.
Printing on printwood
- If a kit’s printwood is too heavy or hard (e.g., older Comet kits), photocopy the printwood with a Minolta or Canon copier and reprint the image onto quality wood.
- Apply the photocopy face down against the quality wood and press gently on the back of the photocopy with the Chartpak Blender.
- This "cold" method yields a sharp image and avoids heat/pressure damage that can occur with ironing techniques.
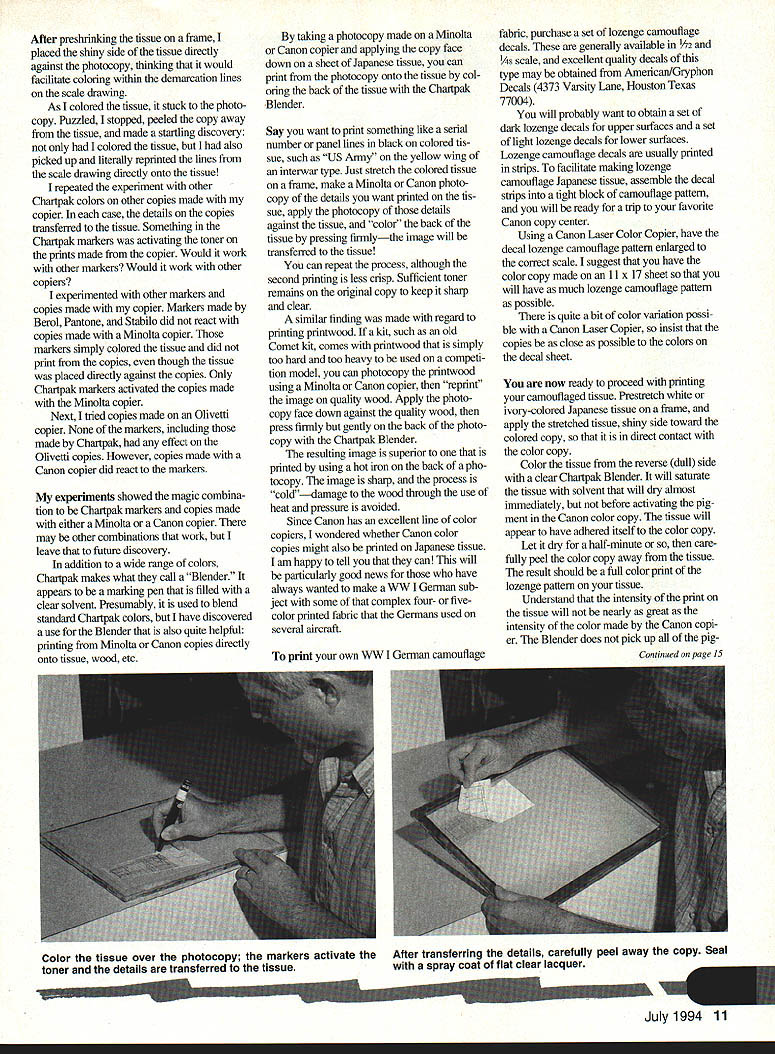
Decorating, sealing, and application
- After transferring lines or coloring, I seal the tissue by spraying a light coat of flat clear lacquer on the side opposite the transferred lines. This minimizes the chance of bleeding.
- Typical workflow: stretch one sheet of tissue (about 16 x 20 in) on a frame and decorate all surfaces to be covered. Remove each piece from the frame as needed.
- Avoid using conventional dope to apply precolored tissue; it can attack pigments and ruin the finish.
- Recommended adhesive for application:
- First: use a glue stick (Dennison glue sticks work well). Glue sticks do not appreciably soften the tissue and allow time to pull the piece finger-tight before setting.
- Then: seal edges with an aliphatic wood glue (e.g., Titebond). Apply with a small round brush and burnish with a finger. The glue dries flat and should be nearly invisible.
- Diluted white glue can be used but softens the tissue and increases the risk of tearing at the edges.
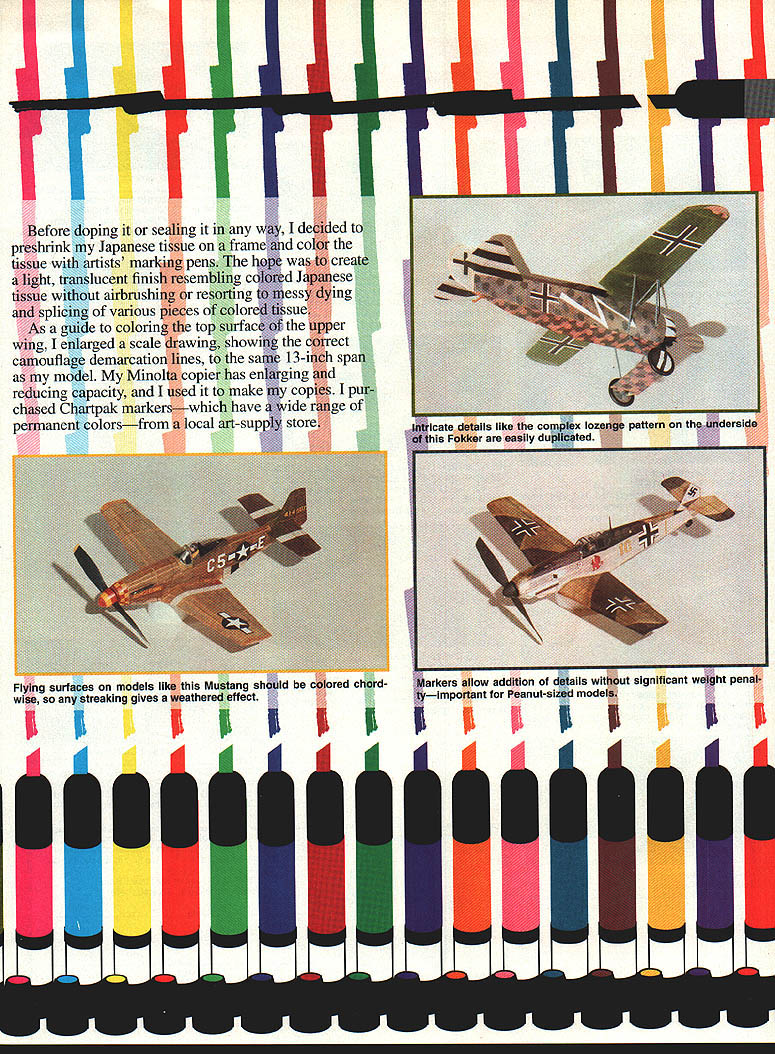
Insignia and bond-paper technique
- Insignia can be applied by directly coloring the tissue with appropriate markers or by using decals.
- Bond-paper technique:
- Enlarge insignia or lettering on a photocopier to the required size.
- Cut the insignia from bond paper and edge them in the appropriate color if necessary.
- While the tissue is still on the frame, apply the paper insignia to the tissue using a glue stick or thin white glue.
- White or colored call letters cut from bond paper applied to precolored tissue produce a pleasing, lightweight result.
Tips on panel lines and surface detail
- This technique allows printing highly detailed panel lines, control surfaces, and rivets directly from scale drawings onto tissue, providing complex surface finish without adding much weight.
- Best practice: enlarge a scale drawing to the model size, eliminate outer flying-surface outlines (leading/trailing edges), and extend chordwise lines so they cover the model when applied.
- A subtle amount of streaking (chordwise coloring) can mimic exhaust flow and give a weathered, realistic appearance.
Summary
- The useful combination discovered is Chartpak markers (or Chartpak Blender) with Minolta or Canon copier outputs to transfer lines, lettering, and color patterns onto Japanese tissue and other substrates.
- The method is effective for single-color details, multicolor lozenge patterns, and reprinting printwood, and it produces lightweight, sharp results suitable for competition models.
- Proper sealing and adhesive technique (glue stick plus edge sealing with aliphatic glue) will keep the applied tissue secure and durable.
Transcribed from original scans by AI. Minor OCR errors may remain.

