
Model Aircraft Covering — the Easy Method
Jeff Troy
Introduction
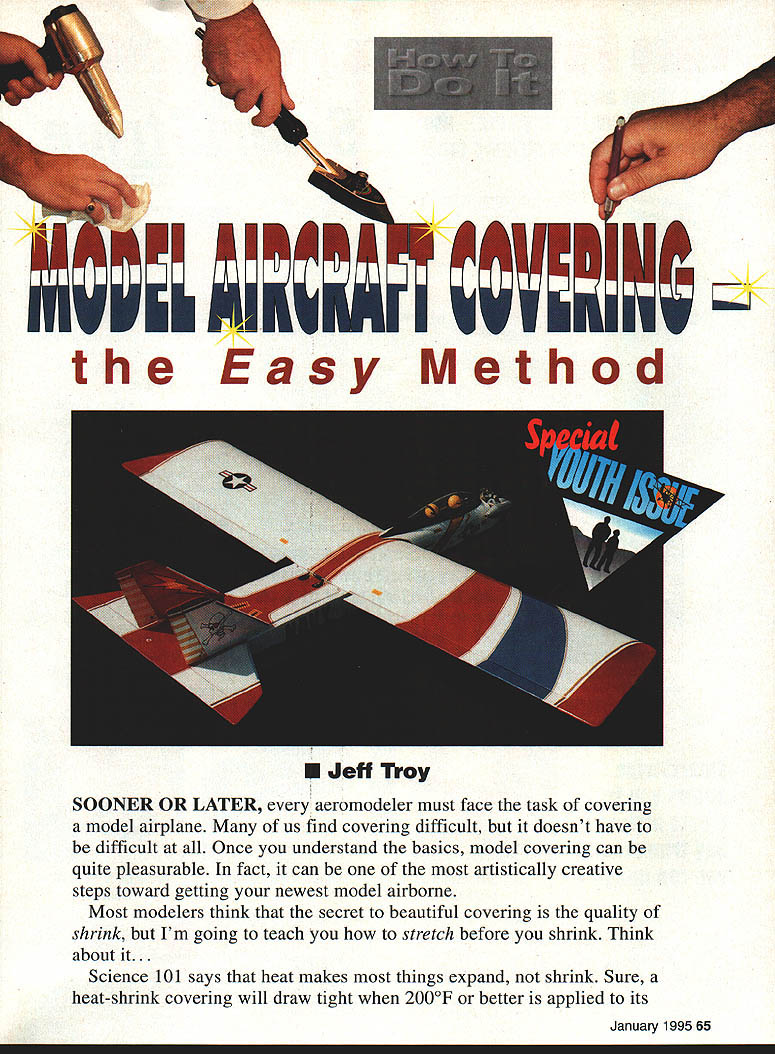
Sooner or later every aeromodeler must face the task of covering a model airplane. Many find covering difficult, but it doesn't have to be. Once you understand the basics, model covering can be pleasurable and one of the most artistically creative steps toward getting your newest model airborne.
Most modelers think the secret to beautiful covering is the quality of shrink, but the real secret is to stretch before you shrink. Heat-shrink coverings do draw tight when very hot, but ordinary sun on a hot day (around 100°F) can relax and expand the covering, causing it to ripple and sag. If you cover a model loosely and rely on the iron or heat gun to get it tight, you may be disappointed when the sun causes the covering to droop.
Stretch is the key. Covering that is stretched onto the model before shrinking will do a much better job of staying tight under ordinary outdoor heating.
Preparation
There is nothing an iron or heat gun can do to replace proper surface preparation. Iron-on coverings assume the shape of whatever they cover, so sand your model thoroughly and carefully. Iron-on coverings do not hide poor workmanship; they show where the bumps are. Always use sanding blocks.
- Start with 100-grit paper.
- When satisfied, switch to 180-grit.
- Then use 280, 320, 400, and finally 600 grit.
- Sand until scratches from the previous grit are no longer visible.
Sand your entire model carefully, take a break, then sand it again the next day. Vacuum the model and wipe every piece with a tack cloth just before covering. Dust is the enemy.
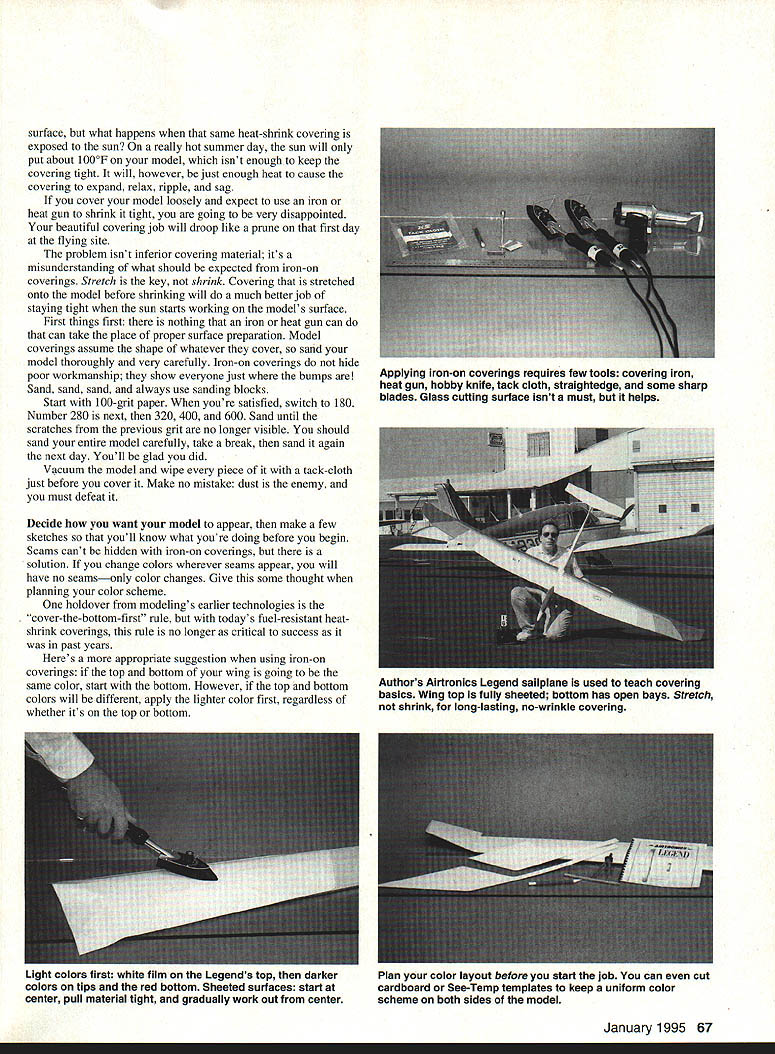
Decide how you want your model to appear and make a few sketches so you'll know what you're doing before you begin. Seams cannot be hidden with iron-on coverings, but you can avoid visible seams by changing colors wherever seams appear. Plan your color scheme with this in mind.
Color order and basic rules
A traditional rule was to cover the bottom first, but with today's fuel-resistant heat-shrink coverings that rule is less critical. A good guideline is:
- If the top and bottom of a wing are the same color, start with the bottom.
- If top and bottom colors differ, apply the lighter color first, regardless of whether it goes on the top or bottom.
When covering open surfaces like wing panels, begin by ironing the covering down only at the four corners of the panel; don't iron an entire edge at once.
Covering wing panels — corner-first and stretch technique
Start by ironing a corner of the covering on the wing's leading edge at the root of the panel. Then:
- Pull, stretch, and iron the corner on the trailing edge at the tip.
- Pull, stretch, and iron the trailing edge at the root.
- Pull, stretch, and iron the leading edge at the tip.
Just a little stretching and four touches with the iron gives you a great start toward a tight wing skin.
Divide-by-half method for sealing the perimeter
Use the divide-by-half method to seal the panel perimeter:
- Estimate the distance between root and tip, divide it in half by eye.
- Pull snugly on the material at that halfway point and iron an inch or two.
- Estimate the distance from that spot to the tip (or root), divide it in half, pull snugly and iron again.
- Continue pulling and ironing at each halfway point until the entire edge is sealed.
Sealing this way prevents wrinkles and gathers that happen when modelers iron one end and push material toward the opposite end.
Wingtips
Wingtips are not as hard as they seem. Remember: stretch, not shrink.
- Get a friend to hold the wing down or lock the wing panel between your legs so both hands are free.
- Put a glove on one hand and use it to grab the excess material hanging over the tip.
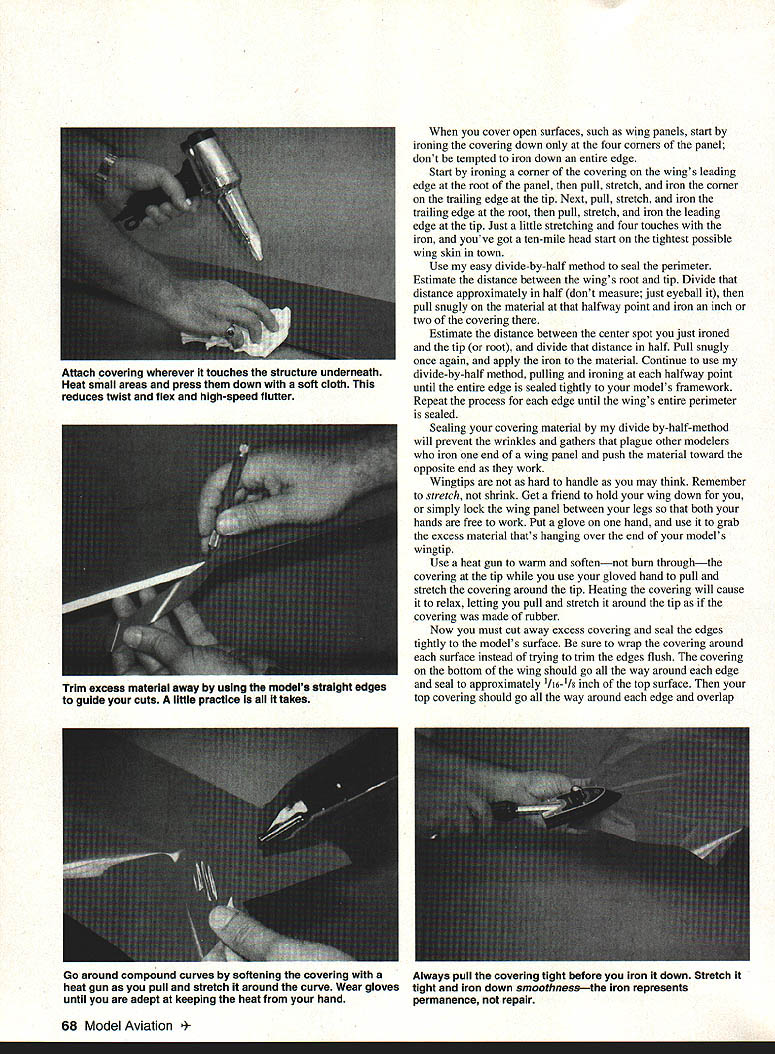
- Use a heat gun to warm and soften (not burn through) the covering at the tip while pulling and stretching the covering around the tip. Heating relaxes the covering and lets you stretch it around the tip like rubber.
Cut away excess covering and seal the edges tightly. Be sure to wrap the covering around each surface instead of trimming edges flush. The bottom covering should go all the way around each edge and seal to approximately 1/16–1/8 inch of the top surface. Then the top covering should go all the way around each edge and overlap the bottom covering by approximately 1/8 inch.
When covered this way, the danger of loose edges is almost eliminated and fuel is less likely to penetrate the skins compared with butt-joint application.
Sealing the covering to structure
After the surface is as tight as you can get it, seal the covering wherever the model's structure touches it — sheeting, spars, ribs, capstrips, and tips. Sealing improves structural integrity, helps prevent high-speed flutter, reduces twist and flex, and increases torsional rigidity.
Do not use the flat of your iron to seal the covering to the model's surface. Instead:
- Heat small areas with a heat gun (about three or four square inches at a time).
- Press the covering to the structure with a very soft cloth and hold until it cools.
- Move on to the next small area.
Once the covering is sealed to the structure, use the heat gun to tighten the material again and remove many imperfections caused by overworking with the iron or heat gun.
Covering solid surfaces (sheeted fuselages)
Solid sheet or block surfaces must be handled a bit differently than open-bay structures. Coverings should be stretched and ironed to solid surfaces as they are applied.
When covering a fully-sheeted fuselage bottom:
- Touch the iron to the center of the area you wish to cover and iron about a one-inch patch.
- Pull and stretch the covering tightly toward the tail, then iron another inch or two in that direction.
- Stretch toward the nose and iron another inch or two.
- Pull toward the right side, iron a bit, then pull toward the left side and iron.
Keep pulling, stretching, and ironing until the entire piece is flat to the fuselage bottom.
Final tips and cleanup
The wise modeler's rule of thumb for working with iron-on coverings is: stretch, not shrink. Never iron over a wrinkle and expect to remove it afterward. The iron is a tool of permanence, not repair. Always pull tightly on the covering and use the iron to press it flat.
When your model is completely covered, clean the covering with dope thinner, brake fluid, or a product like Coverite's Ironex. These will remove pigment or adhesive that may have oozed from under seams and will provide a clean surface for striping tapes or other press-on graphic trim materials.
Transcribed from original scans by AI. Minor OCR errors may remain.

