
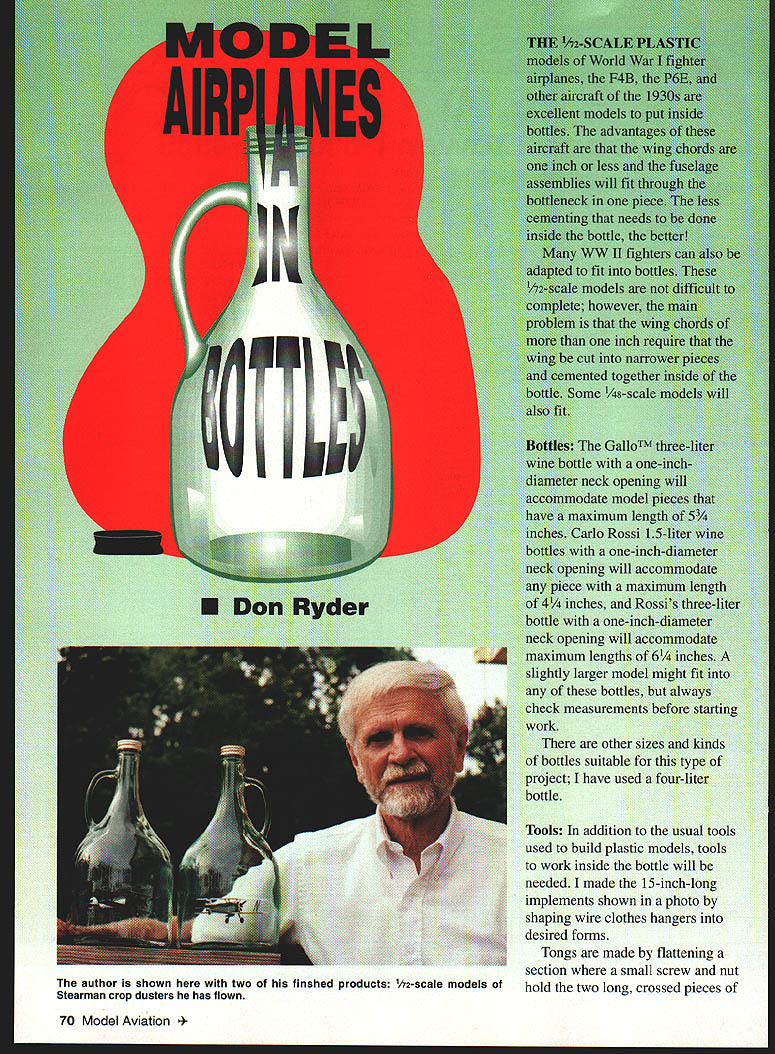
Model Airplanes In Bottles
Don Ryder
Introduction
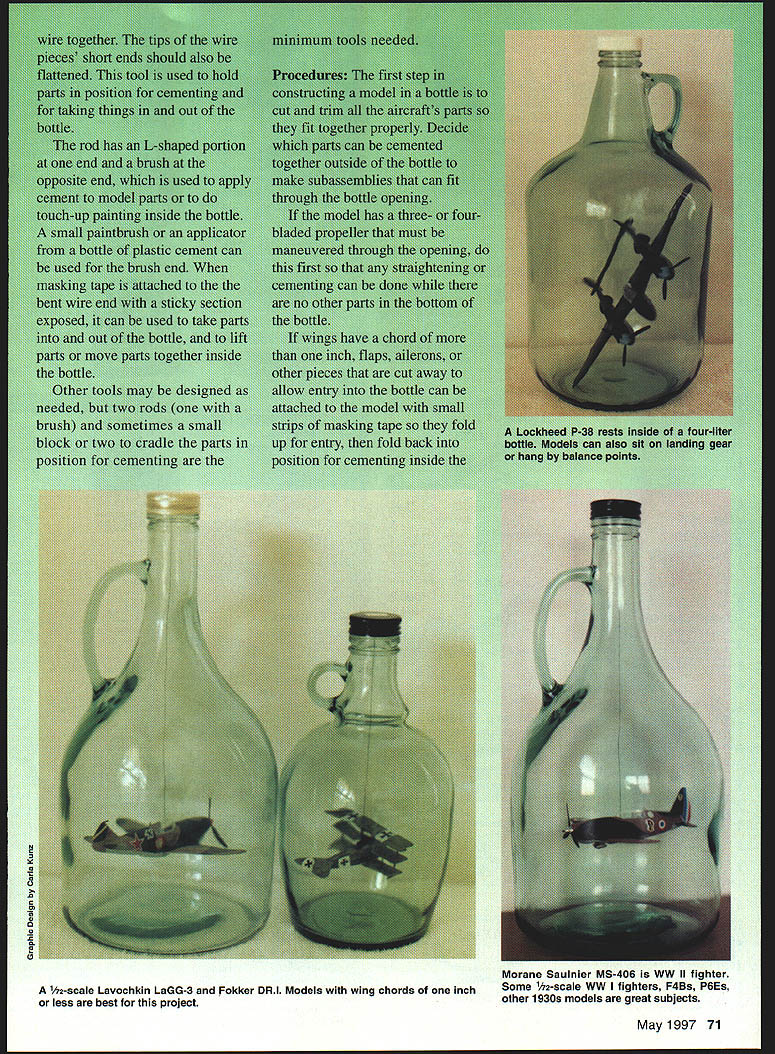
The 1/72-scale plastic models of World War I fighters (Fokker DR.I, etc.), the F4B, the P6E, and other aircraft of the 1930s are excellent subjects to put inside bottles. Their advantages are small wing chords (one inch or less) and fuselage assemblies that will fit through the bottleneck in one piece. The less cementing that needs to be done inside the bottle, the better.
Many WWII fighters can be adapted to fit into bottles. For 1/72-scale WWII fighters with wing chords greater than one inch, wings must be cut into narrower pieces and cemented together inside the bottle. Some 1/48-scale models will also fit with appropriate planning.
Bottles
- Gallo three-liter wine bottle with a 1-inch diameter neck opening: fits parts up to 5-3/4 inches long.
- Carlo Rossi 1.5-liter wine bottle with a 1-inch diameter neck opening: fits parts up to 4-1/4 inches long.
- Carlo Rossi three-liter bottle with a 1-inch diameter neck opening: fits parts up to 6-1/4 inches long.
- Other sizes and kinds of bottles are suitable; I have used a four-liter bottle as well.
Always check measurements of any bottle before starting work; a slightly larger model might fit but verify first.
Tools
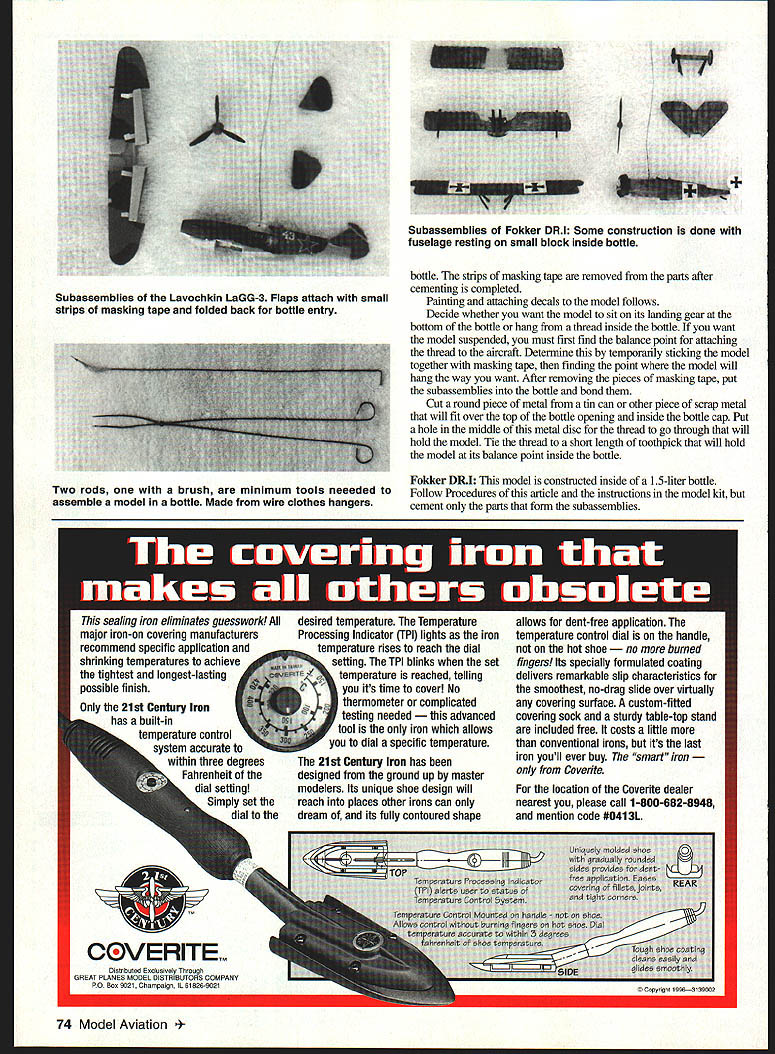
In addition to the usual modeling tools, you will need implements to work inside the bottle. I made 15-inch-long tools by shaping wire clothes hangers into desired forms.
- Tongs: made by flattening a section where a small screw and nut hold the two long, crossed pieces. The tips of the short ends are flattened. Used to hold parts in position for cementing and to take parts in and out of the bottle.
- Rod with L-shaped end and brush: the L-shaped end is used to manipulate parts; the brush end is used to apply cement or do touch-up painting inside the bottle. A small paintbrush or the applicator from a bottle of plastic cement works well.
- Tape-lift tool: attach masking tape to a bent wire end with a sticky section exposed; use this to take parts into and out of the bottle and to lift or move parts together inside the bottle.
- Miscellaneous: small blocks to cradle parts inside the bottle, and any other specially shaped wire tools you design as needed.
Minimum tools: two rods (one with a brush) and sometimes a small block or two to cradle parts.
Procedures
- Cut and trim all aircraft parts so they fit together properly outside the bottle. Decide which parts can be cemented together as subassemblies that will fit through the bottle opening.
- If the model has a multi-bladed propeller that must be maneuvered through the opening, put the propeller in the bottle first so any straightening or cementing can be done while there are no other parts in the bottle.
- For wings with a chord of more than one inch, cut flaps, ailerons, or other pieces away as needed to allow entry. Attach these movable pieces to the model with small strips of masking tape so they fold up for entry and then fold back into position for cementing inside the bottle.
- Decide whether the finished model will sit on its landing gear at the bottom of the bottle or hang by thread. If you want the model suspended:
- Temporarily stick the model together with masking tape and find the balance point where it hangs the way you want.
- After determining the balance point, remove the tape, put the subassemblies back in the bottle, and bond.
- Cut a round piece of metal (tin can or scrap) that will fit over the top of the bottle opening and inside the bottle cap. Punch a hole in the middle for the thread.
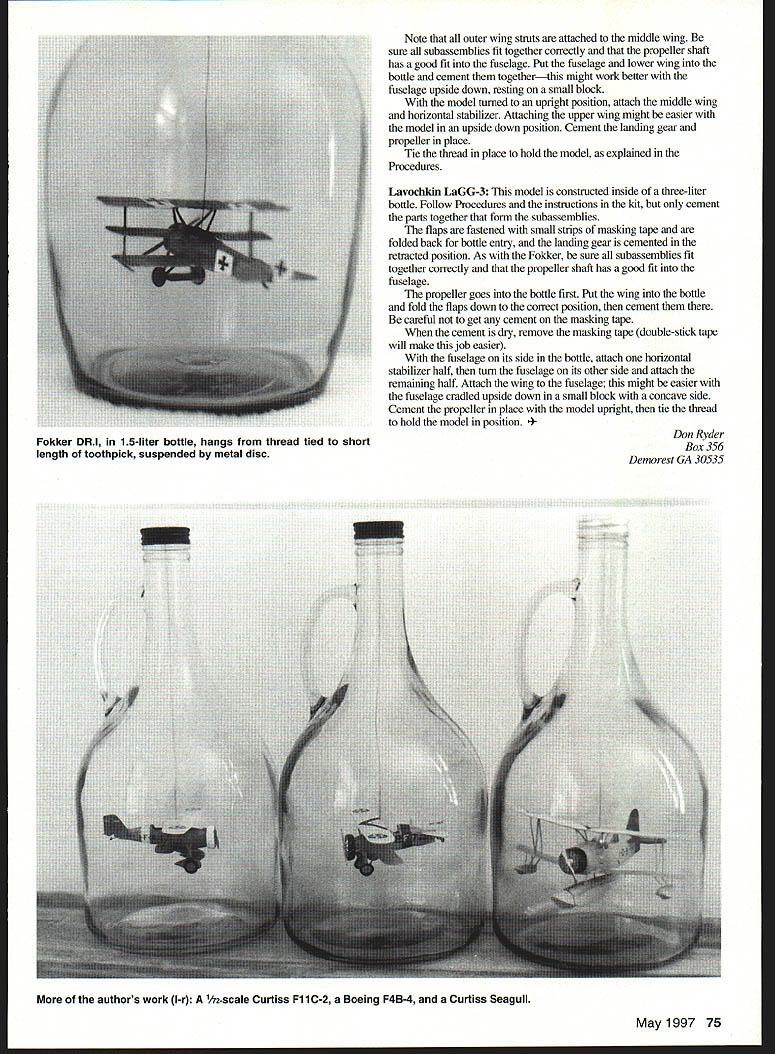
- Tie the thread to a short length of toothpick; this toothpick will hold the model at its balance point inside the bottle when the thread passes through the metal disc.
- Assemble subassemblies by following kit instructions but cement only those parts that form subassemblies which will fit through the opening.
- Use small blocks inside the bottle to cradle fuselage or wings when cementing seams.
- When masking tape has been used to fold parts for entry, remove the tape after cementing is complete. Double-stick tape can make masking-tape removal easier.
- Paint and apply decals after the assembly is secure.
Model Examples
Fokker DR.I
- Constructed inside a 1.5-liter bottle.
- Follow the general procedures and the kit instructions, but cement only the parts that form subassemblies.
- Note: all outer wing struts are attached to the middle wing. Be sure subassemblies fit together correctly and that the propeller shaft fits well in the fuselage.
- Suggested sequence:
- Put the fuselage and lower wing into the bottle and cement them together (this may work better with the fuselage upside down resting on a small block).
- Turn the model upright, attach the middle wing and horizontal stabilizer.
- Attaching the upper wing may be easier with the model upside down.
- Cement landing gear and propeller in place.
- Tie the thread in place to hold the model, if suspending.
Lavochkin LaGG-3
- Constructed inside a three-liter bottle.
- Follow the general procedures and kit instructions, but cement only subassembly parts.
- Preparation:
- Fasten flaps with small strips of masking tape and fold them back for bottle entry.
- Cement landing gear in the retracted position.
- Ensure subassemblies fit correctly and the propeller shaft fits well in the fuselage.
- Suggested sequence:
- Put the propeller into the bottle first.
- Put the wing into the bottle, fold the flaps down to the correct position, and cement them there. Avoid getting cement on the masking tape.
- When the cement is dry, remove the masking tape (double-stick tape makes this easier).
- With the fuselage on its side in the bottle, attach one horizontal stabilizer half; turn the fuselage onto its other side and attach the remaining half.
- Attach the wing to the fuselage; this may be easier with the fuselage cradled upside down on a small concave block.
- Cement the propeller in place, set the model upright, and tie the thread to hold the model in position if suspending.
Final Steps
- Remove any temporary tape.
- Touch up paint as needed and apply decals.
- Verify balance and final appearance.
Don Ryder Box 356 Demorest, GA 30535
Transcribed from original scans by AI. Minor OCR errors may remain.

