

MonoKote Dye Method
By John Cole
Being in the military usually requires frequent transfers from one duty station to the next, with lots of miles on the road. Cross‑country drives are boring to me, especially when I am alone and have no radio in the car. More than once I have caught myself daydreaming about model airplanes.
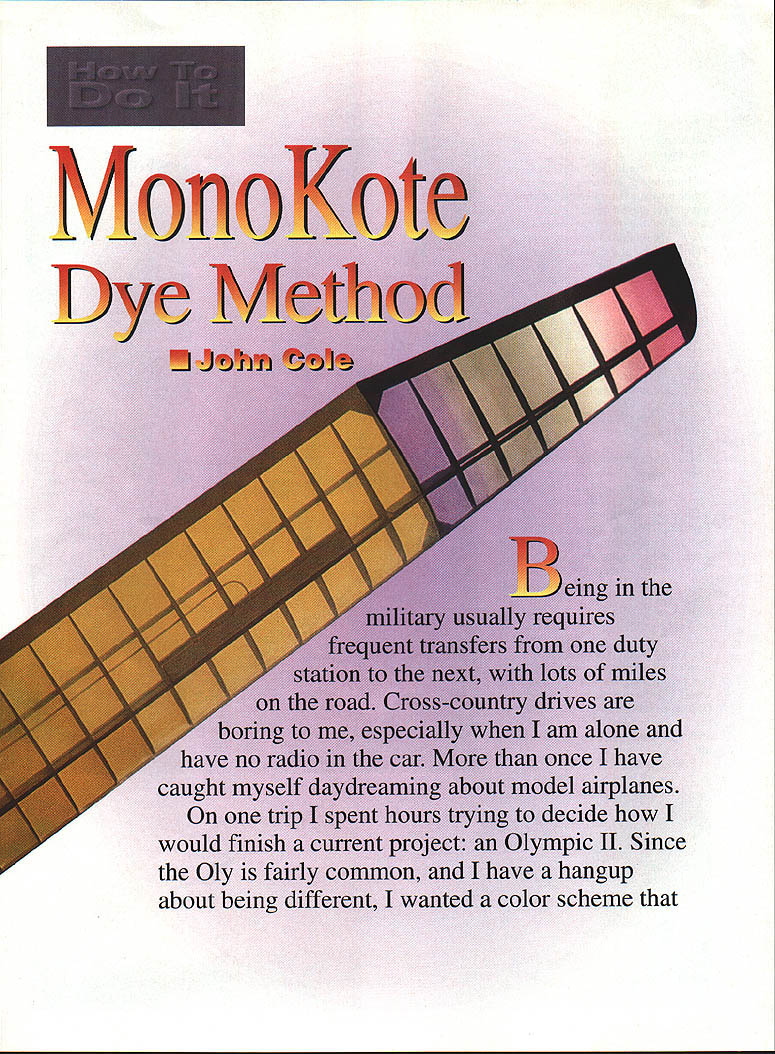
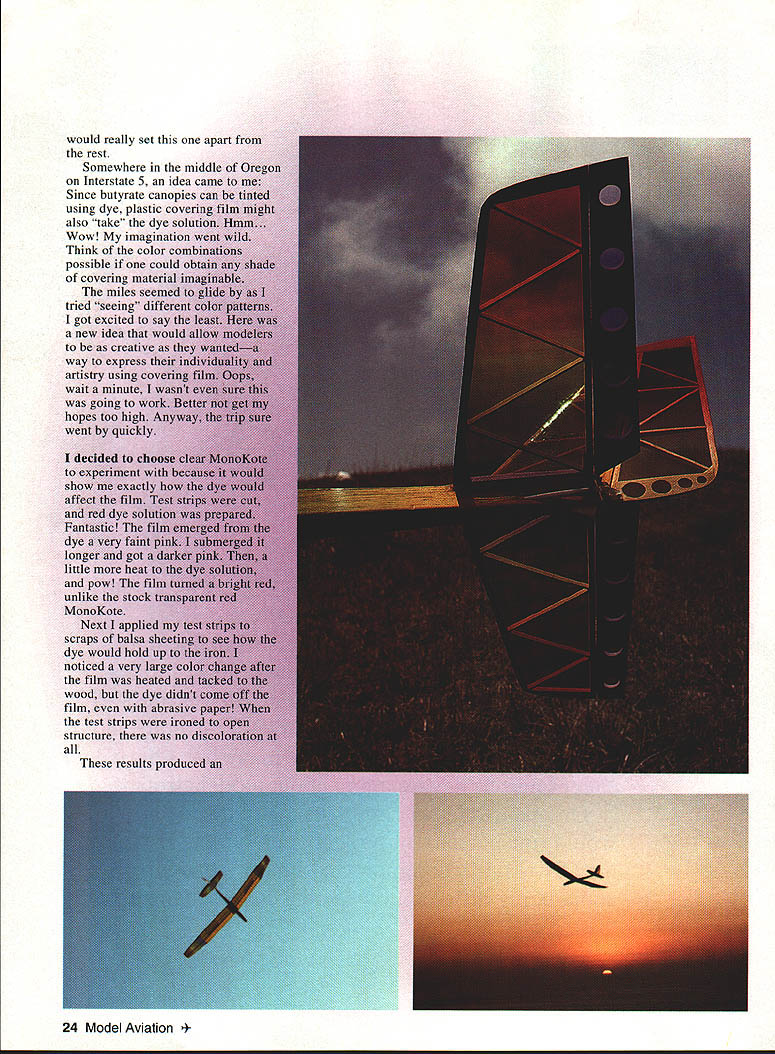
On one trip I spent hours trying to decide how I would finish a current project: an Olympic II. Since the Oly is fairly common, and I have a hangup about being different, I wanted a color scheme that would really set this one apart from the rest.
Somewhere in the middle of Oregon on Interstate 5, an idea came to me: since butyrate canopies can be tinted using dye, plastic covering film might also "take" the dye solution. My imagination went wild. Think of the color combinations possible if one could obtain any shade of covering material imaginable.
The miles seemed to glide by as I tried "seeing" different color patterns. I got excited to say the least. Here was a new idea that would allow modelers to be as creative as they wanted—a way to express their individuality and artistry using covering film. Oops, wait a minute, I wasn't even sure this was going to work. Better not get my hopes too high. Anyway, the trip sure went by quickly.
I decided to choose clear MonoKote to experiment with because it would show me exactly how the dye would affect the film. Test strips were cut and red dye solution was prepared. Fantastic! The film emerged from the dye a very faint pink. I submerged it longer and got a darker pink. Then, a little more heat to the dye solution, and pow! The film turned a bright red, unlike the stock transparent red MonoKote.
Next I applied my test strips to scraps of balsa sheeting to see how the dye would hold up to the iron. I noticed a very large color change after the film was heated and tacked to the wood, but the dye didn't come off the film, even with abrasive paper. When the test strips were ironed to open structure, there was no discoloration at all.
These results produced an interesting discovery: the dye didn't adhere to the film at all, but to the adhesive on the backside. That explained why the dye "took" much faster when it was heated; the higher temperature most probably began activating the adhesive on the film. When the film was ironed directly to the wood, the adhesive activated, which made the dye appear darker when in direct contact with the wood surface.
If you have decided to try this technique on your next model, here is my procedure, along with some do's and don'ts. I have only tried the transparent MonoKote line, so if you have something else, you will be experimenting on your own.
Materials
- Crystal clear (transparent) MonoKote (opaque colors won't show the dye)
- Rit liquid dye (do not use the powder — it causes spots and blotches)
- Hotplate or microwave for heating the dye (a food hotplate is ideal)
- One or two Pyrex rectangular baking dishes large enough to hold the film panels
- A couple of old bath towels
- Old T‑shirt (dye is primarily for cloth — read warnings on the bottle and wear old clothes)
- Iron and heat gun for applying the covering
Preparation
- Cut panels from the roll of film sized for the model panels you plan to cover.
- Remove the plastic backing and affix small pieces of masking tape to the panel to identify it (also a reminder which side has the adhesive).
- Prepare the dye solution in the Pyrex dish. Thin the dye with hot water, but don't dilute it too much — excessive dilution makes the process very slow.
Dyeing Procedure
- Heat the dye solution to about 160° F. Do not overheat — excessive heat will begin to shrink the film and will directly affect the covering job.
- Place the film in the dish adhesive side up.
- If the whole panel is to be one color, submerge it completely and agitate slowly until the desired shade is reached.
- If only a portion is to be colored, drape the film over the edge of the dish so the area to be dyed drops into the solution; make careful touchups by contacting only the area you want to dye.
- Agitate the dish to produce softer color blends; leave the film still for sharper color breaks.
- When the right color is achieved, remove the panel and allow it to dry. Repeat for each panel.
Notes: I used a microwave which required continuous reheating of the dye; a hotplate is more convenient. Agitation and how long the film stays in contact determine the softness or sharpness of color transitions.
Covering and Finishing
- Once all panels are completed to your liking, cover the model as usual.
- Be aware that some discoloration will occur in areas being ironed directly to the wood because the adhesive activation darkens the dye. I use the iron/heat‑gun method: iron the borders to tack them down, then use the heat gun on the center.
- The dye does not rub off the film even with abrasive paper once it has adhered to the adhesive.
Tips and Warnings
- Crystal clear MonoKote can be hard to find; don't wait until the last minute to get it.
- Use liquid Rit dye only; powder causes blotches. Read the warnings and wear old clothes.
- Do not dilute the dye too much — it slows the process.
- Keep the dye temperature around 160° F; too much heat shrinks the film.
- I have only tried transparent MonoKote — other films may react differently.
Future Experiments and Contact
I will continue to experiment with masking methods, film‑on‑film combinations, and different effects, and will gladly pass along any information I come across that will help out. I'd love to hear from anyone who tries this.
1912 Rockefeller Lane #203 Redondo Beach, CA 90278 Tel: (213) 379‑6539
Transcribed from original scans by AI. Minor OCR errors may remain.

