
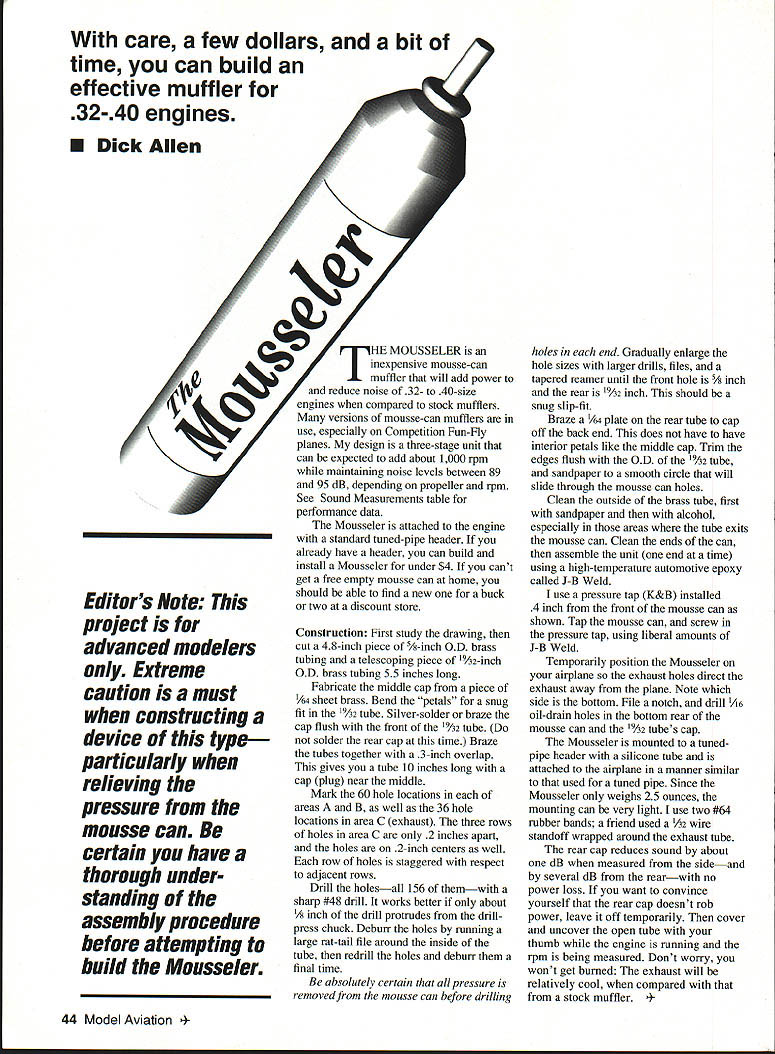
The Mousseler
With care, a few dollars, and a bit of time, you can build an effective muffler for .32- to .40-size engines.
Dick Allen
The Mousseler is an inexpensive mousse-can muffler that will add power to and reduce noise on .32- to .40-size engines when compared to stock mufflers. Many versions of mousse-can mufflers are in use, especially on Competition Fun-Fly planes. My design is a three-stage unit that can be expected to add about 1,000 RPM while maintaining noise levels between 89 and 95 dB, depending on propeller and RPM. See Sound Measurements table for performance data.
The Mousseler is attached to the engine with a standard tuned-pipe header. If you already have a header, you can build and install a Mousseler for under $4. If you can't get a free empty mousse can at home, you should be able to find a new one for a buck or two at a discount store.
Editor's Note:
This project is for advanced modelers only. Extreme caution is a must when constructing a device of this type—particularly when relieving the pressure from the mousse can. Be certain you have a thorough understanding of the assembly procedure before attempting to build the Mousseler.
Construction:
- First study the drawing, then cut a 4–8 inch piece of 5/8-inch O.D. brass tubing and a telescoping 19/32-inch O.D. brass tube 5.5 inches long.
- Fabricate the middle cap from a piece of 1/64-inch sheet brass. Bend the "petals" for a snug fit in the 19/32 tube. Silver-solder or braze the cap flush with the front of the 19/32 tube. (Do not solder the rear cap at this time.) Braze the tubes together with a 3-inch overlap. This gives you a tube 10 inches long with a cap (plug) near the middle.
- Mark the hole locations:
- Mark the 60-hole locations in each of areas A and B.
- Mark the 36-hole locations in area C (exhaust).
- The three rows of holes in area C are only 2 inches apart, and the holes are on 0.2-inch centers. Each row of holes is staggered with respect to adjacent rows.
- Drill the holes—all 156 of them—with a sharp #48 drill. It works better if only about 1/8 inch of the drill protrudes from the drill-press chuck. Deburr the holes by running a large rat-tail file around the inside of the tube, then redrill the holes and deburr them a final time.
- Be absolutely certain that all pressure is removed from the mousse can before drilling holes in each end.
- Gradually enlarge the end hole sizes with larger drills, files, and a tapered reamer until the front hole is 5/8 inch and the rear hole is 15/32 inch. This should be a snug slip-fit.
- Braze a 1/64-inch plate on the rear tube to cap off the back end. This rear cap does not need interior petals like the middle cap. Trim the edges flush with the outside diameter of the 19/32 tube, and sand to a smooth circle that will slide through the mousse can holes.
- Clean surfaces:
- Clean the outside of the brass tube first with sandpaper and then with alcohol, especially in the areas where the tube exits the mousse can.
- Clean the ends of the can.
- Assemble the unit (one end at a time) using a high-temperature automotive epoxy such as J-B Weld.
- Optional pressure tap:
- I use a K&B pressure tap installed 4 inches from the front of the mousse can. Tap the mousse can and screw in the pressure tap, using liberal amounts of J-B Weld.
- Positioning and drainage:
- Temporarily position the Mousseler on your airplane so the exhaust holes direct the exhaust away from the plane. Note which side is the bottom.
- File a notch and drill 1/16-inch oil-drain holes in the bottom rear of the mousse can and in the 19/32 tube's cap.
- Mounting:
- The Mousseler is mounted to a tuned-pipe header with a silicone tube and is attached to the airplane in a manner similar to that used for a tuned pipe.
- Since the Mousseler only weighs about 2.5 ounces, the mounting can be very light. Options used include two #64 rubber bands or a 1/32-inch wire standoff wrapped around the exhaust tube.
The rear cap reduces sound by about 1 dB when measured from the side—and by several dB from the rear—with no power loss. If you want to convince yourself that the rear cap doesn't rob power, leave it off temporarily, then cover the open tube with your thumb while the engine is running and the RPM is being measured. Don't worry, you won't get burned: the exhaust will be relatively cool compared with that from a stock muffler.
Transcribed from original scans by AI. Minor OCR errors may remain.

