
New Vista 49
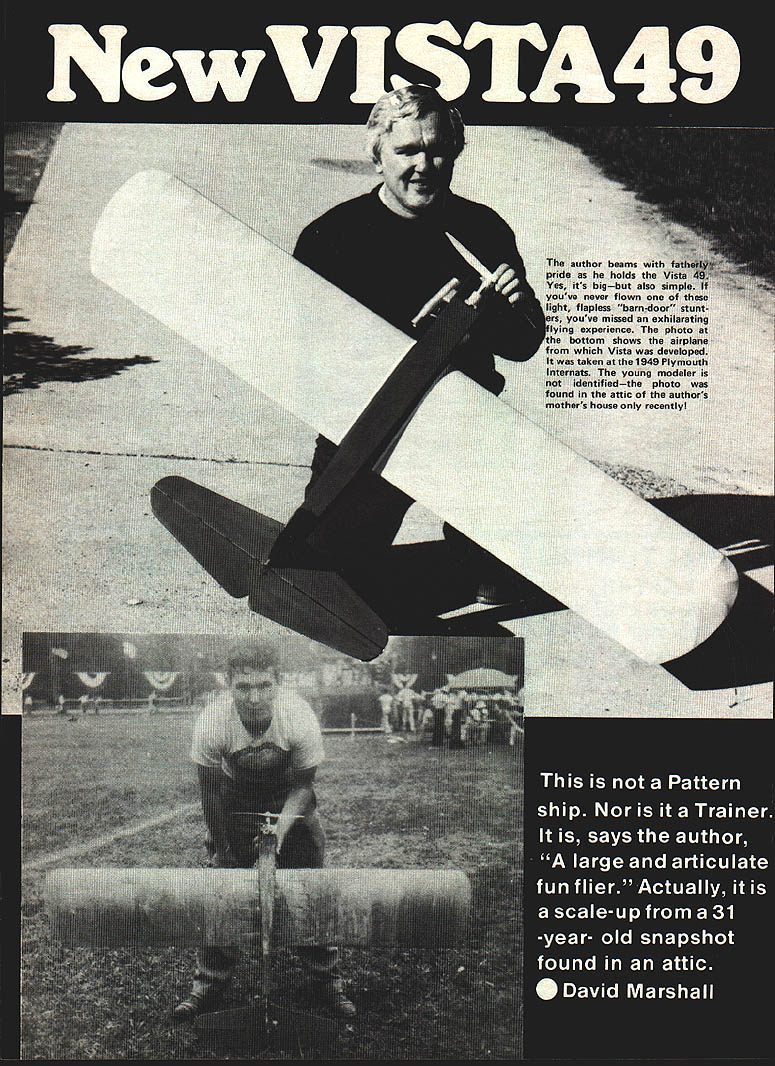
The author beams with fatherly pride as he holds the Vista 49. Yes, it's big — but also simple. If you've never flown one of these light, flapless "barn-door" stunters, you've missed an exhilarating flying experience. The airplane was developed from a snapshot taken at the 1949 Plymouth Internats. The young modeler in the photo was not identified — the photo was found in the attic of the author's mother's house only recently.
In June 1979, thirty years after the original, the author redrew and built a second Vista 49 from that old snapshot and presents it here.
History and general description
- The Vista 49 was built and flown in 1949 at the Plymouth meet by an 18‑year‑old modeler believed to have lived in Vista, California — hence the name "Vista 49." Vista is about 20 miles north of San Diego, where Jim Saftig, designer of the Super Zilch, lived; some Super Zilch influence is likely.
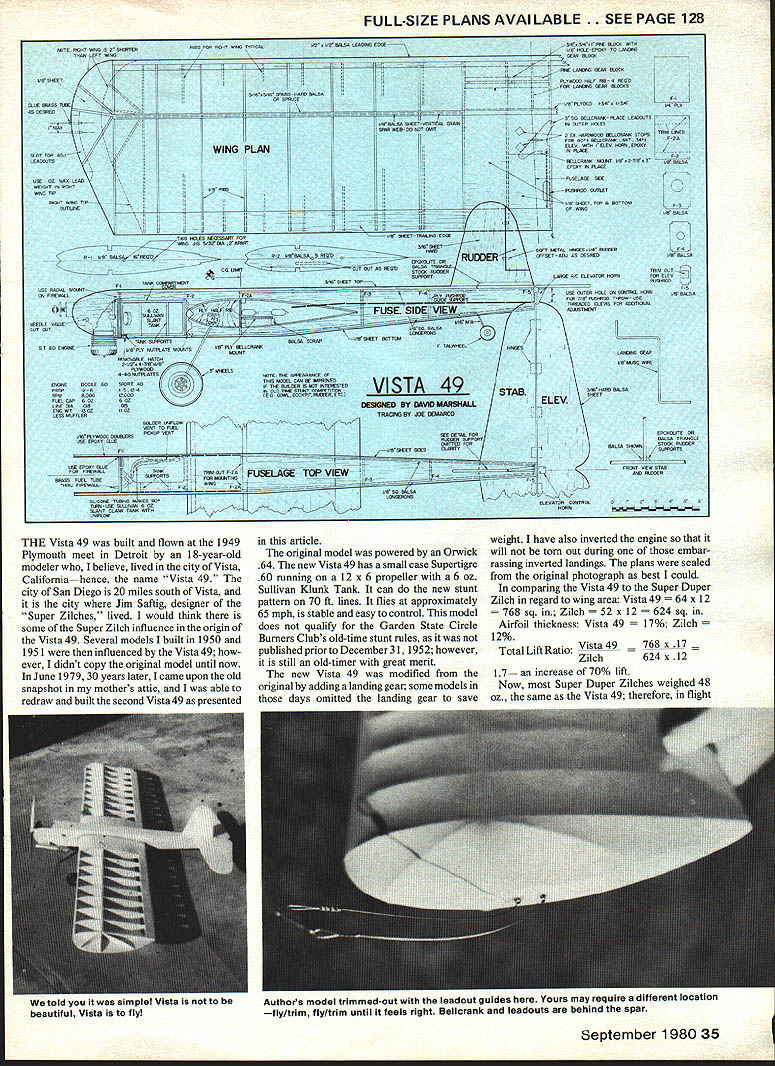
- The original was powered by an Orwick .64. The new (redrawn) Vista 49 uses a small‑case Supertigre .60 running a 12 x 6 propeller with a 6‑oz Sullivan clunk tank.
- On modern stunt 70‑ft lines it flies about 65 mph, is stable and easy to control.
- It does not qualify under the Garden State Circle Burners Club old‑time stunt rules because it was not published prior to December 31, 1952; however, it retains strong old‑timer merit.
Design changes and construction notes
- The new Vista 49 is a modestly modified original: landing gear was added (some originals omitted gear to save weight), and the engine was inverted to reduce the chance of tearing it out during inverted landings.
- Plans were scaled from the original photograph as best as possible.
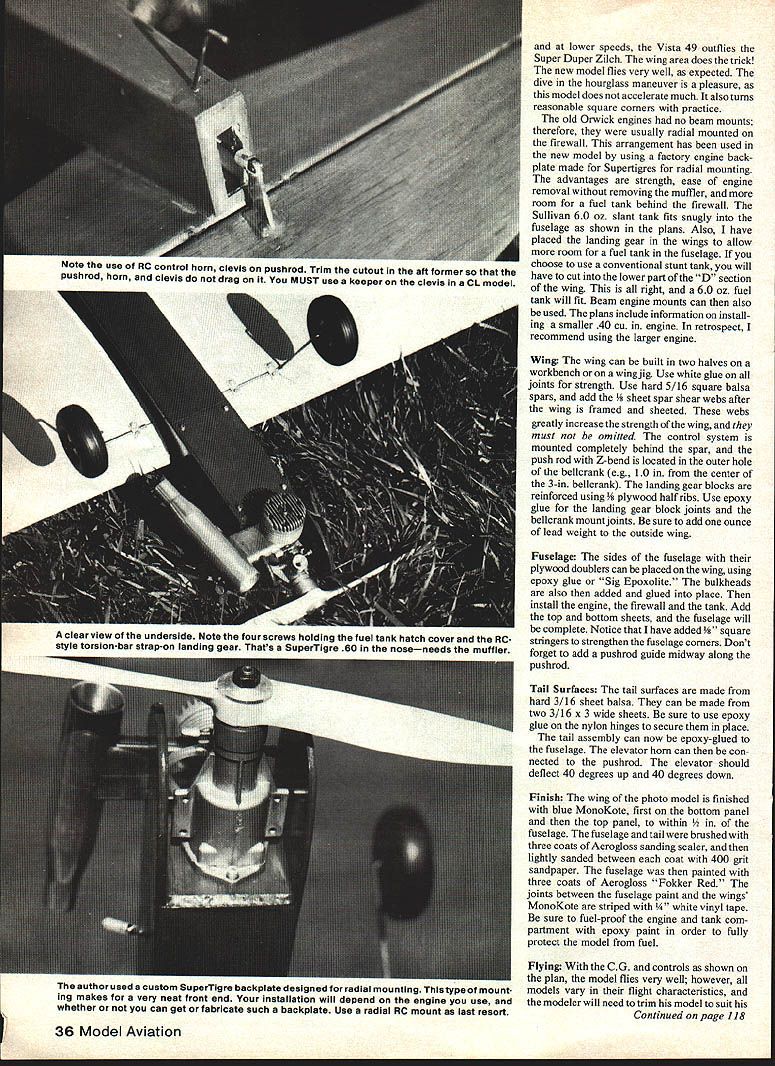
- The landing gear is placed in the wings to leave more room in the fuselage for the fuel tank. Beam mounts may be used, but the author used a factory engine backplate (Supertigre) for radial mounting on the firewall. This gives strength, easier engine removal without removing the muffler, and more room for the tank behind the firewall.
- The plans include information for installing a smaller .40 cu. in. engine, but the author recommends the larger engine in retrospect.
Performance comparison with the Super Duper Zilch
- Wing areas:
- Vista 49: 64" x 12" = 768 sq. in.
- Super Duper Zilch: 52" x 12" = 624 sq. in.
- Airfoil thickness:
- Vista 49: 0.17
- Zilch: 0.12
- Total lift ratio:
- Vista 49: 768 x 0.17 = 130.56
- Zilch: 624 x 0.12 = 74.88
- The Vista 49 thus has roughly a 70% increase in total lift.
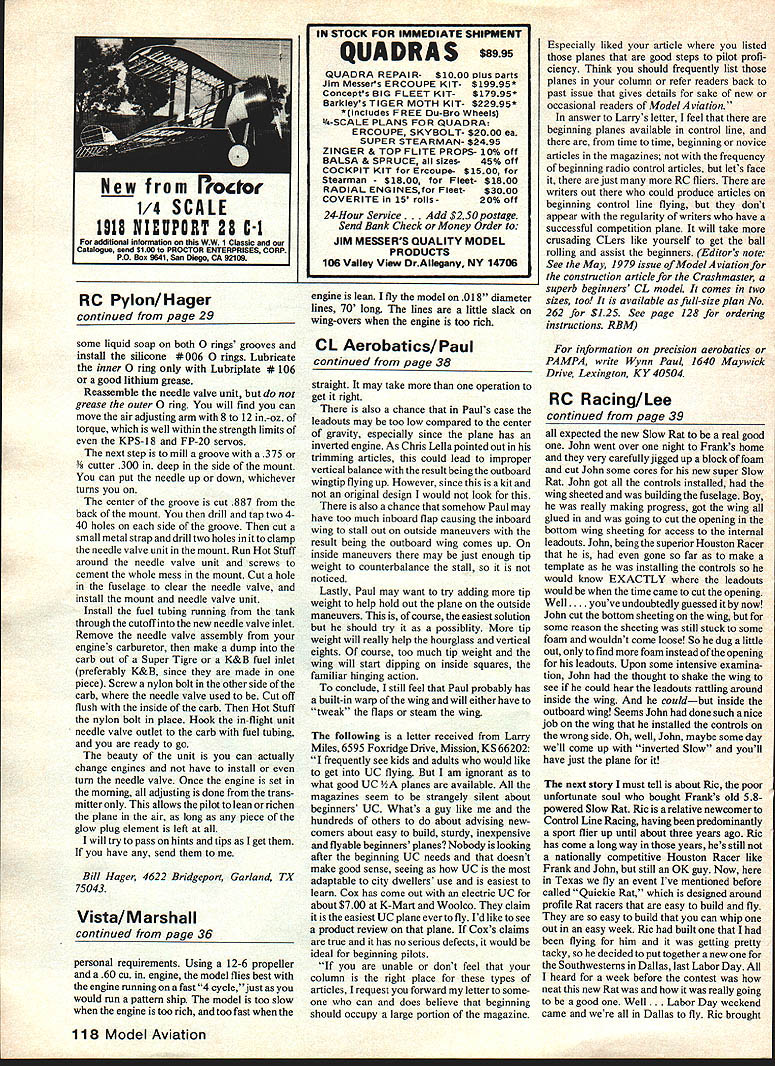
- Most Super Duper Zilches weighed about 48 oz., roughly the same as the Vista 49, so with similar flight weight the Vista 49, with more wing area and a thicker airfoil, outflies the Zilch at lower speeds. The model handles dives (hourglass maneuver) without excessive acceleration and can be flown to fairly square corners with practice.
Powerplant and fuel
- Original engine: Orwick .64 (radial mounts common).
- New build: Supertigre .60 (small case), 12 x 6 prop, Sullivan 6‑oz slant (clunk) tank fits snugly behind the firewall.
- Radial mounting using a factory backplate is recommended for strength and serviceability; beam engine mounts are an alternative.
- If you opt for a conventional stunt tank, you will need to cut into the lower part of the wing's "D" section to fit it; a 6‑oz tank will fit if arranged properly.
Construction
#### Wing
- Build the wing in two halves on a workbench or wing jig.
- Use white glue on all joints for strength.
- Use hard 5/16" square balsa spars and add 1/8" sheet spar shear webs after the wing is framed and sheeted. These webs greatly increase wing strength and must not be omitted.
- The control system is mounted completely behind the spar. Route the pushrod with a Z‑bend to the outer hole of the bellcrank (about 1.0" from the center of a 3" bellcrank).
- Reinforce landing gear blocks using 1/8" plywood hard ribs. Use epoxy for landing gear block joints and bellcrank mount joints.
- Add one ounce of lead weight to the outside wing as shown on the plans.
#### Fuselage
- Place fuselage sides with plywood doublers on the wing and glue with epoxy or "Sig" Epoxolite.
- Add and glue bulkheads into place, then install engine, firewall and tank.
- Add top and bottom sheets to complete the fuselage shell.
- Add 1/8" square stringers to strengthen fuselage corners.
- Install a pushrod guide midway along the pushrod run.
#### Tail Surfaces
- Make tail surfaces from hard 3/16" sheet balsa (two 3/16" x 3" wide sheets can be used).
- Use epoxy on nylon hinges to secure them in place.
- Epoxy the tail assembly to the fuselage.
- Connect the elevator horn to the pushrod. The elevator should deflect approximately 40° up and 40° down.
Finish
- The photograph model's wing was finished with blue MonoKote: bottom panel first, then the top panel to within 1/8" of the fuselage.
- Fuselage and tail: brush three coats of Aerogloss sanding sealer, lightly sanding between coats with 400‑grit sandpaper.
- Paint the fuselage with three coats of Aerogloss "Fokker Red."
- Apply stripes between the fuselage paint and the wings' MonoKote with 1/4" white vinyl tape.
- Fuel‑proof the engine and tank compartment with epoxy paint to protect against fuel.
Flying and trimming
- With the CG and control throws shown on the plans, the model flies very well; however, models vary and you will need to trim yours to taste.
- Bellcrank the leadouts behind the spar for lower line speeds if desired.
- Trim the leadout guide location to suit your lines and handling — fly and trim until it feels right.
- The Vista 49 performs delightfully in dives and hourglass maneuvers without gaining excessive speed and will turn square corners with practice.
Notes
- Use epoxy for structural joints where strength is critical (engine mount area, landing gear blocks, bellcrank mounts, tail attachment).
- Consider installation and servicing needs when choosing between beam mounts and radial/backplate mounting.
Transcribed from original scans by AI. Minor OCR errors may remain.

