
Painting Fiberglass Parts
Myron Pickard
Everybody develops his/her own way of doing things, and this goes for painting too. But how do you prepare a part for paint?
You sand wood to shape, fill the pores with a wood filler, let dry, and sand again. You can either dope and paint the part, or cover it with fabric. With fiberglass parts the process is similar in principle but different in practice — fitting and a shiny surface from the mold do not mean the part is ready to paint.
Inspecting and fitting the part
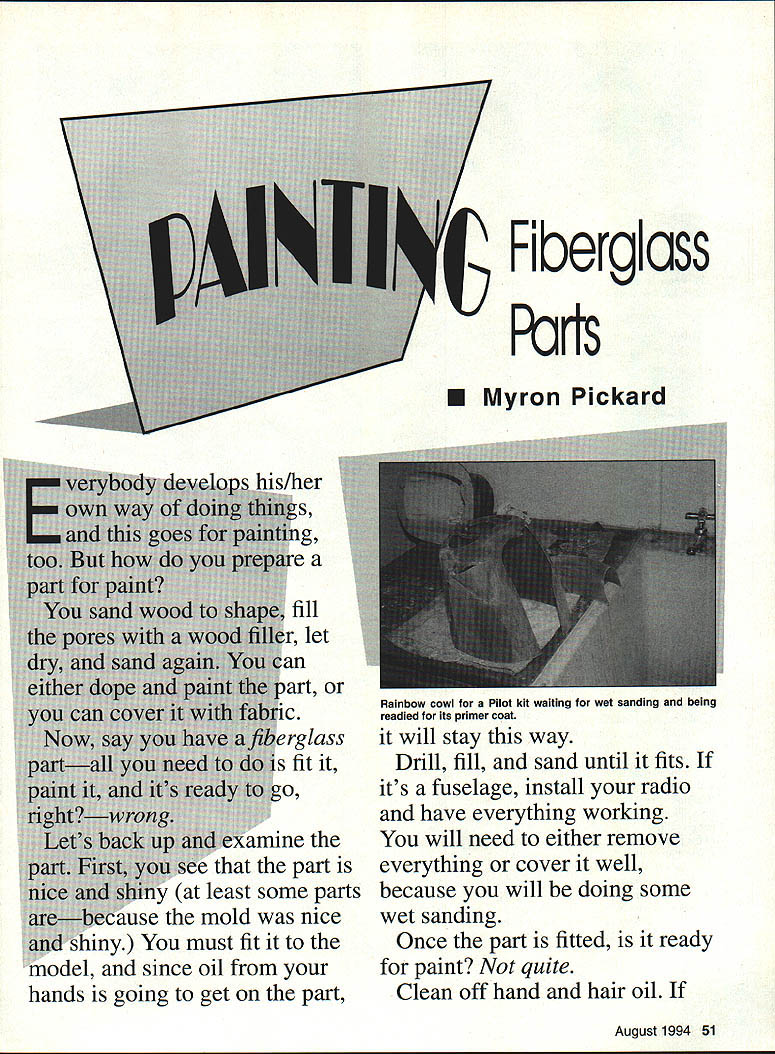
- Examine the part. Many parts are shiny because the mold was shiny. Fitting will generally be required.
- Drill, fill, and sand until the part fits. If it’s a fuselage, install your radio and have everything working before final finishing.
- Remove components or cover them well before wet sanding, because you will be doing some wet sanding.
Cleaning and sanding
- Clean off hand and hair oil thoroughly. Do NOT rely on a wipe-down with acetone or alcohol — these can leave residues that interfere with paint adhesion.
- Use soap and water with a Brillo or SOS pad to remove oils. This is the best approach.
- Sand with 400–600 wet-or-dry paper to remove gloss and prepare the surface. You are trying to do two necessary things:
- Remove oil.
- Make the surface dull (provide a key for primer).
- Watch the water when wet sanding — it tends to run off. If the water doesn’t stay on the surface, paint won’t either.
- Set the part up on paper towels and let it air dry. You can wipe it with a paper towel, but allow it to dry fully before inspecting.
Pinholes and glass cloth
- Examine for pinholes. Pinholes are areas of trapped air that did not get worked out of the layup.
- Glass cloth used for layup is usually treated. Untreated cloth shows a brown tint in the layup because resin does not bond well. Treated cloth often has a sizing (a starch-like coating) that helps glass and resin stick.
- Treated cloth can be very white and sometimes stiff. Hard spots that did not wet out properly are common sources of pinholes. Resin must replace air in the cloth; when cloth is properly wetted the air disappears — this is why pinholes are hard to eliminate.
- Fiberglass boat owners know that cuts through gelcoat into the glass allow water to enter, remove the starch between glass and resin, and cause soft spots. These areas must be cut out and rebuilt if left untreated.
- To repair pinholes:
- Mix a dab of five-minute epoxy with a couple of drops of alcohol; this helps the epoxy work into the holes.
- Push a knife point into the holes to help clean them out and seat the epoxy.
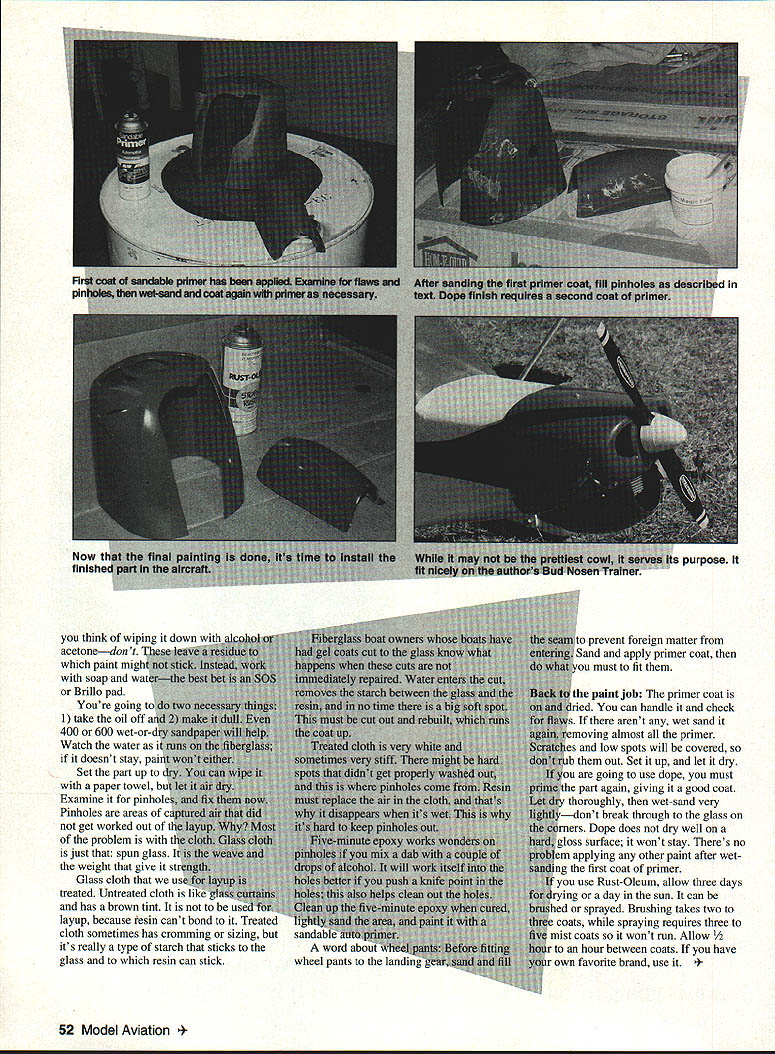
- After the epoxy cures, lightly sand the area and paint with a sandable auto primer.
Wheel pants
Before fitting wheel pants to the landing gear:
- Sand and fill the seam to prevent foreign matter from entering.
- Sand and apply the primer coat, then proceed with fitting and final finishing.
Priming and painting
- The primer coat should be applied, allowed to dry, and checked for low spots. Wet-sand and repeat as needed; do not sand through the glass.
- If you intend to use dope:
- The surface must receive a good coat of primer and be thoroughly wet-sanded with very thin coats.
- Be careful not to break through the glass fibers on corners or edges. Dope will not adhere well to a hard, glossy surface and will not stay without proper primer.
- General primer/paint guidance:
- For first coat of primer, Rust-Oleum is a commonly used option. Allow three days drying (a warm day in the sun can help).
- Brushing: typically takes two coats.
- Spraying: use three mist coats that won’t run. Allow about 1/2 hour between coats.
- After the primer has cured, you can handle the part and check for flaws. If there are none, wet-sand again, removing almost all the primer. Scratches and low spots will be filled by subsequent coats, so don’t over-sand them out.
- There’s no magic in applying other paints after wet sanding the primer; use your favorite model aviation paint or brand of choice.
- If you use Rust-Oleum or another brand, follow the manufacturer’s cure and recoat recommendations. If you have your own favorite brand, use it.
Final checks
- After final wet-sanding and priming, inspect once more for pinholes, low spots, or any remaining oil/gloss.
- Repair pinholes and low spots, re-prime where necessary, and allow adequate drying before applying final paint coats.
Transcribed from original scans by AI. Minor OCR errors may remain.

