
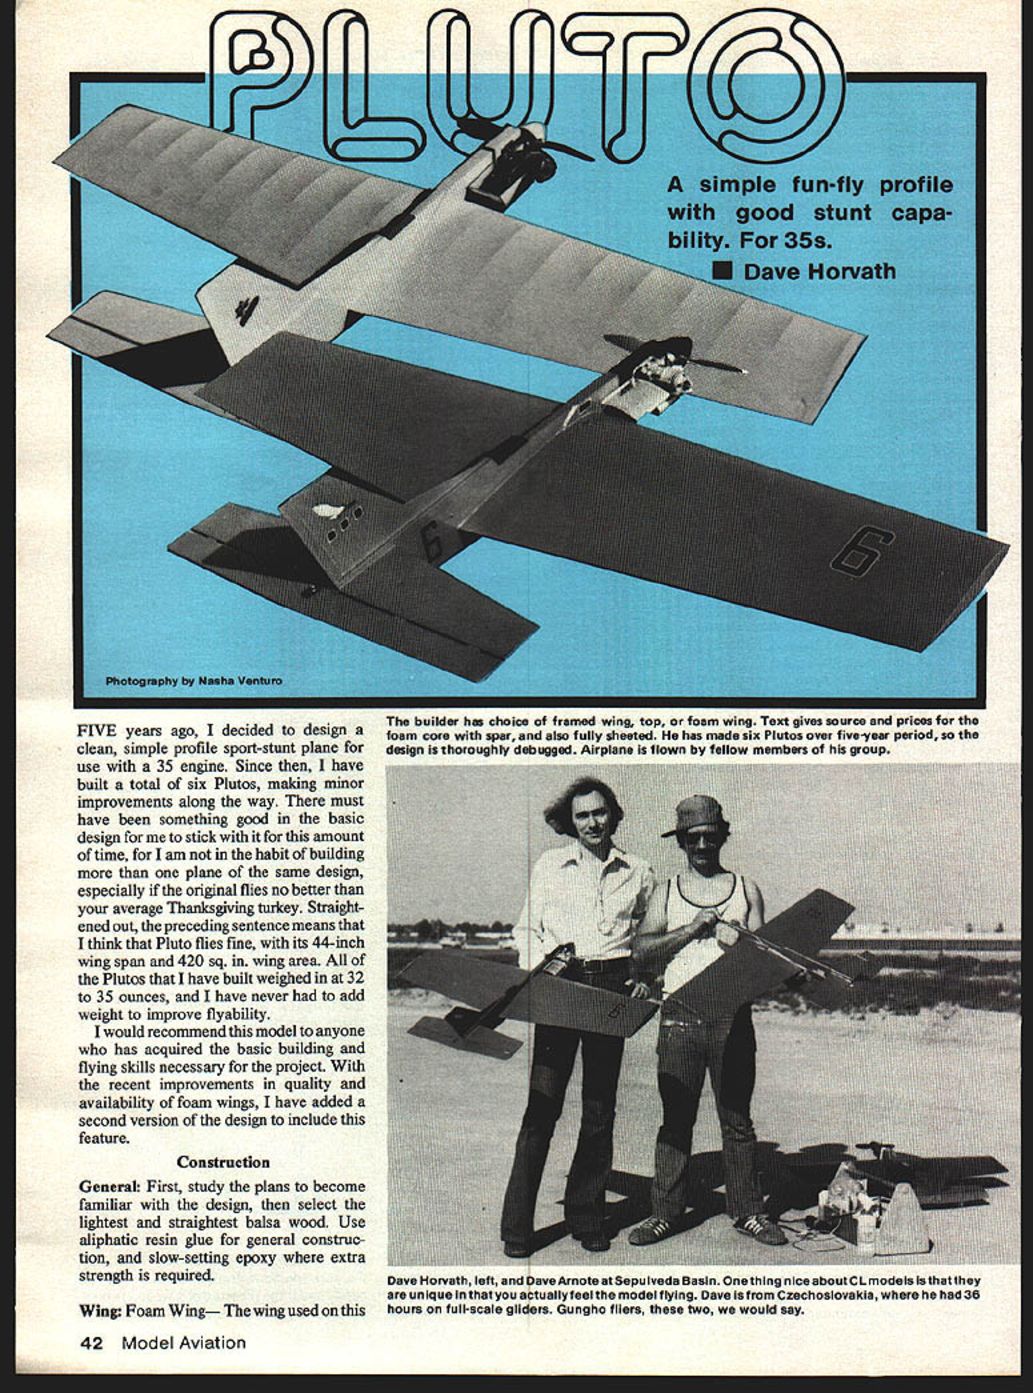

Pluto
A simple, fun-fly profile with good stunt capability for use with .35 engines. — Dave Horvath
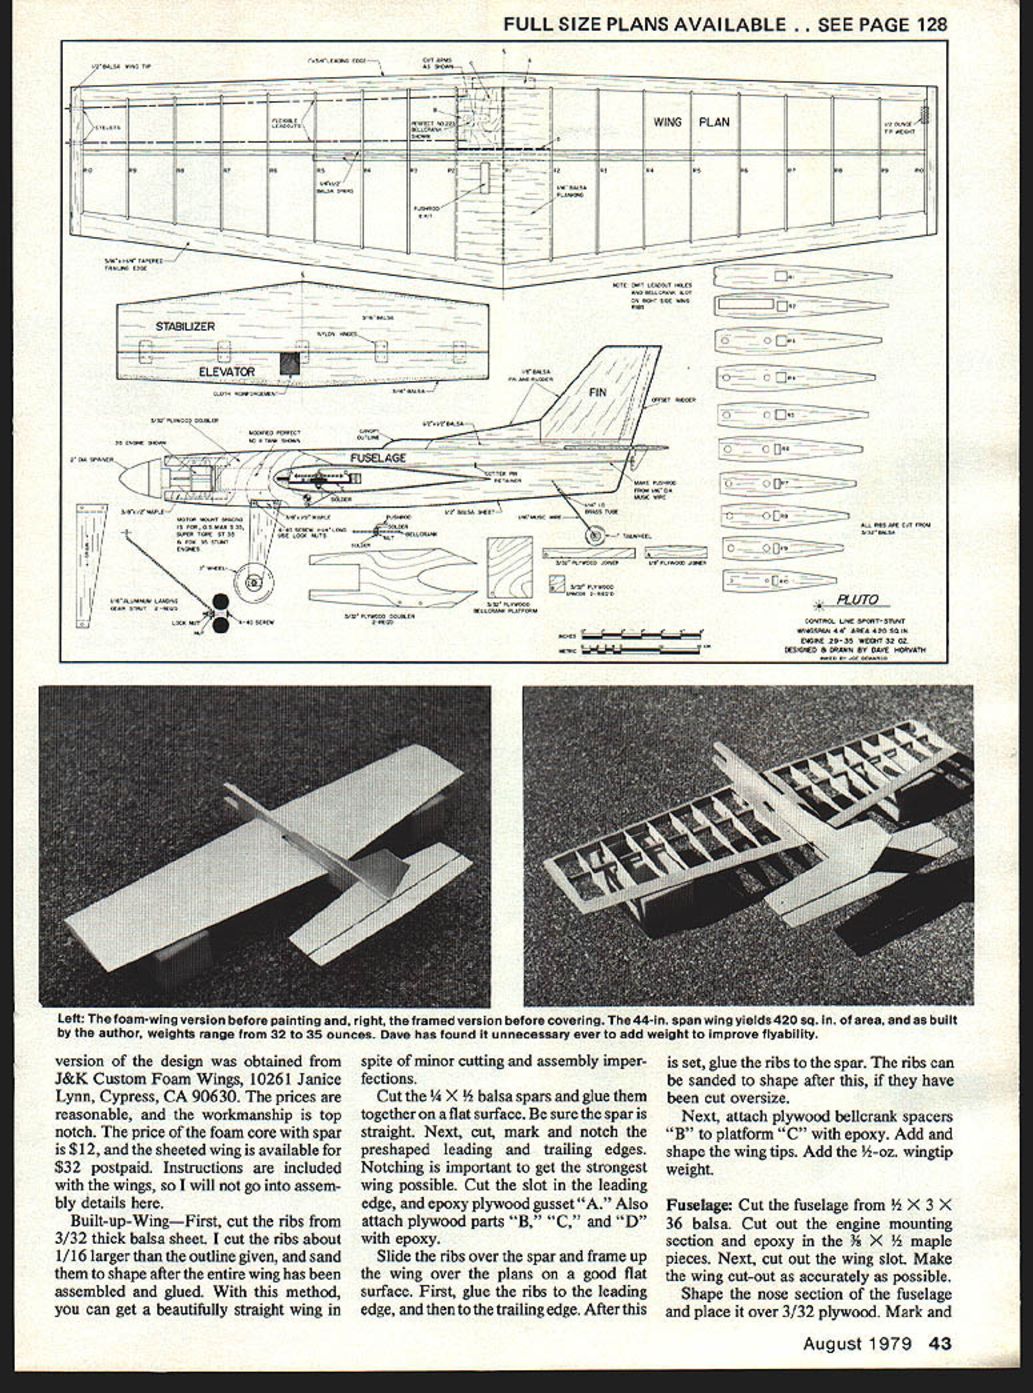
Five years ago I decided to design a clean, simple profile sport-stunt plane for use with a .35 engine. Since then I have built a total of six Plutos, making minor improvements along the way. I think Pluto flies well with its 44 in. wingspan and 420 sq. in. wing area. All of the Plutos I have built weighed in at 32 to 35 oz., and I have never had to add weight to improve flyability.
I recommend this model to anyone who has the basic building and flying skills necessary for the project. With recent improvements in quality and availability of foam wings, I have added a second version of the design to include a foam wing option.
Construction
General
- Study the plans to become familiar with the design.
- Select the lightest, straightest balsa you can find.
- Use aliphatic resin glue for general construction and slow-setting epoxy where extra strength is required.
Wing
#### Foam Wing The foam wing used on this model is available from J & K Custom Foam Wings (10261 Janice Lynn, Cypress, CA 90630). The foam core with spar is $12; the fully sheeted wing is $32 postpaid. Instructions are included with the wings, so no assembly details are given here.
#### Built-up Wing
- Cut ribs from 3/32 in. balsa sheet. Cut ribs about 1/16 in. larger than the outline given and sand to shape after the entire wing is assembled. This method yields a straight wing despite minor cutting and assembly imperfections.
- Cut 1/4 x 1/4 in. balsa spars and glue them together on a flat surface. Ensure the spar is straight.
- Cut, mark and notch the preshaped leading and trailing edges. Notching is important for strength.
- Cut the slot in the leading edge for the plywood gusset and epoxy plywood gusset "A." Also attach plywood parts "B," "C," and "D" with epoxy.
- Slide the ribs over the spar and frame up the wing over the plans on a flat surface. First glue ribs to the leading edge, then to the trailing edge. After these have set, glue the ribs to the spar. Sand ribs to final shape if they were cut oversize.
- Attach plywood bellcrank spacers "B" to platform "C" with epoxy.
- Add and shape the wing tips. Add 1/2-oz. wingtip weight.
- After the bellcrank, pushrod and lead-outs are installed, plank the center section of the wing with 1/16 in. balsa sheet.
- MonoKote is applied to the built-up wing design.
Fuselage
- Cut fuselage sides from 3/16 in. balsa.
- Cut out the engine mounting section and epoxy in 1/8 in. plywood pieces.
- Cut out the wing slot; make this cut as accurate as possible.
- Shape the nose section and place the fuselage over 3/32 in. plywood; mark and cut out nose doublers.
- Cut the cockpit section from 1/2 sq. balsa stick.
- Make slots for rudder and stabilizer.
- Install nose doublers and drill holes for the motor and landing gear.
Stabilizer and Elevator
- Cut stabilizer and elevator from 3/16 in. balsa sheet. Round off leading and trailing edges.
- Use a hinge slotter to make the hinge slots.
- Use epoxy to attach hinges. Insert a toothpick through the hinge hole while the epoxy cures; after curing, clip the toothpick close and sand flush.
- Reinforce both sides of the control horn area with epoxy and fiberglass cloth.
Rudder
- Cut fin and rudder from 1/8 in. balsa sheet. Note grain direction shown on the plans.
- Set rudder offset as shown on the plans.
Controls
- Bellcrank: Perfect #223 (cut the arms as shown).
- Lead-out wire: Perfect #225 flexible; terminate by wrapping with fine wire and soldering.
- Pushrod: 1/16 in. diameter music wire. Bend the pushrod as required and retain it on the bellcrank by soldering brass nuts to the top and bottom. Also retain the bellcrank with a soldered nut.
- Pushrod retainer: do not neglect to install one.
- Control horn: Clary #6783 (Clary no longer manufactures this; Fox carries the identical part as #A6783).
- Ensure all controls move smoothly and easily.
Landing Gear
- Gear strut: cut from 1/16 in. aluminum stock and bend to shape shown on the plans. Install with #4-40 screws and locknuts.
- Tailwheel strut: bent from 1/16 in. diameter music wire. Solder on a reinforcing piece of 1/16 in. I.D. brass tube and attach the assembly into the fuselage with epoxy.
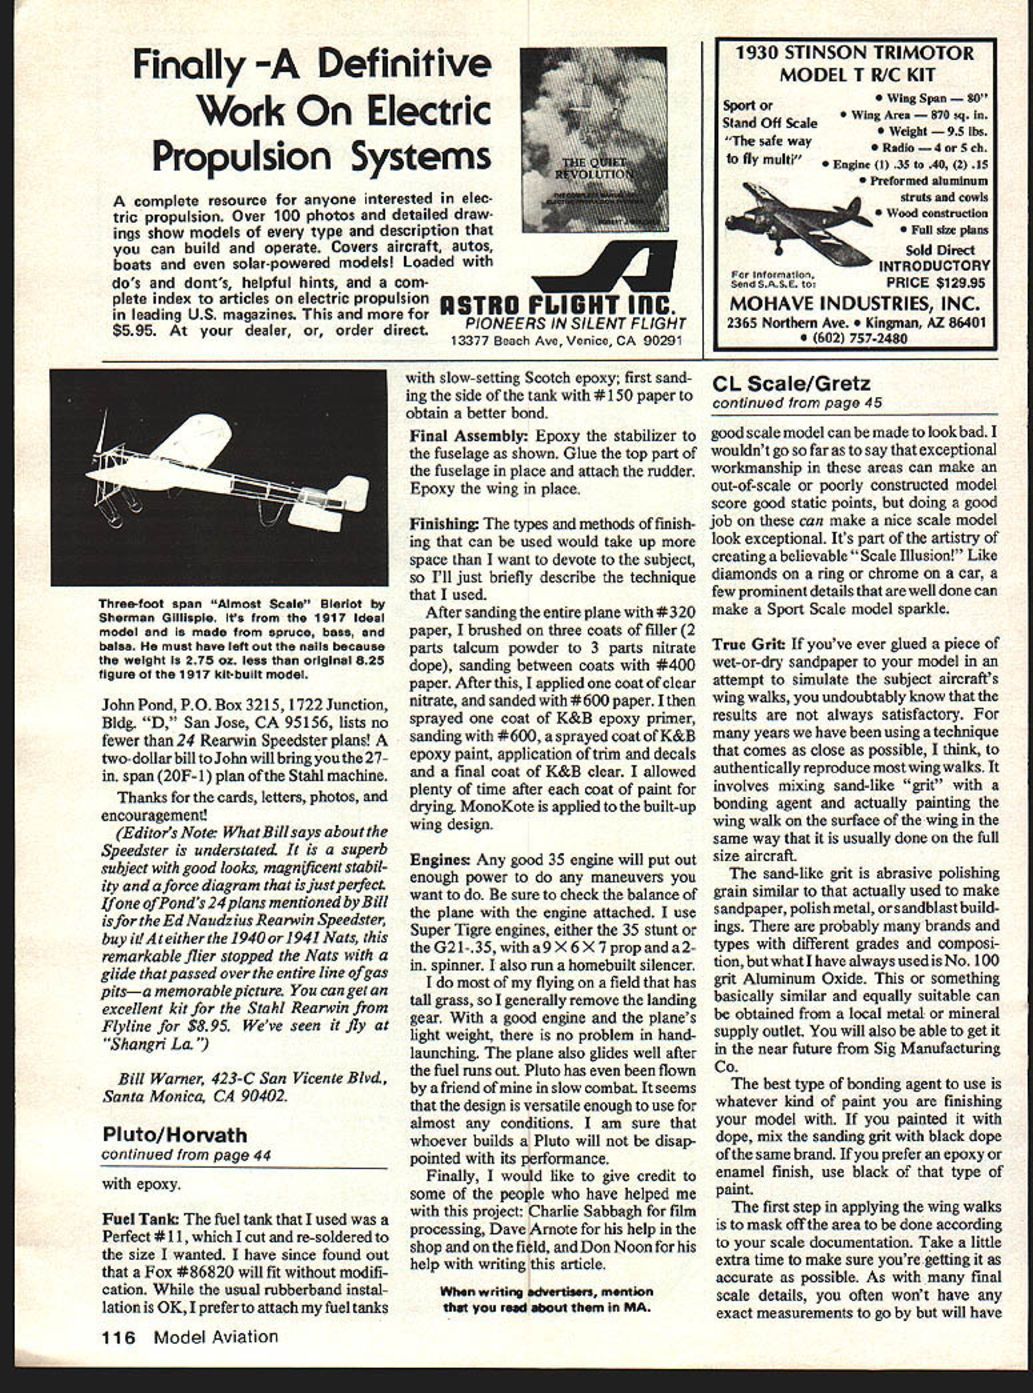
Fuel Tank
- The tank used originally was a Perfect #11, cut and re-soldered to size. A Fox #86820 will fit without modification.
- I prefer to attach fuel tanks with slow-setting Scotch epoxy. First sand the side of the tank with #150 paper to obtain a better bond.
- The usual rubber-band installation is acceptable if preferred.
Final Assembly
- Epoxy the stabilizer to the fuselage as shown on the plans.
- Glue the top part of the fuselage in place and attach the rudder.
- Epoxy the wing in place.
Finishing
- After sanding the entire plane with #320 paper, brush on three coats of filler (2 parts talcum powder to 3 parts nitrate dope), sanding between coats with #400 paper.
- Apply one coat of clear nitrate and sand with #600 paper.
- Spray one coat of K&B epoxy primer, sand with #600, then spray a coat of K&B epoxy paint.
- Apply trim and decals and finish with a final coat of K&B clear.
- Allow plenty of drying time between coats.
Engines
- Any good .35 engine will provide enough power for the Pluto. Be sure to check the balance of the plane with the engine attached.
- I use Super Tigre engines (either the .35 stunt or the G21-.35) with a 9 x 6 or 9 x 7 prop and a 2 in. spinner. I also run a homebuilt silencer.
Flying Notes
- I fly mostly on a field with tall grass, so I generally remove the landing gear. With a good engine and the plane's light weight, hand-launching is easy.
- The plane glides well after fuel runs out and is versatile enough for slow combat and other flying conditions. Pluto's performance has proven satisfactory in a variety of uses.
Credits
Thanks to:
- Charlie Sabbagh for film processing
- Dave Arnote for help in the shop and on the field
- Don Noon for assistance with writing this article
Transcribed from original scans by AI. Minor OCR errors may remain.

