
Product Review
Dick Wetzel 514 E. Main St., Bath, PA 18014
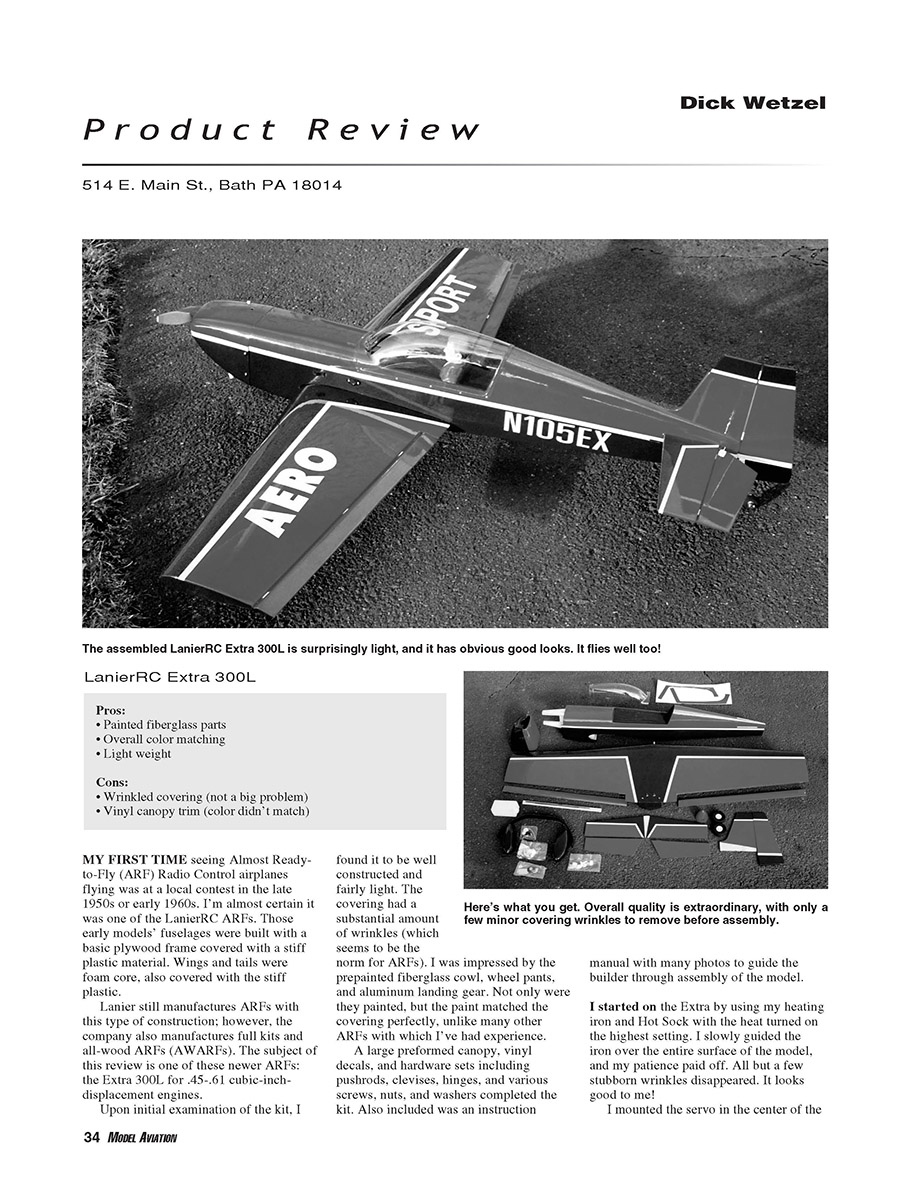
LanierRC Extra 300L
Pros
- Painted fiberglass parts
- Overall color matching
- Lightweight
Cons
- Wrinkled covering (not a big problem)
- Vinyl canopy trim (color didn't match)
My first time seeing Almost-Ready-to-Fly (ARF) radio-control airplanes flying was at a local contest in the late 1950s or early 1960s. I'm almost certain it was one of the LanierRC ARFs. Those early models' fuselages were built with a basic plywood frame covered with a stiff plastic material. Wings and tails were foam core, also covered with the stiff plastic.
Lanier still manufactures ARFs with this type of construction; however, the company also manufactures full kits and all-wood ARFs (AWARFs). The subject of this review is one of these newer ARFs: the Extra 300L for .45–.61 cubic-inch-displacement engines.
Initial examination
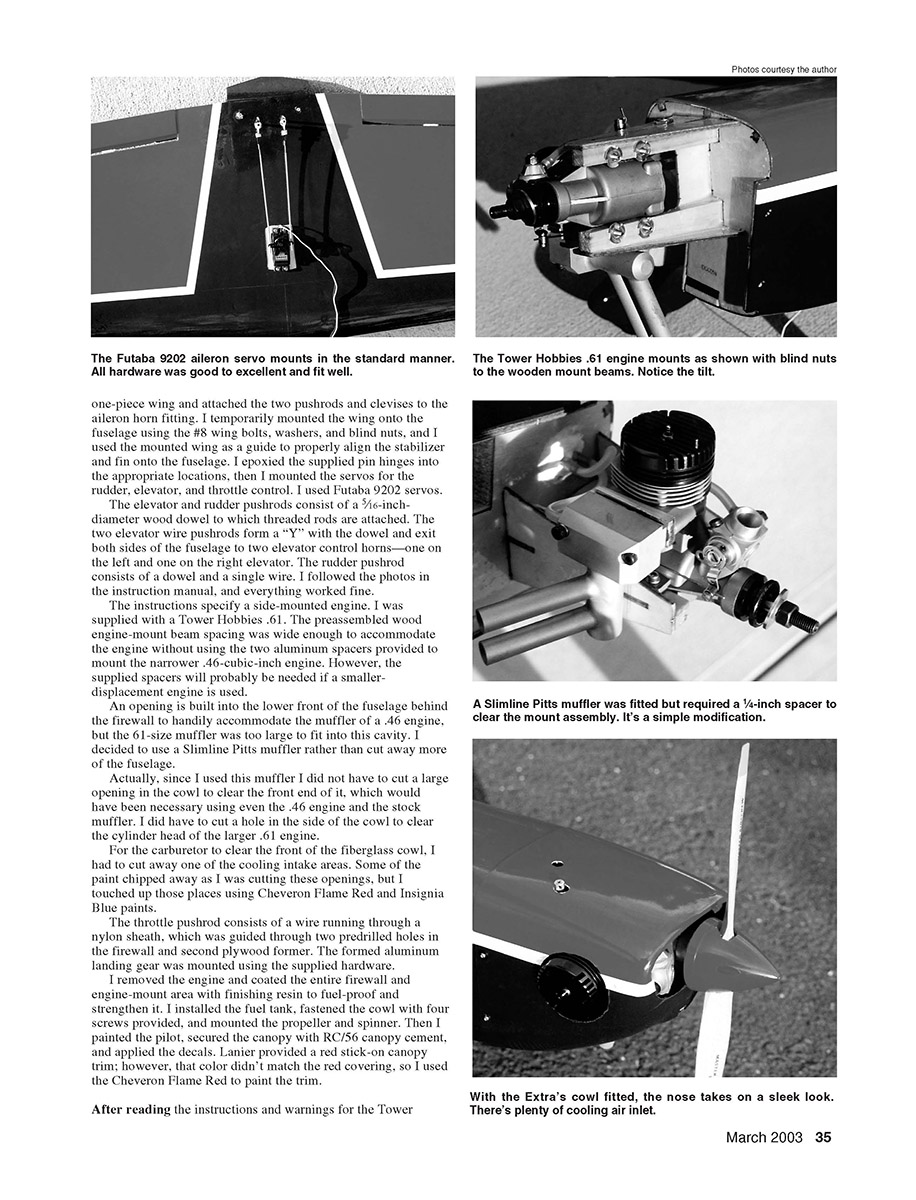
Upon initial examination of the kit, I found it to be well constructed and fairly light. The covering had a substantial amount of wrinkles (which seems to be the norm for ARFs). I was impressed by the prepainted fiberglass cowl, wheel pants, and aluminum landing gear. Not only were they painted, but the paint matched the covering perfectly, unlike many other ARFs with which I've had experience.
A large preformed canopy, vinyl decals, and hardware sets including pushrods, clevises, hinges, and various screws, nuts, and washers completed the kit. Also included was an instruction manual with many photos to guide the builder through assembly of the model.
Covering and basic assembly
I started on the Extra by using my heating iron and a Hot Sock with the heat turned to the highest setting. I slowly guided the iron over the entire surface of the model, and my patience paid off. All but a few stubborn wrinkles disappeared.
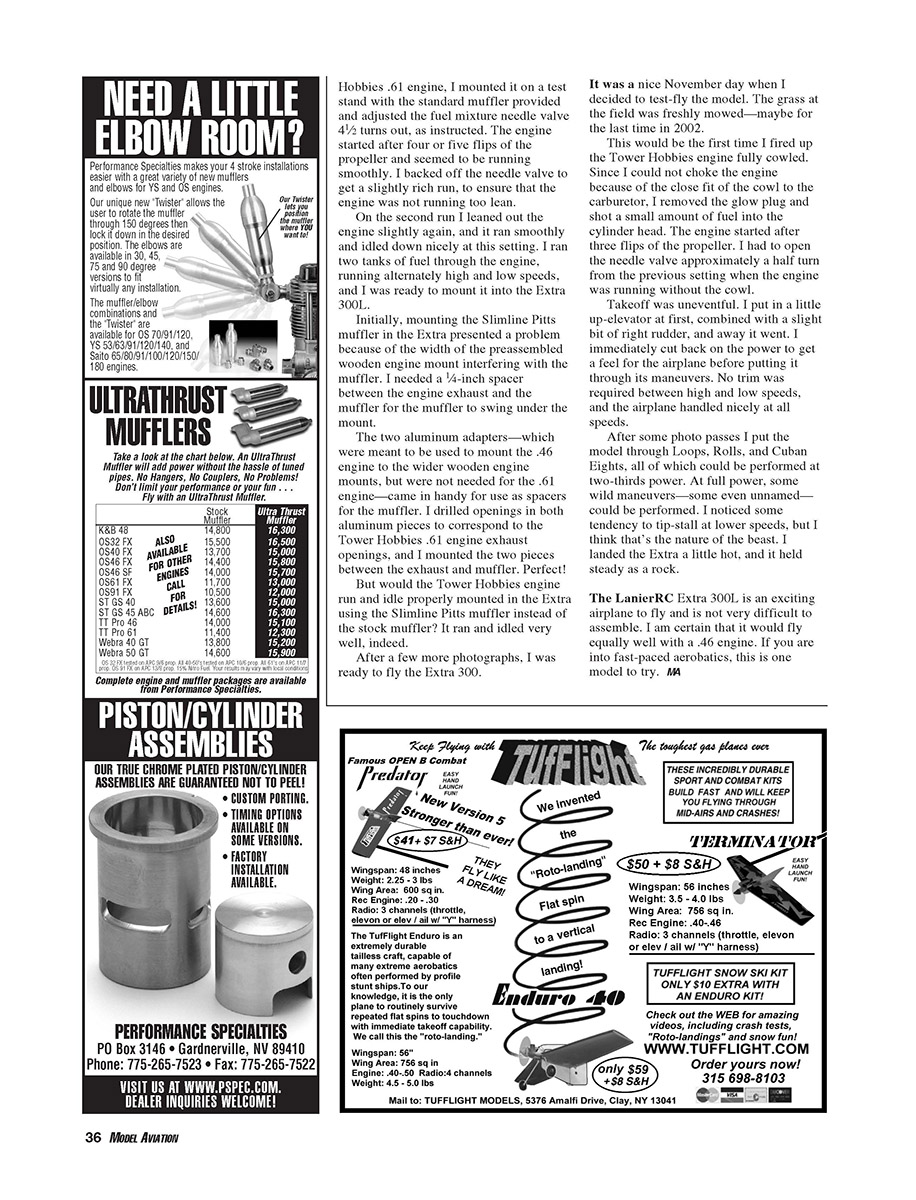
I mounted the servo in the center of the one-piece wing and attached the two pushrods and clevises to the aileron horn fitting. I temporarily mounted the wing onto the fuselage using the #8 wing bolts, washers, and blind nuts, and used the mounted wing as a guide to properly align the stabilizer and fin onto the fuselage.
I epoxied the supplied pin hinges into the appropriate locations, then mounted the servos for the rudder, elevator, and throttle control. I used Futaba 9202 servos. The elevator and rudder pushrods consist of a 5/16-inch-diameter wood dowel to which threaded rods are attached. The two elevator wire pushrods form a "Y" with the dowel and exit both sides of the fuselage to two elevator control horns—one on the left and one on the right elevator. The rudder pushrod consists of a dowel and a single wire. I followed the photos in the instruction manual, and everything worked fine.
Engine fit and modifications
The instructions specify a side-mounted engine. I was supplied with a Tower Hobbies .61. The preassembled wood engine-mount beam spacing was wide enough to accommodate the engine without using the two aluminum spacers provided to mount the narrower .46 engine. However, the supplied spacers will probably be needed if a smaller-displacement engine is used.
An opening is built into the lower front of the fuselage behind the firewall to handily accommodate the muffler of a .46 engine, but the .61-size muffler was too large to fit into this cavity. I decided to use a Slimline Pitts muffler rather than cut away more of the fuselage. Since I used this muffler I did not have to cut a large opening in the cowl to clear the front end of it, which would have been necessary using even the .46 engine and the stock muffler. I did have to cut a hole in the side of the cowl to clear the cylinder head of the larger .61 engine. For the carburetor to clear the front of the fiberglass cowl, I had to cut away one of the cooling intake areas. Some of the paint chipped away as I was cutting these openings, but I touched up those places using Chevron Flame Red and Insignia Blue paints.
The throttle pushrod consists of a wire running through a nylon sheath, which was guided through two predrilled holes in the firewall and second plywood former. The formed aluminum landing gear was mounted using the supplied hardware.
I removed the engine and coated the entire firewall and engine-mount area with finishing resin to fuel-proof and strengthen it. I installed the fuel tank, fastened the cowl with the four screws provided, and mounted the propeller and spinner. Then I painted the pilot, secured the canopy with RC/56 canopy cement, and applied the decals. Lanier provided a red stick-on canopy trim; however, that color didn't match the red covering, so I used Chevron Flame Red to paint the trim.
Engine setup and bench testing
After reading the instructions and warnings for the Tower Hobbies .61 engine, I mounted it on a test stand with the standard muffler provided and adjusted the fuel-mixture needle valve 4½ turns out, as instructed. The engine started after four or five flips of the propeller and seemed to be running smoothly. I backed off the needle valve to get a slightly rich run, to ensure that the engine was not running too lean.
On the second run I leaned out the engine slightly again, and it ran smoothly and idled down nicely at this setting. I ran two tanks of fuel through the engine, running alternately high and low speeds, and I was ready to mount it into the Extra 300L.
Initially, mounting the Slimline Pitts muffler in the cowl was a problem because of the width of the preassembled wooden engine mount interfering with the muffler. I needed a 1/4-inch spacer between the engine exhaust and the muffler for the muffler to swing under the mount.
The two aluminum adapters—which were meant to be used to mount the .46 engine to the wider wooden engine mounts, but were not needed for the .61 engine—came in handy for use as spacers for the muffler. I drilled openings in both aluminum pieces to correspond to the Tower Hobbies .61 engine exhaust openings, and I mounted the two pieces between the exhaust and muffler. Perfect!
The Tower Hobbies engine ran and idled very well mounted in the Extra using the Slimline Pitts muffler instead of the stock muffler.
Flight test
After a few more photographs, I was ready to fly the Extra 300.
It was a nice November day when I decided to test-fly the model. The grass at the field was freshly mowed—maybe for the last time in 2002.
This would be the first time I fired up the Tower Hobbies engine while cowled. Since I could not choke the engine because of the close fit of the cowl to the carburetor, I removed the glow plug and shot a small amount of fuel into the cylinder head. The engine started after three flips of the propeller. I had to open the needle valve approximately a half turn from the previous setting when the engine was running without the cowl.
Takeoff was uneventful. I put in a little up-elevator at first, combined with a slight bit of right rudder, and away it went. I immediately cut back on the power to get a feel for the airplane before putting it through its maneuvers. No trim was required between high and low speeds, and the airplane handled nicely at all speeds.
After some photo passes I put the model through loops, rolls, and Cuban eights, all of which could be performed at two-thirds power. At full power, some wild maneuvers—some even unnamed—could be performed. I noticed some tendency to tip-stall at lower speeds, but I think that's the nature of the beast. I landed the Extra a little hot, and it held steady as a rock.
Conclusion
The LanierRC Extra 300L is an exciting airplane to fly and is not very difficult to assemble. I am certain that it would fly equally well with a .46 engine. If you are into fast-paced aerobatics, this is one model to try.
Transcribed from original scans by AI. Minor OCR errors may remain.

