
RADIO CONTROL AEROBATICS
Eric Henderson
303 Shady Ln., Marlton NJ 08053 E-mail: eric.henderson@home.com
As a young man, I played a gentle English sport called rugby. As that same young man, I tried to build a jet turbine (and failed disastrously). Undeterred, I built Jetex gliders once my father had forgiven me for almost burning down his workshop.
Within budget constraints, I then dallied in diesel engines and really got into glow engines. These engines took me from Free Flight to Control Line (CL) Combat, and eventually into the wonderful world of Radio Control (RC) flying.
As a much older man with seven children, I had hoped that one or two of them would follow in my footsteps. "Be careful what you wish for," as the old Chinese saying goes.
My eldest daughter is playing rugby for her college in Massachusetts. How the times have changed! I'm very proud of her efforts, but I can't bring myself to share my old rugby "shanties" with her.
My eldest son will graduate this year from engineering college in upstate New York. He almost got into airplanes, but had more fun with RC cars.
Enter my youngest son, who is 15. He came to live with us soon after I remarried. We were empty-nesters for approximately a week, then he "arrived"!
After four weeks of stick time on my wife's O.S. 40 FSR-powered trainer and the personal-computer simulator, he was up there flying solo. This is almost the best an RC dad could have it—or is it?
He had not been soloing for more than a week when he began surveying my Pattern airplanes. "Hey dad! You don't seem to use these planes much; how about I fly one of those next?"
My Hydeout and Sequel were in his sights.
Panic set in as I searched for a way to deal with what I had wished for. I spluttered a few weak explanations, such as, "it's too cold here to fly them in the winter," "you need to practice much more before you ever ...," etc. Here I was, with an enthusiastic son who wanted to fly Aerobatics just like his dad (hopefully better), and my Pattern fleet was in imminent peril.
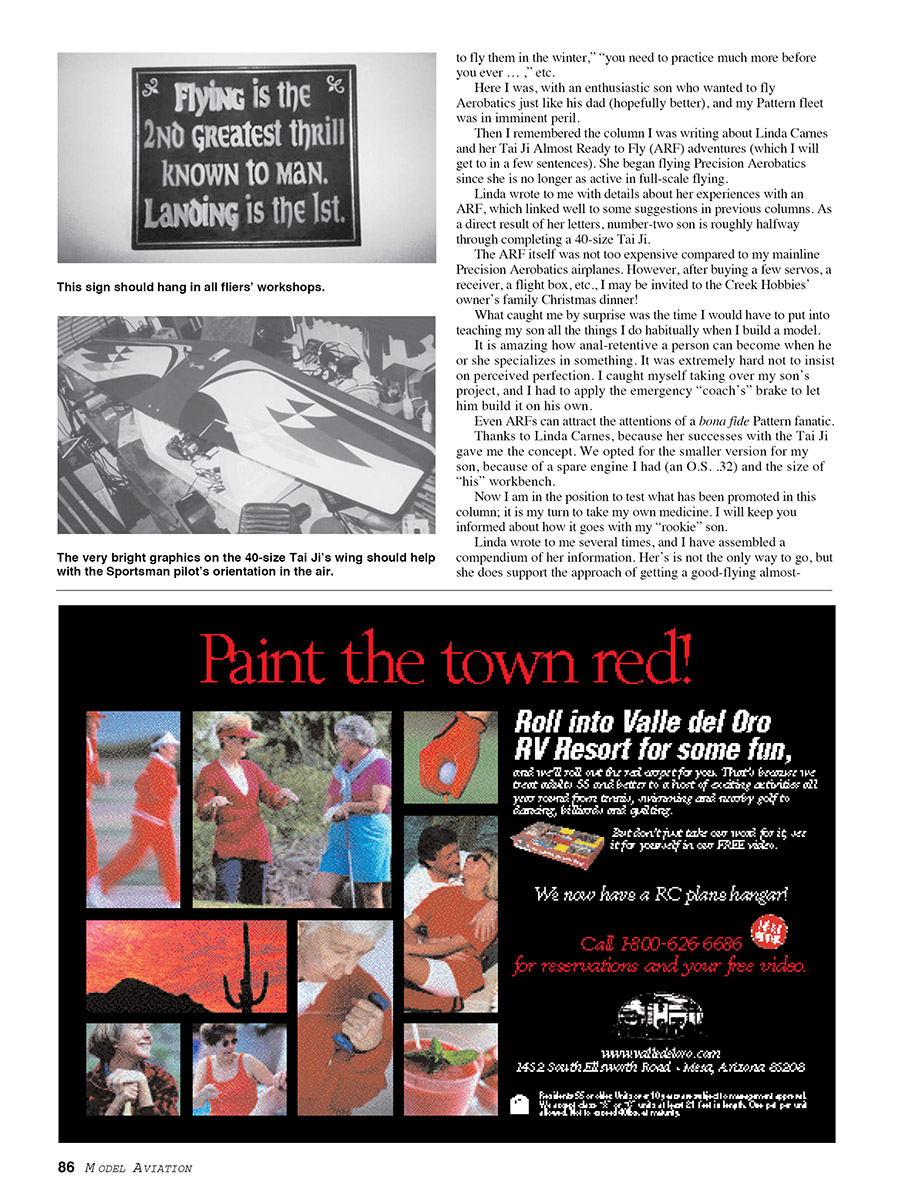
Then I remembered the column I was writing about Linda Carnes and her Tai Ji almost-ready-to-fly (ARF) adventures. She began flying Precision Aerobatics since she is no longer as active in full-scale flying. Linda wrote to me with details about her experiences with an ARF, which linked well to some suggestions in previous columns.
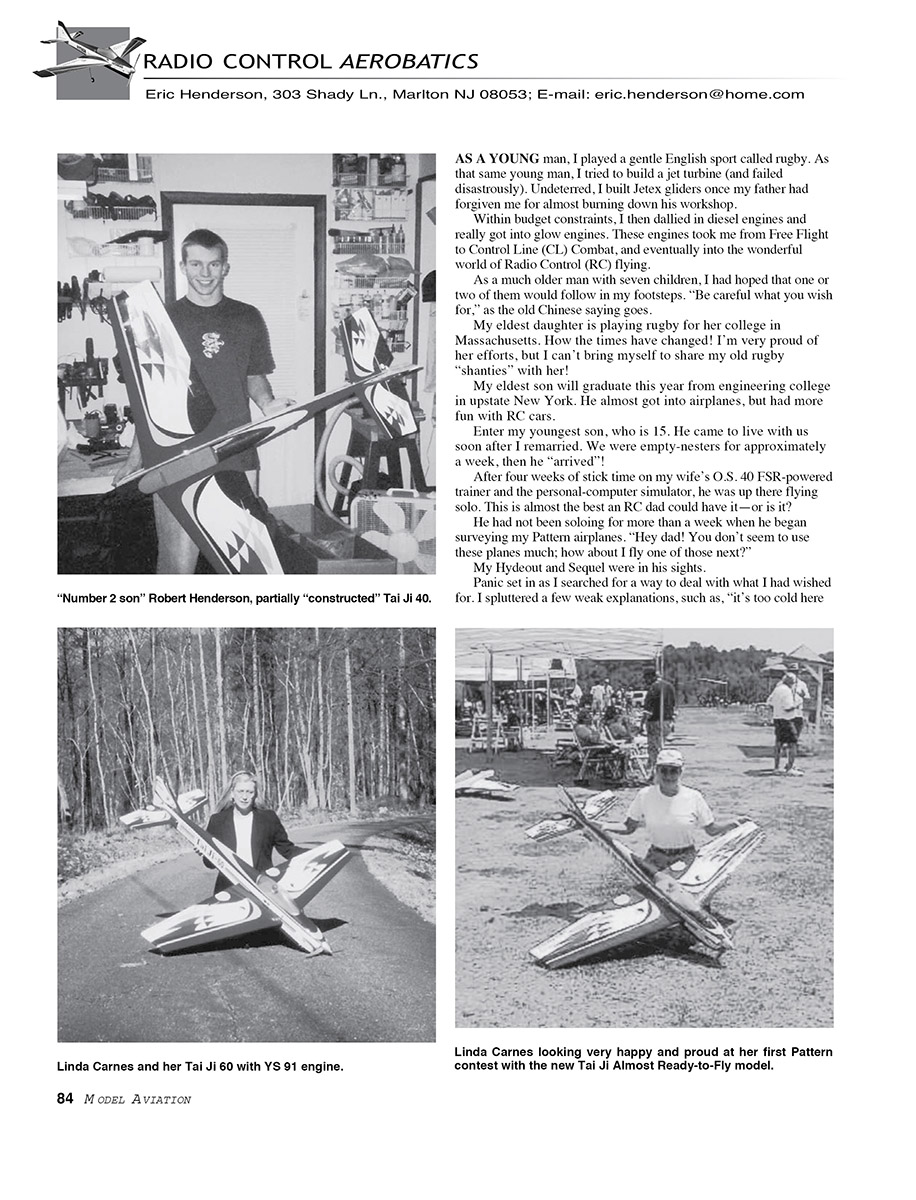
As a direct result of her letters, number-two son is roughly halfway through completing a 40-size Tai Ji. The ARF itself was not too expensive compared to my mainline Precision Aerobatics airplanes. However, after buying a few servos, a receiver, a flight box, etc., I may be invited to the Creek Hobbies' owner's family Christmas dinner!
What caught me by surprise was the time I would have to put into teaching my son all the things I do habitually when I build a model. It is amazing how anal-retentive a person can become when he or she specializes in something. It was extremely hard not to insist on perceived perfection. I caught myself taking over my son's project, and I had to apply the emergency "coach's" brake to let him build it on his own. Even ARFs can attract the attentions of a bona fide Pattern fanatic. Thanks to Linda Carnes, because her successes with the Tai Ji gave me the concept. We opted for the smaller version for my son, because of a spare engine I had (an O.S. .32) and the size of "his" workbench. Now I am in the position to test what has been promoted in this column; it is my turn to take my own medicine. I will keep you informed about how it goes with my "rookie" son.
Hers is not the only way to go, but she does support the approach of getting a good-flying, almost-ready-to-fly airplane that is purpose-designed for Precision Aerobatics.
Cost breakdown (Linda's Tai Ji 60)
Following is a breakdown of the investment Linda has in her Tai Ji 60:
- World Models Tai Ji 60 ARF kit: $400
- Six Futaba 9101 servos: $300
- Futaba eight-channel PCM receiver: $180
- Falcon Hobbies tuned pipe and mount: $200
- Carbon rods, 5/32 piano wire, Great Planes axles, fuel lines, fuel fittings, strapping tape, Sullivan Head Lock, and servo extension leads: $100
- Hayes fuel tank: $4.99
- Tru-Turn 2 3/4-inch spinner: $25
- APC 14 x 10 propeller: $10
- YS 91FZ engine: $270
- Custom graphics for her name and AMA number: $40
Total: $1,525
It's surprisingly comparable to a good sport airplane, engine, radio, etc.
You probably noticed a few items on the list that kits would normally have provided. I noticed an early trend toward wanting to have the "better" accessories and parts—a common trait in Precision Aerobatics pilots.
You could easily fly this airplane on a $200 five-channel radio and knock the investment down to approximately $950. Not that Linda should have gone that way, but you can perform well without all the super goodies.
I would have used a Hayes tank; I am familiar with them, and they hold the five to nine pounds of pressure of a YS fuel system very well.
I would have used the carbon rods and roughly another $100 of ball-race connectors and a carbon-fiber pipe. Purchasing a $50 muffler from AAP would also get you into the air at a respectable noise level.
Modifications and setup tips (from Linda)
Linda sent detailed notes on the changes and setup items she used for best performance and reliability:
- She relocated the fuel tank to one inch behind the center of gravity. A 1,400 mAh battery and receiver are in front of the tank.
- She used green and red cable ties on two of three servo extension leads to ensure correct left/right aileron and gear connections each time she installed the wing. It could be nasty if you retracted the gear and did a slow roll on takeoff.
- She installed two check valves inside the engine cowl to prevent pressure from backfilling the engine at idle—a common problem with inverted-mounted YS 91s.
- Inside the cowling she installed one fuel dot on the vent side and one fueling valve on the fuel side to prevent flooding during fueling.
- She used blue lines for vent and pink for fuel.
- She used a Sullivan Head Lock for a remote glow-driver so she can connect into the side of the airplane and keep her hands clear of danger; she prefers this to cutting a hole in the cowl.
- The throttle linkage is Sullivan cable with 2-56 ends soldered to it and 2-56 ball swivel links—tedious to make but worthwhile for precise idle control on a YS.
- Throttle servo: Futaba 9101.
- She used small pieces of fuel line to make the high-end needle valve resistant to vibration, then drilled out the end of the needle valve and inserted a 2-56 hex-head screw. This allows needle adjustments with a hex wrench so nothing sticks out to cause drag or get bumped.
- The air intake was increased from roughly one square inch to almost three square inches to improve cooling for the YS 91FZ.
- She replaced the original landing gear (too soft) with legs made from piano wire and Great Planes axles.
- She replaced thin wire pushrods with carbon-fiber rods on the ailerons after the originals bent during flight.
Linda informed me that she had sent in her National Society of Radio Controlled Aerobatics (NSRCA) membership application the week before. Articles in the NSRCA's K-Factor publication tend to be much more technical and should help her succeed as a competitive RC Precision Aerobatics pilot.
Linda is a member of the very exclusive 1% club; according to her, only about 1% of the AMA membership is women. Either way, I hope that reporting on her endeavors will encourage more women to give it a try—or at least encourage all the men to sponsor a woman and encourage her to give it a try.
Thanks again to Linda for taking the time and making the effort to let us all know about her and her Tai Ji.
Takeoff
Perhaps this should have been the first maneuver covered, but it seemed more appropriate to put it in later since it is not really an in-flight activity. It is not easy to get perfect, but the rewards of meeting this challenge are visible.
This maneuver has more written about it in the rule book—second only to the landing—than any other. It is scored for precision in AMA Precision Aerobatics classes 401 to 404.
The takeoff is often considered the mark of a Pattern flier—how well he or she can make the airplane execute this maneuver.
Read the AMA Competition Regulations to learn the current rules for all the maneuvers covered in this column. The takeoff has many criteria. If you do not have a manual, contact AMA and ask for a copy. You can also find this information on the AMA Web site: www.modelaircraft.org (select "Competitions/Technical Department," then "Competition Regulations").
The big deal about a precision takeoff is that you control the airplane leaving the ground in the manner you want it to, as opposed to how it wants to. The model will have a "natural" way of wanting to leave terra firma. We want to harness this and make the aircraft perform within a set of measurable parameters.
Precision Aerobatics pilots often draw great approval from the "peanut gallery" when they get an airplane to leave the runway in an exact and smooth manner.
The airplane should be guided from a downwind position parallel to the line of the runway and the pilot. If there is a centerline on the runway, the pilot will follow it.
Many sport pilots gained their wings by standing behind the airplane and "gunning" the throttle. This habit has persisted throughout their flying careers. A precision takeoff is a challenge; not only is the airplane coming toward you, across your center, then away from you, but the wheels are doing their best to grab at each blade of grass. The engine's torque will make most models veer off to the left and will require rudder correction.
The ideal takeoff is a smooth acceleration in a straight line parallel to the flightline. The airplane should leave the ground at roughly stage center and climb out in a shallow, straight line. The wings should be level, and the model should not abruptly point its nose into the air at a steep angle.
Advancing the throttle and accelerating smoothly are actually not the same actions. You may need to apply a great deal of throttle to get the airplane moving, but you should not just slam the stick forward and hang on.
Steering the airplane with the rudder is an art in its own right. The problem for most airplanes/pilots with ground-steering is that the normal in-flight rudder throws are often too great for smooth ground handling. The trick is to use dual rates that considerably reduce the steering effect during takeoff.
Tips:
- Reduce rudder throw by about 50% for takeoff to prevent oversteering.
- Many computer radios allow an auto dual rudder rate linked to throttle: at medium or above throttle, the low rudder rate is turned on. Full rudder throw is then available when throttle is pulled back for maneuvers like stall turns or snaps.
- Another option is to use significant exponential on your rudder so the stick is "soft" near center; this makes rudder less sensitive during takeoff but fully available when needed. Exponential also reduces the chance of forgetting you were on low rates during a maneuver.
To add more pressure when you try a competition takeoff, you have to announce to the world that you intend to attempt it with something such as, "Takeoff beginning now." Then perform it with everyone watching and finally announce, "Takeoff complete!" Not announcing can cost you two points out of 10.
Please take time to try doing this maneuver right. Get that "friend" to evaluate your takeoffs. It is so hard to see how you are doing because of the relativity of the ground and how it rushes by. Now that you know what you are trying to achieve, you will soon get a sense of success. Before long, you will be the one "they" watch!
"Takeoff complete."
P.S.
Please don't forget to sponsor your US team. It will take off for Ireland in 2001. The US is the defending world FAI Aerobatics team champion. Your donations will help us do well again.
Transcribed from original scans by AI. Minor OCR errors may remain.

