
RADIO CONTROL AEROBATICS
Rick Allison 15618 NE 56th Way, Redmond WA 98052
The proliferation of adjustments
The pursuit of aerobatic perfection (in model scale, at least) is filled with adjustments.
The earliest radio control adjustments (aside from the radio innards, which required more-or-less constant adjustment just to work) were borrowed from Free Flight and Control Line. These were items like simple shims and bendable trim tabs, but things didn't stay that simple for long.
Early on, the list of adjustable items rapidly encompassed everything in the spectrum of control: cable ends, control horns, clevises, and ball-links. Thankfully, radios became much less adjustable (as reliability increased dramatically) for a time, but then sprouted various tweakable electronic bells and tunable whistles in profusion. This process continues to the present day, where each new computerized joy-box introduced boasts at least one more adjustable doodad than its predecessor.
Long before the advent of computer radios, we had adjustable hardware for nearly every possible use—even wheel brakes, inflight mixture controls, and adjustable-pitch props. Most of these items are museum pieces today, but devices for providing ground-adjustable wing and horizontal stabilizer incidence are still widely used, because they are still widely useful. After all, it may be hard to build a model that is perfectly straight, but it is relatively easy to build one that is adjustable.
Computer radios ripped the lid right off of Pandora's toybox. The average seven-channel (and up) airplane radio is now supplied with a user's manual that weighs nearly as much as the transmitter. It seems that everything but the model's paint job is now adjustable, mixable, or both. At different times, most of us have found this to be both a blessing and a curse—because, after all, anything adjustable contains at least the potential to be adjusted improperly.
Because of this profusion of tweakability, having a game plan is a necessity. Going about things in a logical order is the only defense a modeler has against the confusion lurking at every turn, beep, or switch. I covered some of this ground in a recent column (February 1997), which looked at control system setup and basic trimming procedures with computer radios.
However, I neglected to cover the oldest, most primary of the setup modalities available to us as RC pilots, and one that is so poorly understood that it is often simply ignored. These adjustments are mechanical/physical in nature rather than mechanical/electronic. They are the items that comprise our basic "manual user interface" and they determine how and where the fingers meet the radio at the very start of the flight command input process.
The manual interface: stick length and stick tension
The adjustable stick length and stick tension features of the transmitter are the true starting point in transmitter setup. How they are adjusted will directly affect almost everything you do "downstream" of that point in terms of control rates, control throws, exponential, and other similar functions that depend on the degree of stick movement.
If you are a "thumb" flier, all you need do to prove this is to take a model you know well and lengthen the transmitter sticks by as little as 1/16 inch between flights. Most people who try this feel as if the control throws have suddenly been cut in half.
Those who use the thumb-and-forefinger "pinch" technique can get the same effect by intentionally grasping the stick slightly higher on the barrel.
Both types of pilots will have no difficulty feeling even a small alteration in stick tension.
There are few adjustments on the average transmitter that can provide a more altered control "feel" than these two for the percentage of adjustment dialed in, and yet far less "tuning" time is spent here than anywhere else in the control loop. Some modelers never touch the factory stick-length adjustments and many, if not most, never experiment with the adjustable stick-tension feature.
This isn't much of a surprise, because while every manufacturer's radio manual spends a few short paragraphs at least explaining the "how" of these adjustments, the "why" is generally ignored. If a reason for utilizing these features is given at all, it will usually be stated in terms of "personalizing" the radio to suit your flying "style." This is correct, but is also about as ambiguous and nonspecific as it is possible to be.
The real reason for these adjustments is that human hands and muscles are not created equally, but come in an amazing array of sizes, sensitivities, and strengths. These varying personal components are in turn connected to individual human nervous systems, all of which are unique. One size cannot possibly fit all, or even most, so "personalizing" is the correct word. However, the personalizing should be done to size the stick to your hand and the tension to your unique strength and sensitivity—not to fit any specific flying style.
How to set stick length
Just how tall the stick should be is a matter nearly as private as toothbrush and underarm deodorant preferences, but some general guidelines can be offered:
- For "thumb" pilots: The stick should be tall enough so that the ball of the thumb rests easily on the crown of the stick with little flex of the first joint. It should be short enough so that full deflection to the inward side of the gimbal can be comfortably accomplished without straining or lifting the anchor point of the hand on the transmitter. These two heights set the range; in the small space between them, a little experimenting should enable you to find the most comfortable height for your hand size.
- For "pinch" pilots: Stick height is not nearly as important, since the stick barrel can be grasped at nearly the same relative height on almost any transmitter. However, that grasp point should be low enough to accomplish full deflection without lifting the anchor point.
Stick tension
Stick tension is a much more difficult matter. On the plus side, strong stick-spring tension offers a very positive and easily felt "center," which is very important in RC aerobatics. Remember, all aerobatic maneuvers are made up of (and joined by) straight-line segments, where the controls are neutralized. We are always departing from and returning to the center stick position during the course of a flight, so it is very helpful for you to be able to identify it.
Nervous pilots (a very large category on contest day) often find that a boost in stick tension cuts down on those inadvertent control inputs caused by the "shakes."
The other side of the coin is that too strong a stick can make the numerous small corrections (that most of us need during the average maneuver) very difficult to finesse. A pilot with sticks that are too tight on center can easily set up an overcontrol loop and wind up behind the pilot-induced oscillatory eight-ball.
To round out the list of complications, the effective stick length (measured to the top of the stick for thumb pilots, and to the grasp point for pinch pilots) interacts with stick tension. Longer sticks need more spring tension to produce the same qualitative "feel" as a shorter stick with only moderate tension.
Available muscle power plays a role as well. As a general rule, thumb pilots are using the smaller muscles of the hand to produce the control input, while pinch pilots are using the muscles of the forearm and the wrist—a much more powerful group. Factor in obvious differences in physique, sex and lifestyle (carpenters and bodybuilders vs. accountants and wimpy model airplane writers, say), and the picture is more-or-less complete.
Interaction and setup procedure
One general rule is that stick height should be set first, and then stick tension adjusted to correspond. The key parameter should always be comfort, but what seems comfortable on the ground may not prove comfortable in flight. Tweak-and-try is the only method that really works, so be prepared to spend a little time getting things just right.
Once you have a length and tension that works for your hands, set (or reset) the radio functions to give the rates and exponential settings you find best for your class maneuver schedule. If you have lengthened your sticks, you may well find you have to increase your rates, turn down the expo, or both. The opposite adjustment may be necessary if you have shortened the sticks. Increasing or decreasing stick tension can have a similar but more-subtle effect.
Don't do all of this right before a contest; major fiddling is always done best in the off-season. I favor the "spring training" approach (I would also favor a month or two in Arizona or Florida each spring...).
Some of you will have noticed by now that I make no case for either the thumb or pinch control method, although both methods have their merits. The important thing is to set up your sticks and tension so they are comfortable and let you fly accurately.
I will say that some sort of transmitter support is a good idea, be it a tray or a simple neck strap. Muscles that are making fine movements for control shouldn't have to simultaneously grasp and support the weight of the transmitter.
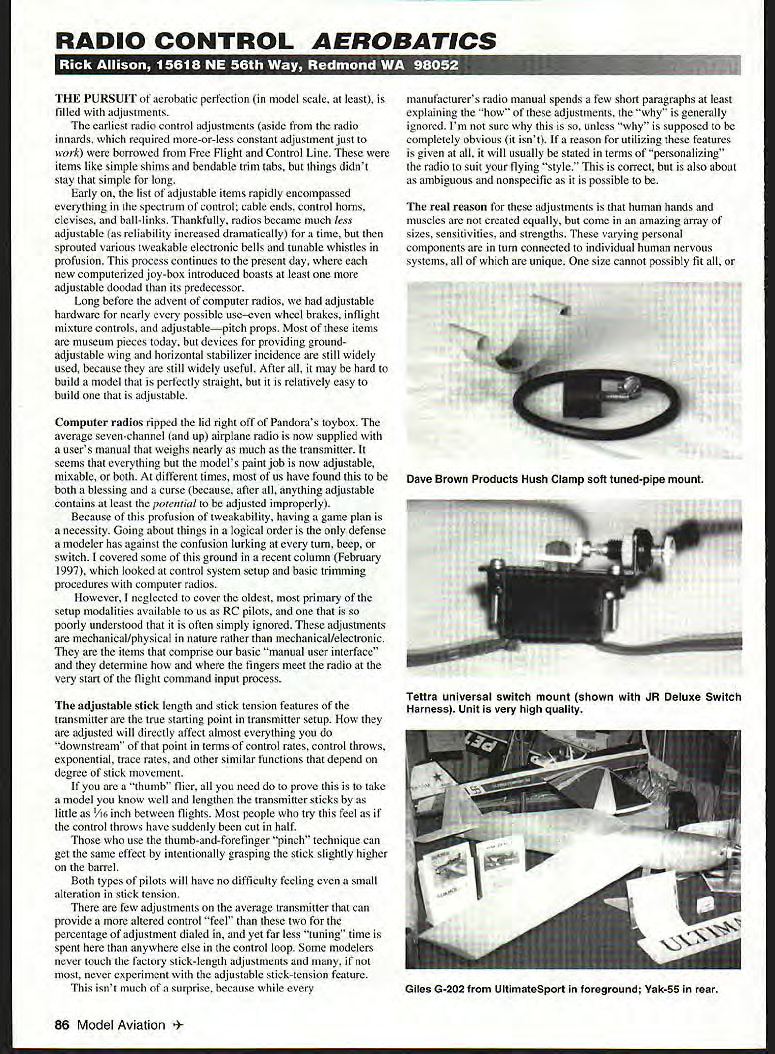
New products
- Dave Brown Products: A reissue of the old Performance Products tuned-pipe mount in an improved version. The plastic mount is now made of a high-temperature material and is supplied with a neoprene O-ring and a rubber isolator. The mount and O-ring survived an hour in an oven at 400°F with no ill effects. The mount is supplied in .40- and .60-sized versions; the .40 size is about right for most four-stroke pipes. I would still apply a thin coat of high-temp RTV before use. Price: $8.95 at most hobby shops.
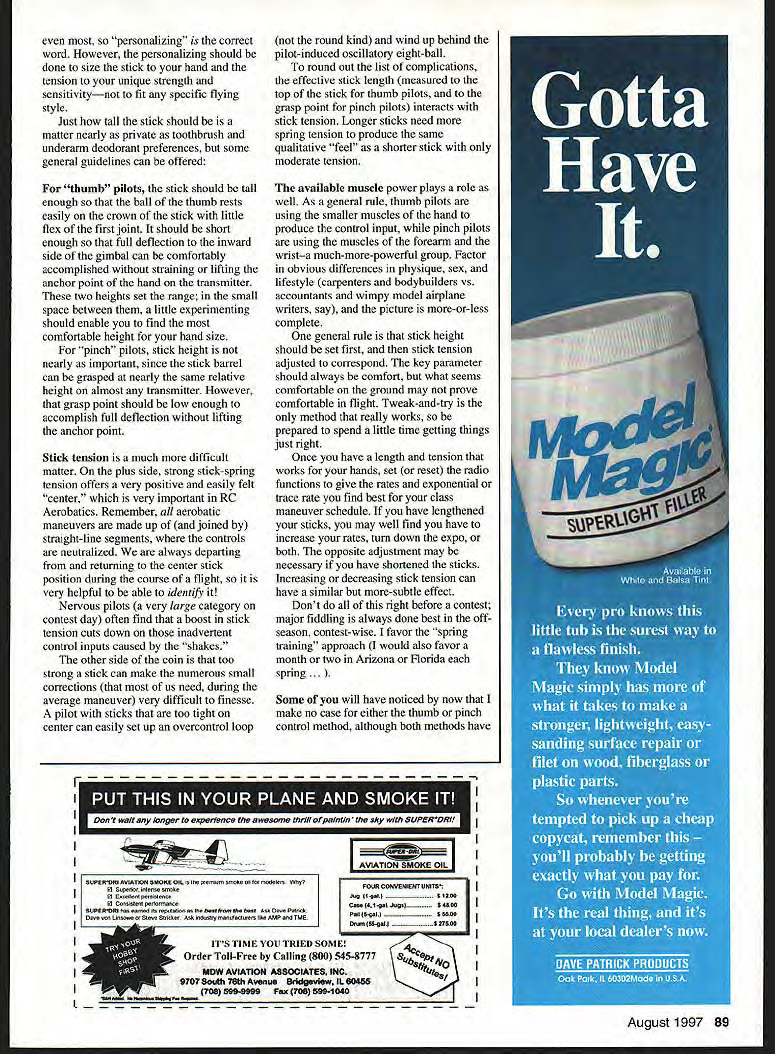
- Tettra Products: A universal switch mount, a very high-quality piece of equipment. Price: $6.95; available from dealers stocking Tettra hardware.
Both switch and pipe mount were supplied by Central Hobbies of Billings, Montana. Toll-free order number: (800) 723-5937.
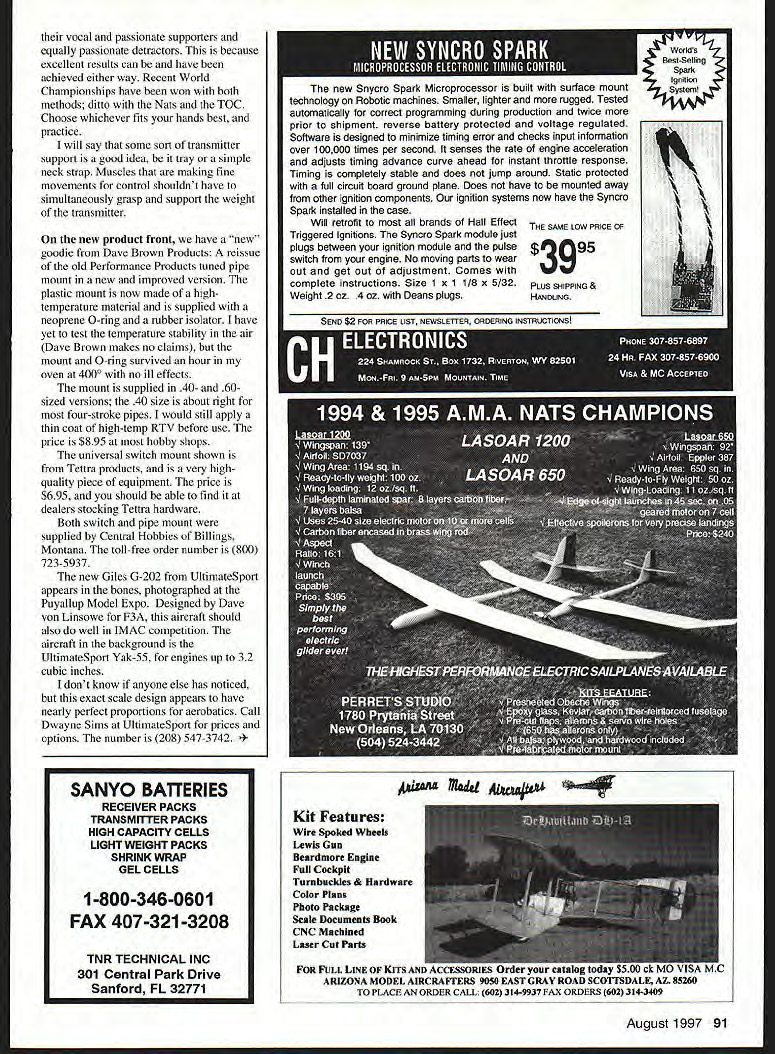
The new Giles G-202 from UltimateSport appeared in the boxes photographed at the Puyallup Model Expo. Designed by Dave von Linsowe for F3A, this aircraft should also do well in IMAC competition. The aircraft in the background is the UltimateSport Yak-55, for engines up to 3.2 cubic inches. This exact scale design appears to have nearly perfect proportions for aerobatics. Call Dwayne Sims at UltimateSport for prices and options: (208) 547-3742.
Transcribed from original scans by AI. Minor OCR errors may remain.

