
RADIO CONTROL AEROBATICS
Rick Allison 15618 NE 56th Way, Redmond WA 98052
Introduction
When I first became involved in Pattern, "How to trim a Pattern model" was the favorite topic of the Aerobatics columnists. Computerized radio mixing had yet to arrive, and the complicated, convoluted prescriptions confidently offered involved a lot of shimming, bonding, cutting, twisting, heating, epoxying, glassing, re-epoxying, reglassing, and so on.
Trimming cookbooks and charts filled with data about what and how much to do to what component were produced and reverently handed around like ancient scrolls. Some of these charts are still in use today and occasionally useful. The cut-and-try labor involved was monumental and time-consuming, and the worst part was that the process was presented as essentially circular—without discernible end.
Thankfully, most of this sticky, messy legacy has passed into Pattern history. We no longer routinely saw wings in half, cut stabs out of completed models to reposition them, or bend wing tubes over the bumper to adjust dihedral. Thrustlines still get shimmed and battery packs are still moved fore and aft for balance, but the razor-saw-and-epoxy trimming approach has largely been replaced by the index-finger-and-touchscreen method.
Unfortunately, the cornerstone of the old method still stands like a mossy ruin: the idea that trimming is something you do and keep doing forever because it's never quite done. That notion is still being handed down like an heirloom watch that no longer keeps time. Constant trimming uses up scarce practice time and occupies brain cells that could be better employed figuring out really complicated stuff—like how to center maneuvers. Far too often, trimming is used as a substitute for practice, and a convenient excuse for poor performance.
I don't mean you should never trim or never check trim. I mean the constant tinker-tinker approach is counterproductive. I've seen people actually change trim settings between rounds at contests—even at the Nats! Trimming shouldn't be a long, involved, mysterious, and complicated ordeal. If it is, something is very wrong with your method, your model, or both.
Benchwork and setup
Good trimming starts on the bench during the building process. Straight, well-built airplanes are easier to trim.
Setup is a major part of trimming. Geometrically proper control hook-ups and properly aligned, sealed control surfaces will wipe out most potential trim problems before they occur.
Balancing is a major part of trimming. The most important trim adjustment is center of gravity (more accurately, balance point) location. For most modern Pattern designs and airfoils, 33–35% of the MAC (Mean Aerodynamic Chord) is about right. Any decent basic text on aerodynamics can show you how to figure this point; I highly recommend Model Aircraft Aerodynamics by Martin Simons. If the designer has expressed a preference on the plans, put the BP there. In any case, figure the point, set the point, and leave it alone. Make it the first thing you set, and change it only if nothing else works and you are totally convinced it is the root of the problem. If you do change it, prepare to start all over again.
Lateral balancing is also important. Static lateral balance (left side vs. right side) should be checked during construction. A few grams won't make much difference, but significant weight differences between wing panels will cause problems later.
Rigging is another major part of trimming. Before you even fly, check that wing and tailplane incidence angles match the plans, and that engine thrust angles are as called for. Most designs call for the wing to be set slightly positive to the stabilizer—about 1/2° to 1° is usual. There will usually be some right thrust—up to three degrees or more in some designs—and perhaps a little downthrust as well. If the designer called for it, install it. He likely knows more about the model than you do.
Flight testing checklist
On a calm day, with a well-broken-in and well-adjusted engine and the prop you plan to compete with, perform these tests. Set the rudder dead amidships on the ground and leave it there.
- Trim for level flight at full power and land. Check control-surface positions. If they don't trail exactly level and you have adjustable wings and stab, adjust in the direction indicated by the surface deflection, and fly again. Repeat until the surfaces trail exactly. (Note: "up" elevator means add positive incidence to the wing or negative to the stab; I find it better to add/subtract wing incidence.)
- Fly upright and inverted, power on and power off. It should take just a bit of down elevator to hold inverted power on, and slightly more as power comes off. If it takes more than you think it should, land and make a note.
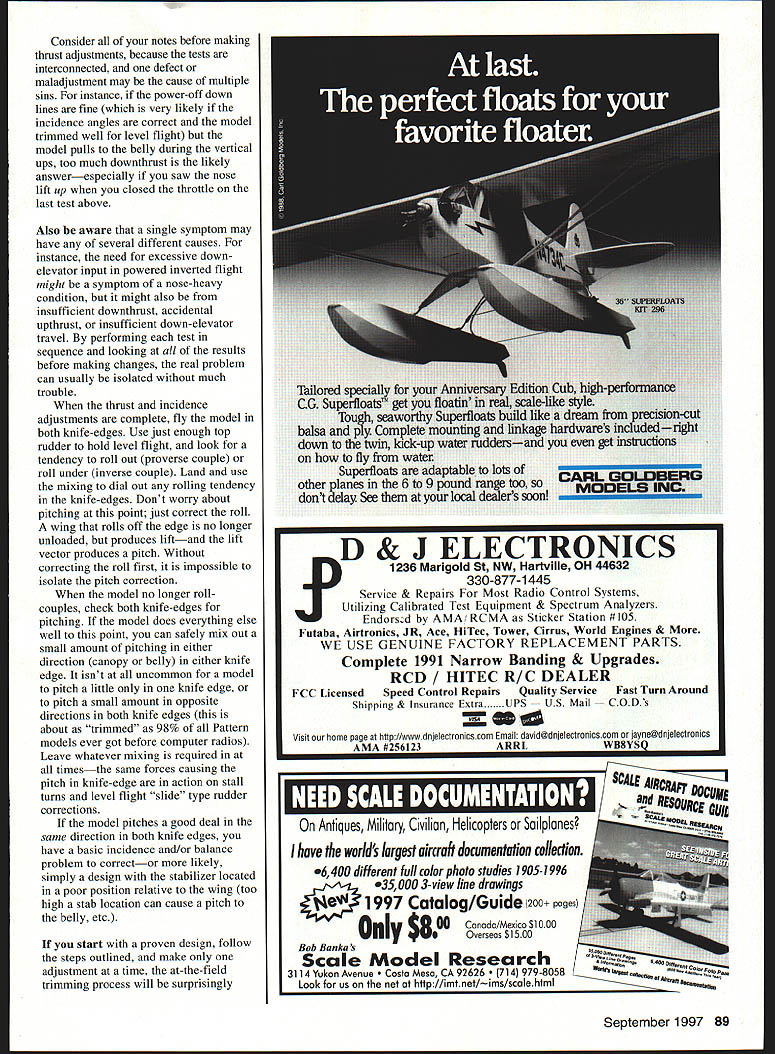
- Fly level at full power and smoothly pull to a vertical up line without correcting. Do this several times, preferably directly away from yourself so the wings are level. If the model drifts left or right consistently, land and note it.
- Fly vertical down lines with power off. The model should drop straight for at least 100 meters. If it pulls to the canopy or tucks to the belly, make a note.
- Fly vertical up lines at the center; if the model pulls consistently to canopy or belly, make a note.
- Fly level and cut power suddenly. Watch for significant pitch up or down (a slight decay after a few meters is normal). Repeat at a 45° up line and in a 45° bank. Make a note.
Consider all notes before making thrust or incidence adjustments, because the tests are interconnected and one defect may cause multiple symptoms.
Diagnosing symptoms and adjusting thrust/incidence
A single symptom can have several causes. For example, excessive down-elevator input required in powered inverted flight might indicate a nose-heavy condition, insufficient downthrust, accidental upthrust, or insufficient down-elevator travel. By performing each test in sequence and looking at all results before making changes, you can usually isolate the real problem.
If power-off down lines are fine but the model pulls to the belly during vertical ups, too much downthrust is a likely cause—especially if you saw the nose lift when you closed the throttle in the sudden-power-cut test.
When thrust and incidence adjustments are complete, proceed to knife-edge work.
Knife-edge trimming and mixing
Fly the model in both knife-edges using just enough top rudder to hold level flight. Look for a tendency to roll out (proverse couple) or roll under (inverse couple). Land and use radio mixing to dial out any rolling tendency in the knife-edges. Don't worry about pitching at this point; correct the roll first. A wing that rolls off the edge produces lift, and that lift vector produces a pitch. Without correcting the roll, you cannot isolate the pitch correction.
When the model no longer roll-couples, check both knife-edges for pitching. If the model has been through the previous steps, you can safely mix out a small amount of pitching in either direction (canopy or belly) in either knife edge. It's not uncommon for a model to pitch a little in only one knife edge, or to pitch small amounts in opposite directions in the two knife-edges. Leave whatever mixing is required in at all times—the same forces causing the pitch in knife-edge are in action on stall turns and level-flight rudder corrections.
If the model pitches significantly in the same direction in both knife-edges, you have a basic incidence and/or balance problem to correct—or the stabilizer may be poorly positioned relative to the wing (too high a stab location can cause a pitch to the belly, etc.).
Final trimming advice
If you start with a proven design, follow the steps outlined, and make only one adjustment at a time, the at-the-field trimming process will be surprisingly short, painless, and uncomplicated. You may have to shim the thrustline slightly. Most modern designs will take a few peeps and tweaks of knife-edge mixing, and you may have to dial out a small amount of inverse or proverse roll couple. The rest will be setting up rates, exponential, snap rolls, and the like. A single afternoon session should be all you need, followed by occasional rechecks on calm days to make sure adjustments are holding.
The best trimming advice I ever got was: know when to quit. There are airplanes so crooked that Orville and Wilbur couldn't straighten them out. Sell them, or if you can afford it, burn them. They are not worth your mental health. On others, settle for the best compromise you can achieve with a reasonable expenditure of time and energy. Make your trimming common-sense, methodical, and quick — and then stop. If you want to tinker, buy a jalopy.
NEW PRODUCTS
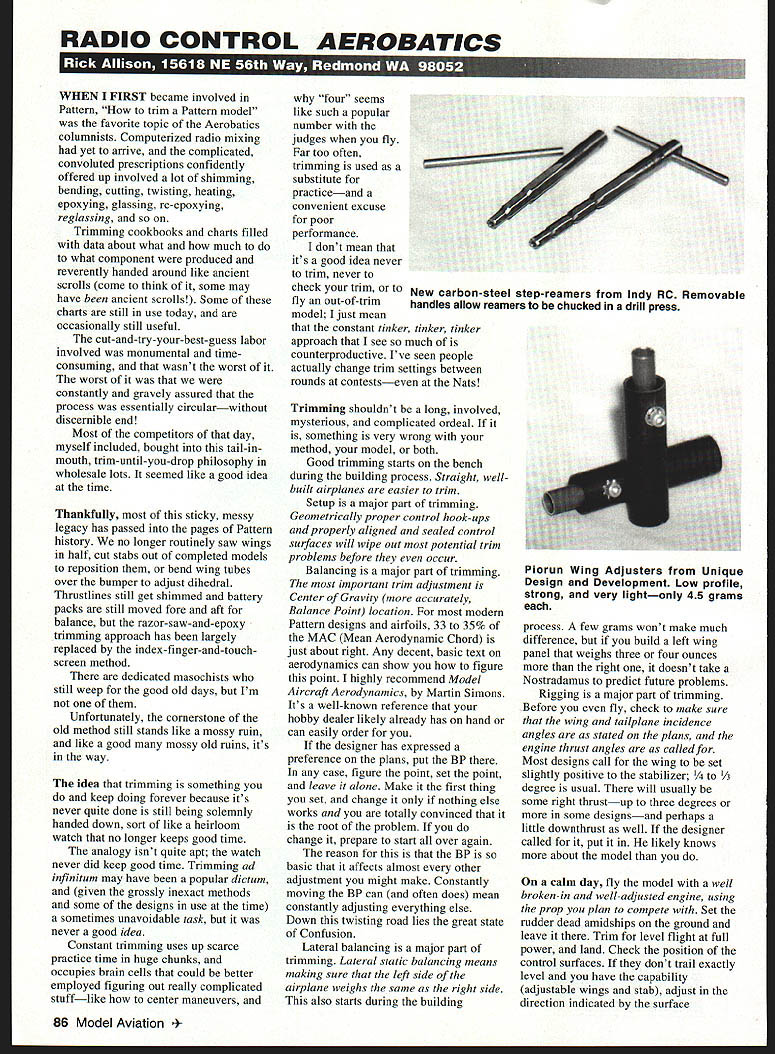
- Indy RC Sales prop reamers: A pair of step-reamers. The metric version graduates from 10 mm and the standard steps from 1/4" to 5/16" and 3/8" (one unit also lists steps from 1/4" to 7/8"). The tools are high-quality carbon steel with removable handles for drill-press use. Prices are in the $20 range. Available from hobby dealers or direct from Indy RC Sales at (800) 846-INDY.
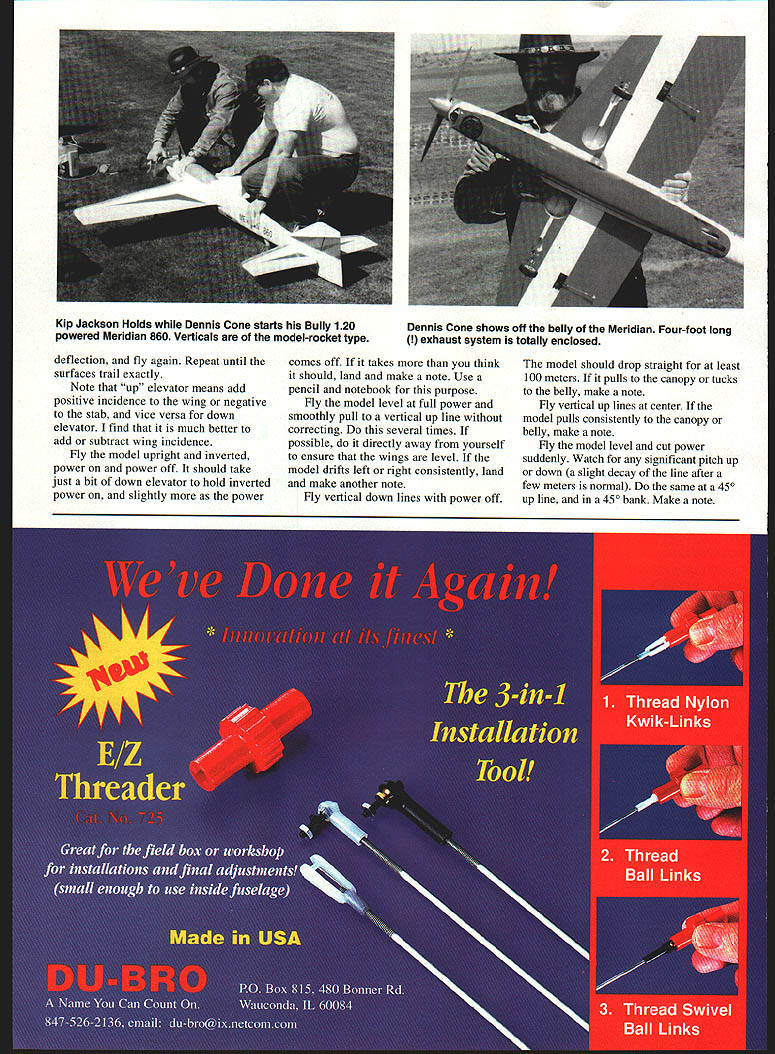
- Unique Design and Development Co. low-profile wing/stab adjusters: Production versions of Henry Piorun's rugged hand-made adjusters. Weight is 4.5 grams each and they mount on the root rib. Price is $15 a pair or $25 for four. Available direct from Unique Design and Development Co. at (888) 740-7737.
Transcribed from original scans by AI. Minor OCR errors may remain.

