

RADIO CONTROL AEROBATICS
Rick Allison, 15618 NE 56th Way, Redmond WA 98052
Last column, I promised to offer a few real-world practice techniques for learning to see and fly level, and also to talk a little about cause-and-effect in relation to the most-common piloting errors.
Learning to fly straight-and-level may sound like a task for "trainer night" at the field, but it's no joke if you truly want to see those low scores go away. It is really very simple: a straight house is built on a square foundation.
The flip side of that ancient cliché is even more true. A crooked foundation means that the house doesn't really have a chance from the start, even with a master carpenter (or coach) placing shim after shim as the structure goes up. By the time the second story (Advanced class, say) is reached, the whole mess is so out of plumb that drastic measures are needed just to keep the shack from falling down.
If this were truly a house, the first order of business (after suing the original contractor, of course!) would be to jack the mess up and square off the crooked foundation. However, this isn't a house. It's your RC aerobatic flying skills and career, and suing yourself for having crooked eyeballs and a lack of perspective would be counterproductive. Nonetheless, the idea holds. The foundation of aerobatic flight is the straight-and-level pass, and that's what needs repair before anything else can improve.
One other idea is important before you jump in: pick a time to work on fundamentals such as this when you won't feel pressured to prepare right away for a contest. For many years I've used a "spring training" concept to get ready for each season, and just like the major league baseball players, I start by reviewing the basics. This is the time when you work on your game, and do the things there just aren't time to do during the season—change your flying style, learn a new schedule—or jack up the house and rebuild a crooked foundation.
The following exercise sounds boring, and looks boring while you do it. You may even find it boring to do. Do it anyway. After a while, it will become a Zen-like experience, and you can meditate on all the 10s the season will bring. Or you can meditate on all the 4s and 5s you won't be seeing on your score sheet. I prefer the positive approach.
Practice setup and procedure
Be sure to use a model that you or someone you really trust has trimmed very well, and pick a reasonably calm day when wind is not a factor.
- Fly a parallel heading to the zero line at 150 meters. If you don't practice with a box layout on your field, you should. If that isn't possible, pick out some approximate landmarks for the box.
- Fly repeated passes at box-floor height, doing simple, full-box-height stall turns at each end. Except for the pivot stall turn, make every effort to leave the rudder alone during the flight.
- Position the model as parallel and wings-level as you can at the entry of each pass, and then consciously try to make no further correction to the flight path. Observe the track.
- Pull to vertical at the end of the box using only the elevator, and observe the vertical track.
All of this sounds very much like trimming procedure; however, instead of trimming the model, you are trimming your thumbs, brain, and eyeballs—which is why it is important to use a well-trimmed model, and also to pick a calm day.
The idea is to deduce the mistakes you are prone to and all the bad habits you own by observing uncorrected cause and effect.
Cause-and-effect corrections
- If the model tracks across on a rising line and the pass ends up with altitude clearly gained:
- Cause: You are "seeing" too much of the model bottom when setting up the fuselage attitude for the pass (you've pointed the model up).
- Correction: On subsequent passes, gradually lower the nose position on initial setup until the pass tracks across without gaining altitude. Once that position is reached, memorize the sight picture. Use the outline of the model as the primary guide and practice until it becomes second nature.
- If the model tracks a descending line and is losing altitude:
- Cause: You are seeing too much of the model top at setup; the nose is pointed down.
- Correction: Gradually raise the nose position on initial setup until the pass tracks level. Memorize the sight picture.
- If the model tracks across in level flight but the vertical pulls lean inward consistently:
- Cause: You are flying with the inboard wing low (not seeing enough inboard wing at setup).
- Correction: Raise the inboard wing (adjust your sight picture by showing more inboard wing) gradually until uncorrected vertical pulls square up. Repeat until stall-turn return tracks parallel the entry track. Memorize the correct initial setup sight picture.
- If the vertical pulls lean outward rather than inward:
- Cause: You are flying with the outboard wing low.
- Correction: Adjust the sight picture to show more outboard wing as needed so vertical pulls are square.
- If the model tracks outside-in (inbound) during the pass:
- Cause: You have pointed the nose inbound. Often the root cause is seeing too much of the top or full planform of the model on the down line (the quarter-loop pullout preceding the entry was not squared).
- Correction: "Close" the top view (bank away from yourself) on the down line until the pullout (using only elevator) is square to the line of flight and the subsequent pass is parallel.
- If the model tracks inside-out (outbound) during the pass:
- Cause: You are pointing the nose outbound or not showing enough top.
- Correction: "Open" the planform view (bank toward yourself) on the down line to see a little more top. This should square the pullout and make the outbound track parallel.
- If the model does not pivot smoothly but "hangs up" at the top of the vertical:
- Cause: You have under- or over-pulled the vertical line. Over- and under-pulls cause far more flopped stall turns than mistimed rudder applications.
- Correction: The most common error is an over-pull, with the model slightly "on its back" at the pivot. A correct vertical at the end of the box will probably look two to three degrees short of vertical (leaning away) to you. Watch the behavior on the down line: over-pulled verticals will drop inside (closer to you), under-pulls will drop outside. Correct accordingly and memorize the picture.
Varying the exercise and mental approach
Once you can keep the model consistently on a level, parallel line with straight, vertical turnarounds without using the rudder or ailerons, vary the height of the passes and use different turnarounds. For example:
- Use a half- or full-height Immelmann at one pass and a Split-S at the other.
- Use a half-Reverse Cuban 8 on one end and a half-Cuban 8 on the other.
- Or pick turnarounds from the class you currently fly.
You will find that the sight picture for straight and level varies considerably with the model, the altitude of the pass, and the distance out from the flightline. For example, at the top of the box on the 150-meter line, the correct view for a certain model may be almost fully "open" planform, while the same model may show almost no wing on a low-level pass.
"Relaxed concentration" is about as close as I can come to describing the mental state you should strive for during these exercises. Concentrate on keeping the aircraft parallel and at the proper distance (especially at setup), but relax enough to let the model do most of the flying while you observe the results of your own corrections and experiments, much as a judge would.
You will be learning to see the model in a new way and forming new mental pictures. If the wings appear just so on a down line at the edge of the box, then the airplane will be parallel to the flightline on the pullout, and so on.
An athlete in any physical sport creates "muscle memory" in precisely this way. Correct repetitions are practiced until the proper action or response is drilled in, and the shot, swing, or delivery is "grooved" or encoded on an autonomic level far below the conscious surface of the mind. The memory you are creating may be more mental than physical, but you are still marrying a correct physical action to a mental picture, and the process is identical.
Don't be lazy at the end of the box—ever. Study the maneuver descriptions of the turnarounds you are including in the exercise, and fly them to the same standard as you would in a judged competition. What you are after is finding and memorizing the correct, repeatable, square setup entry position for each pass—and the correct, repeatable, square entry to each turnaround at the end of that pass. By extension, this means flying the turnaround maneuver properly every time.
Resist the temptation to sneak in a center maneuver every so often. By doing so, you defeat the primary purpose of the exercise, which is to remove the pressure of the center maneuver on each pass and allow you to directly correct cause and effect at the far ends of the box.
Especially resist the temptation to use the rudder to correct your errors. Using the rudder this early in the process muddies the very relationship between sight picture at setup and final result that you are trying to observe. The rudder is a very important flight control, and there will be time when you will need to master it—but not yet.
Regardless of the position in the box, the techniques outlined above for achieving, memorizing, and locking in "squareness" are essentially the same. The repetition may seem practically endless at first, but it will build the little "tells" or "reads" into your mental control loop that you need to recognize and instantly correct setup errors on an autonomic level.
When you can finally feel that happening, you will have learned the correct sight picture for squareness. Your foundation will be solid, and you will be ready to finish building your aerobatic house.
Learning the correct mental pictures for center maneuvers is the next challenge, and we will take up that gauntlet next month.
Equipment note
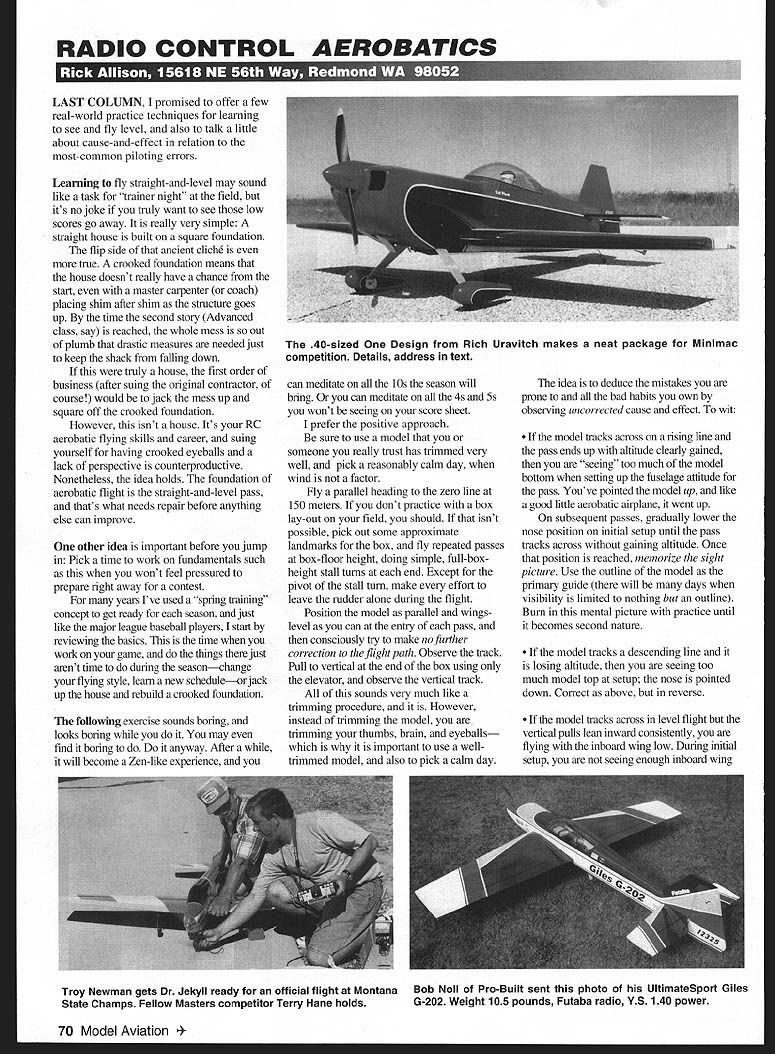
The .40-sized One Design shown is new from designer Rich Uravitch and is intended for Minimac IMAC competition. It is marketed as a "Plans and Plastic" package, including plans, instructions, template sheet, and plastic cowl, pans, and canopy for $39.95. A fiberglass cowl and formed aluminum gear are extra-cost options. Available direct from the designer at:
1094 Glendale Ave. NW, Palm Bay FL 32907 Tel/fax: (407) 728-0486 E-mail: aeroscale@aol.com
Transcribed from original scans by AI. Minor OCR errors may remain.

