
RADIO CONTROL GIANTS
Sal Calvagna 1335 Broadway Ave., Holbrook NY 11741 E-mail: ncalvagn@suffolk.lib.ny.us
As 2003 comes to an end, I wish you and your family a safe, happy, and healthy holiday season and the very best that the new year has to offer.
The Balsa USA 1/4-scale S.E.5a project is in the covering and painting stage. If all goes well, it should be ready in time for the next Radio Control (RC) Giants column.
Most of the RC Giants that I see at flying events and those that are submitted by AMA members are overwhelmingly scale models. They are usually sport- or standoff-scale representations of full-scale aircraft. While modelers pride themselves on reproducing accurate miniatures, some stop short of taking the extra step to improve the appearance of what resides north of the engine — the propeller.
This sequence of photos and steps will guide you through the process of giving your stock wood propeller a more authentic appearance.
Propeller refinishing (Photo sequence)
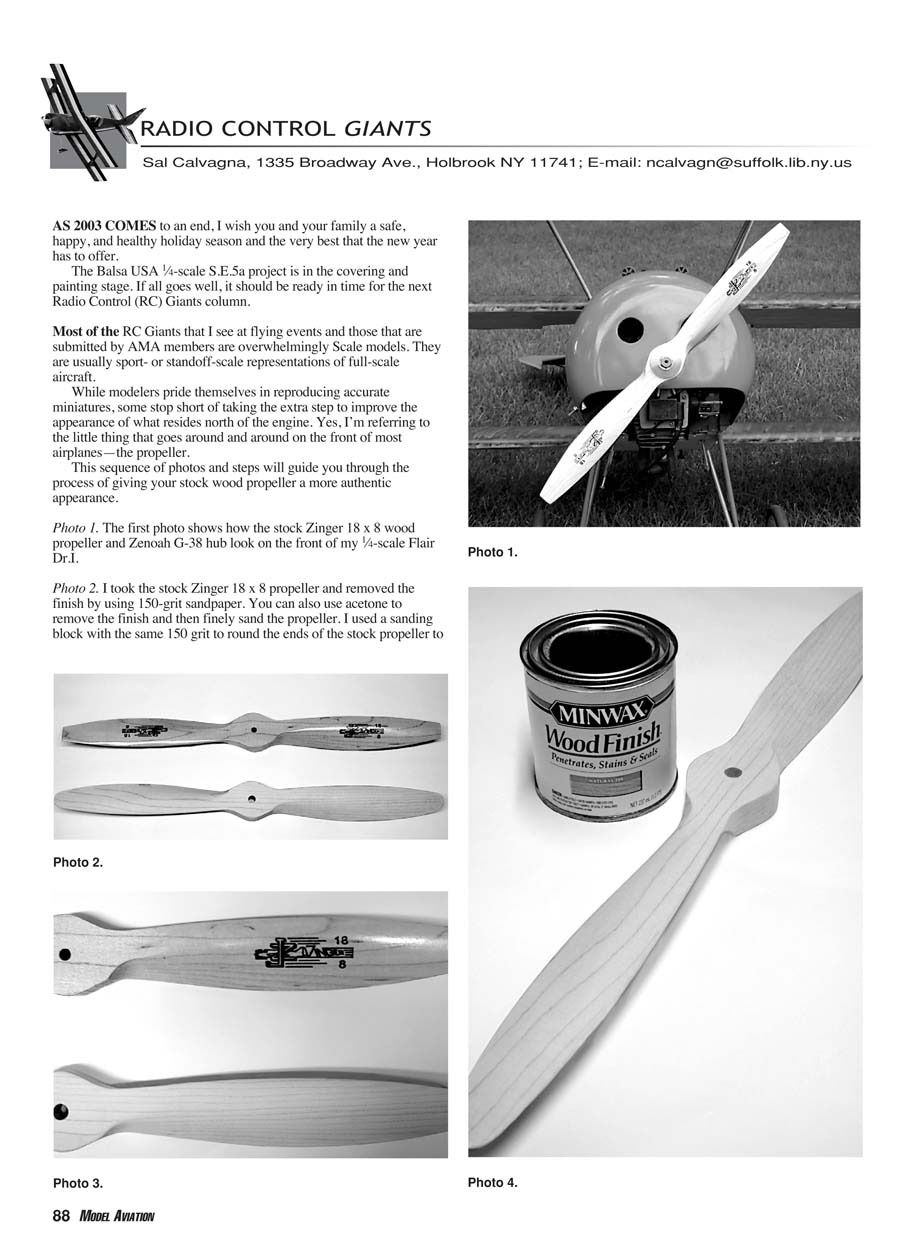
- Photo 1: The first photo shows how the stock Zinger 18 x 8 wood propeller and Zenoah G-38 hub look on the front of my 1/4-scale Flair Dr.I.
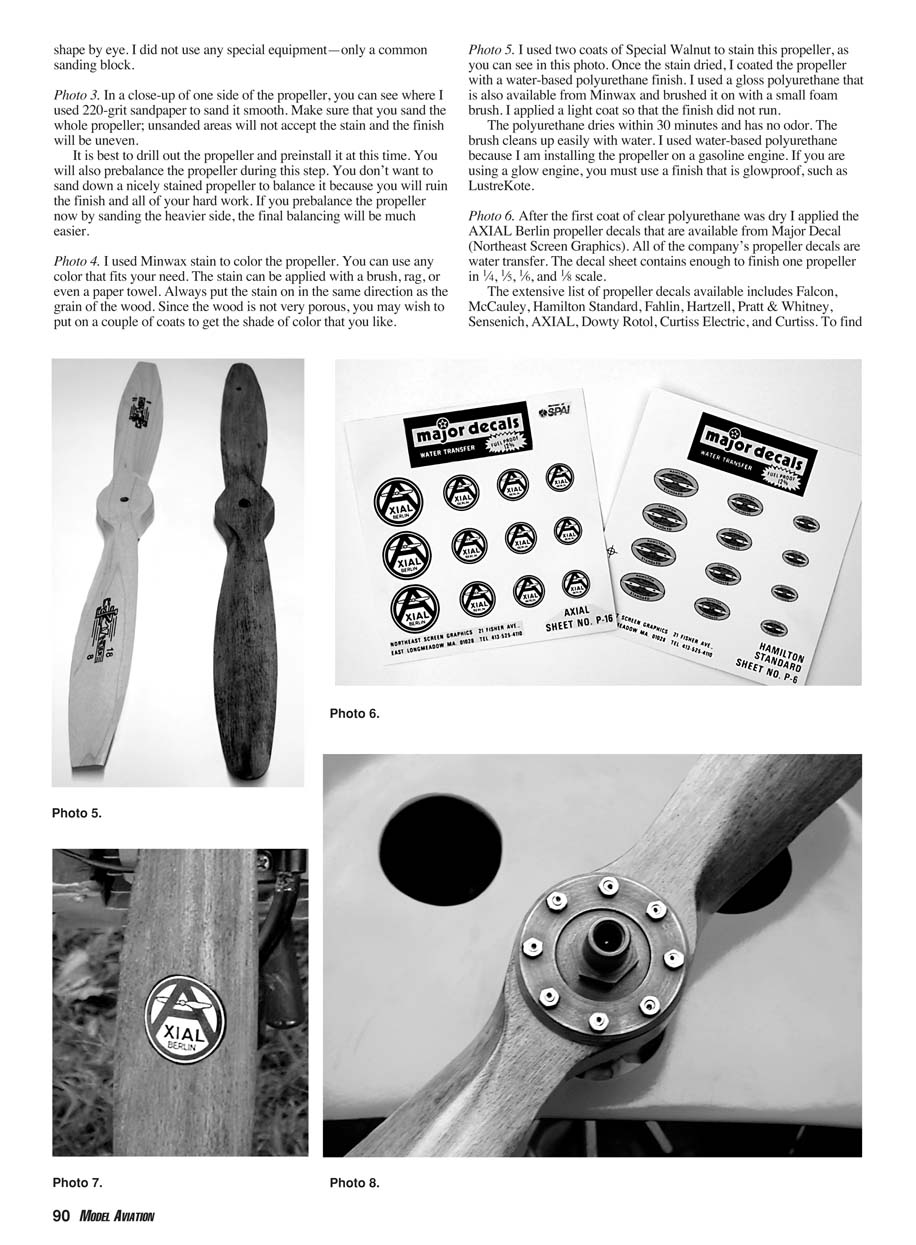
- Photo 2: I took the stock Zinger 18 x 8 propeller and removed the finish using 150-grit sandpaper. You can also use acetone to remove the finish and then finely sand the propeller. I used a sanding block with the same 150 grit to round the ends of the stock propeller to shape by eye. I did not use any special equipment — only a common sanding block.
- Photo 3: In a close-up of one side of the propeller, you can see where I used 220-grit sandpaper to sand it smooth. Make sure that you sand the whole propeller; unsanded areas will not accept the stain and the finish will be uneven. It is best to drill out the propeller and preinstall it at this time. You will also prebalance the propeller during this step. You don't want to sand down a nicely stained propeller to balance it because you will ruin the finish and all of your hard work. If you prebalance the propeller now by sanding the heavier side, the final balancing will be much easier.
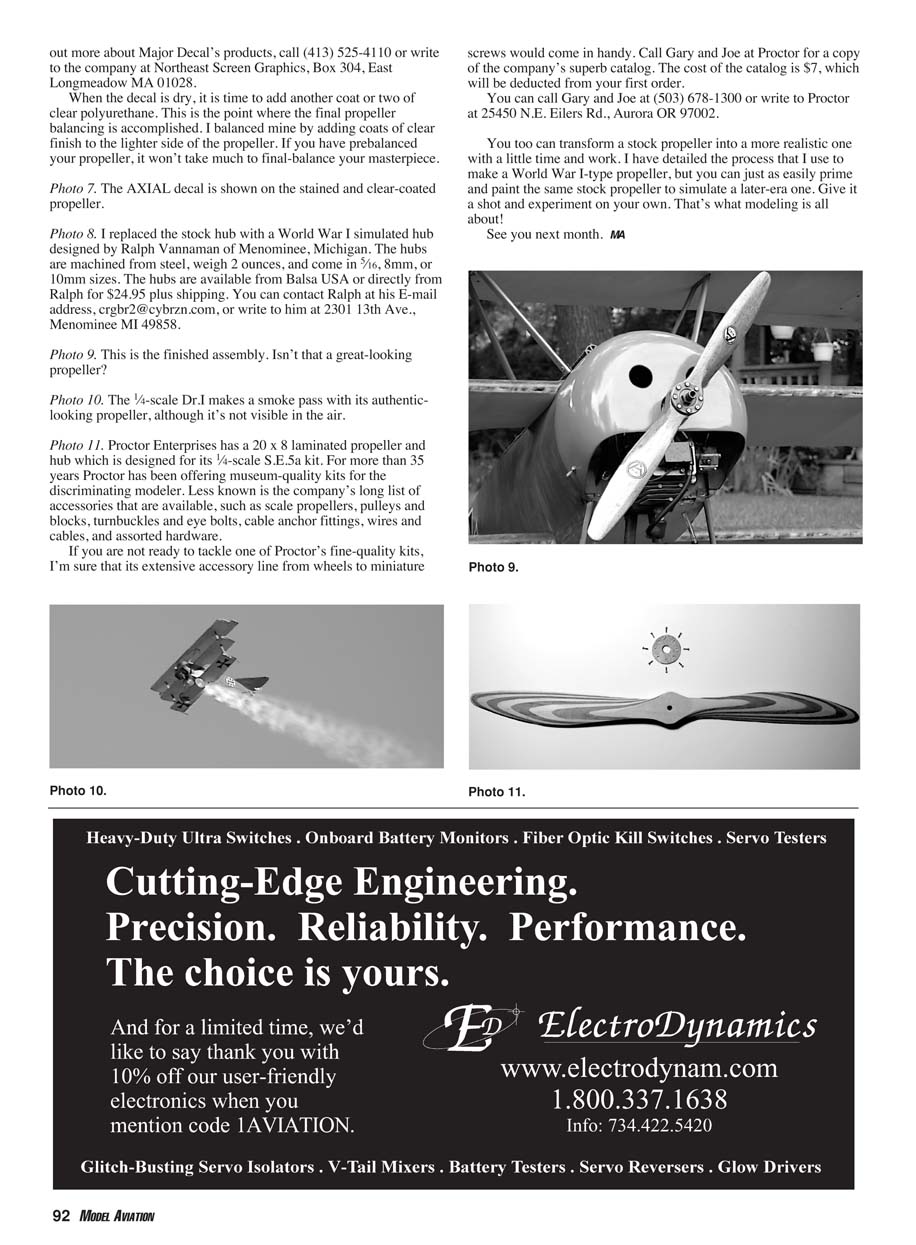
- Photo 4: I used Minwax stain to color the propeller. You can use any color that fits your need. The stain can be applied with a brush, rag, or even a paper towel. Always put the stain on in the same direction as the grain of the wood. Since the wood is not very porous, you may wish to apply a couple of coats to get the shade of color that you like.
- Photo 5: I used two coats of Special Walnut to stain this propeller. Once the stain dried, I coated the propeller with a water-based polyurethane finish. I used a gloss polyurethane from Minwax and brushed it on with a small foam brush. Apply a light coat so the finish does not run. The polyurethane I used dries within 30 minutes and has no odor; the brush cleans up easily with water. I used water-based polyurethane because I am installing the propeller on a gasoline engine. If you are using a glow engine, you must use a finish that is glowproof, such as LustreKote.
- Photo 6: After the first coat of clear polyurethane was dry I applied the AXIAL Berlin propeller decals that are available from Major Decal (Northeast Screen Graphics). All of the company's propeller decals are water-transfer. The decal sheet contains enough to finish one propeller in 1/4, 1/5, 1/6, and 1/8 scale. The extensive list of propeller decals available includes Falcon, McCauley, Hamilton Standard, Fahlin, Hartzell, Pratt & Whitney, Sensenich, AXIAL, Dowty Rotol, Curtiss Electric, and Curtiss. To find out more about Major Decal's products, call (413) 525-4110 or write to Northeast Screen Graphics, Box 304, East Longmeadow MA 01028.
When the decal is dry, add another coat or two of clear polyurethane. This is the point where the final propeller balancing is accomplished. I balanced mine by adding coats of clear finish to the lighter side of the propeller. If you have prebalanced your propeller, it won't take much to final-balance your masterpiece.
Proctor Enterprises — accessories and kits
Proctor Enterprises has a 20 x 8 laminated propeller and hub designed for its 1/4-scale S.E.5a kit. For more than 35 years Proctor has been offering museum-quality kits for the discriminating modeler. Less known is the company's long list of accessories, such as scale propellers, pulleys and blocks, turnbuckles and eye bolts, cable anchor fittings, wires and cables, and assorted hardware.
If you are not ready to tackle one of Proctor's fine-quality kits, its extensive accessory line — from wheels to miniature screws — would come in handy. Call Gary and Joe at Proctor for a copy of the company's superb catalog. The cost of the catalog is $7, which will be deducted from your first order.
You can call Gary and Joe at (503) 678-1300 or write to Proctor at 25450 N.E. Eilers Rd., Aurora OR 97002.
You too can transform a stock propeller into a more realistic one with a little time and work. I have detailed the process I use to make a World War I–type propeller, but you can just as easily prime and paint the same stock propeller to simulate a later-era one. Give it a shot and experiment on your own. That's what modeling is all about!
See you next month. MA
Transcribed from original scans by AI. Minor OCR errors may remain.

