
RADIO CONTROL GIANTS
John A. de Vries 4610 Moffat Lane, Colorado Springs, CO 80915
One of the more exacting tasks facing a scale builder comes when the aircraft is almost completed. The model has been covered and painted or has a smooth plastic covering in place with its basic color scheme. Now's the time to add the appropriate markings that identify the airplane as a miniature of a specific prototype.
Marking techniques
There are four primary techniques that may be used to add scale markings:
- Decals (water-slide)
- Sticky-back decals (self-adhesive)
- Painted markings
- Covering-film cutouts
- Dry rub-on (dry-transfer) markings
Each method has advantages and disadvantages. The following sections describe how to use them and what to watch out for.
Water-slide decals
Water-slide decals have the advantage of being easily positioned. While they're wet you can move them around on the model surface to get them exactly where you want them. They are best applied over a smooth paint finish. To look right they should be trimmed so their clear edges don't show. If the decals aren't fuelproof, cover them with a protective clear coat.
Sticky-back decals
Sticky-back decals work on painted or film-covered surfaces but demand careful placement—you only get one chance to position them. Mark the placement on the model beforehand. Remove a small strip of backing paper, tack the decal in place, then carefully peel off the remainder of the backing while rubbing the decal firmly onto the surface.
Painted markings
Painting markings on a giant-scale model, particularly the larger ones, isn't as difficult as it sounds. Simple stencils can be cut from newspaper, wetted, and positioned on the model. Protect the rest of the model with masking tape and paper, then spray the markings with an airbrush just as on the prototype. A couple of light coats won't leave much of a raised edge, and the homemade stencil can be discarded.
Painting on covering films is less satisfactory unless you use paintable (clear) MonoKote, and you must ensure the paint is compatible with the film surface. Any paint used for models with glow-plug engines must be fuelproof.
Covering-film markings
Adding markings cut from covering film is straightforward, especially if you use a positioning fluid that allows you to shift the pieces slightly. If you don't have a positioning fluid, soapy water will let you get everything right before it sticks down.
Cut markings from film trim sheets that have a sticky back. Multiple layers and colors can be accomplished with this technique. Film markings work best on film-covered models; pierce the base covering before adding markings to minimize trapped air bubbles. A pin, needle, or a specialized piercing tool works well. After everything dries, apply a compatible clear coat to prevent fuel from seeping under the edges.
If you have a trim iron you can iron film markings in place, but beware: the adhesive base may ooze beyond the edges. A paper towel slightly dampened with rubbing alcohol cleans up the ooze.
Dry transfers (dry rub-on)
Dry-transfer markings are a relatively new technique and can look excellent. Several companies provide custom-made markings produced by computer to match fonts, sizes, and colors exactly.
Disadvantages:
- They tend to be relatively expensive.
- They are difficult to apply to surfaces that aren't firmly backed by balsa or other stiff materials.
- They require precise positioning before burnishing—you only get one chance to get them right.
After cutting from the backing sheet, dry transfers are burnished in place with a burnisher or the smooth surface of a propeller blade. Using a gentle hand is essential when applying them to fabric surfaces between wing ribs. To ensure longevity, cover dry transfers with a compatible clear coat; otherwise they can rub off easily.
General marking tips
- Use the best documentation you have. Make sure you're sticking markings where they're supposed to be.
- Measure and mark the model to locate decorations before you apply them.
- If a marking method requires a clear coat for fuel resistance, be sure to use a compatible product.
If you think model marking is tedious, consider the mechanics who once applied huge sticky-back decals to full-size military aircraft—stars and bars were applied that way before the current low-visibility markings came into vogue.
Training and books
It's almost a given that you can't learn to fly RC from computer simulations or books alone—real flight experience is essential. However, a progressive training course can greatly help new RC fliers.
Proficient Flying, written by Pattern expert Wayne Apostolico, serves as a flight instructor's training guide and details a course of instruction taking a raw beginner to various degrees of RC flying proficiency. The book details progressive flight maneuvers and explains the appropriate aerodynamics for each.
Ordering information:
- Proficient Flying — Gemstone Publications, 3502 West 96th Circle, Westminster, CO 80030. $13.95 plus $1.50 postage and handling.
- Crosswind Flying (advanced) — Also from Gemstone Publications. $8.45 plus $1.50 postage and handling.
Both books are recommended for instructors and students.
Community notices
- Help wanted: Jim Mahoney (Suite #636, Box 917729, Longwood, FL 32791-7729) is building a quarter-scale Aeronca Chief from an old Union Stadt Zeppelin Works (AKG) kit from about 1946. He is struggling with the fuselage formers and would appreciate any assistance. His address is included for those who can help.
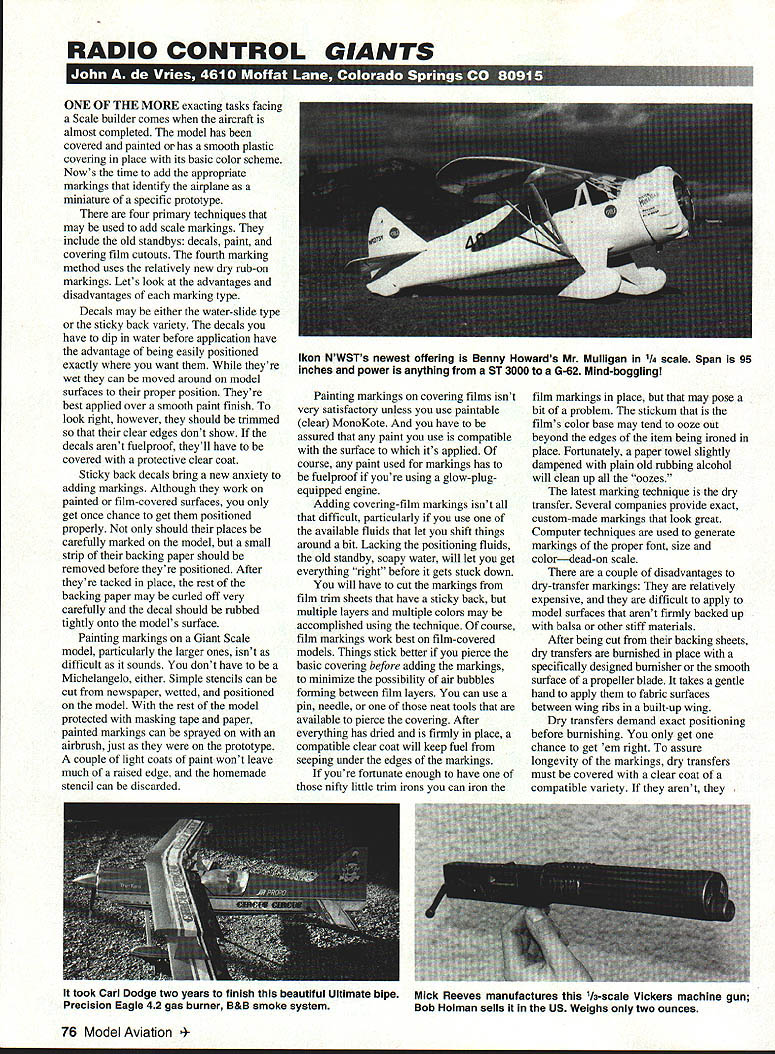
- New kit: Ikon N'west has engineered a 1/4-scale kit for Benny Howard's Mr. Mulligan. The model spans 95 inches and weighs about 20 pounds. It can be powered by a ST 3000, a G-62, or anything in between. Construction is built-up and the kit includes all markings as decals. The Mulligan won the 1935 Bendix and Thompson Trophy races and should be race-legal for Golden Age pylon contests.
- Contact Ikon N'west: Box 306, Post Falls, ID 83854. Catalog $4. Phone: 327-7198.
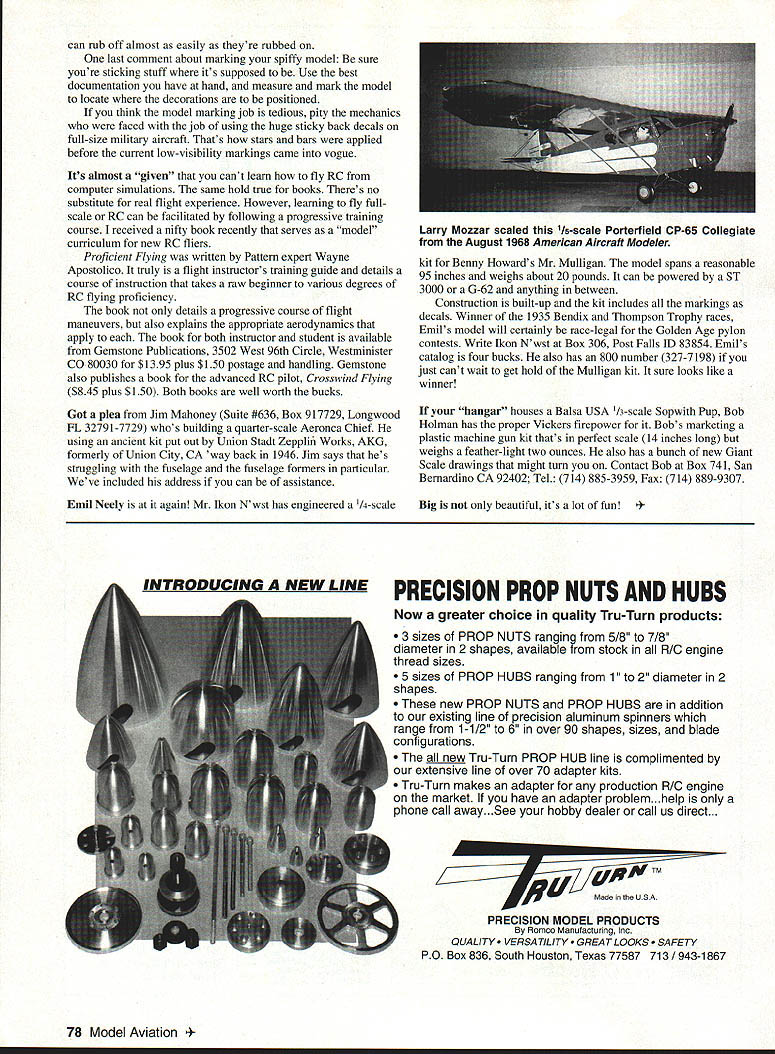
- Accessories and drawings: If you own a Balsa USA 1/3-scale Sopwith Pup, Bob Holman markets a proper-scale Vickers machine gun kit (14 inches long, about two ounces). He also has new giant-scale drawings available.
- Contact Bob Holman: Box 741, San Bernardino, CA 92402. Tel.: (714) 885-3959. Fax: (714) 889-9307.
Big is not only beautiful, it's a lot of fun!
Transcribed from original scans by AI. Minor OCR errors may remain.

