
Radio Control: Helicopters
Larry Jolly 5501 W. Como Santa Ana, CA 92703
Introduction
This month we're going to look at gyros. I know, ever since Collin Cameron Tough started publishing RC Helicopters Magazine you've all been told that gyros are necessary—but why? A gyro, as used on a model helicopter, is employed to dampen the movement around the yaw axis. Depending on how much gain or authority the gyro possesses, the tail can be transformed into a gentle kitten instead of a twisting, feisty tiger. What a gyro is exactly is "a very sensitive magnetic motion sensor." But all you have to do is think of it as the little black box that makes your tail rotor much more manageable.
Do you need a gyro?
I imagine that there are quite a few novice helicopter pilots out there reading this; if you are one of them, please listen. A gyro is not mandatory to make an RC helicopter fly! It will, however, decrease the flight workload on your left thumb. This is a good thing, because in many cases trying to control the tail can cause an overload in the thinking department while you're learning. So I do recommend that you use a gyro while learning to fly, taking advantage of its ability to decrease the radius of the learning curve. Once proficient, you will learn to kick the gyro in and out, depending on where you need it.
Let's assume you've decided to get into RC helicopters and you're collecting the equipment you'll need. So, which gyro do you buy?
Who makes gyros?
Tough question. It seems that everyone sells a gyro system:
- Futaba
- Sanwa
- Circus
- Miniature Aircraft Supply
- Gorham
- Century Systems America
These suppliers all sell gyros, and they all work. Trying to decide if one system is better than another is difficult. Ultimately everyone has a preference, but I can't honestly say that preference is based solely on gyro performance—there's just not that noticeable a difference.
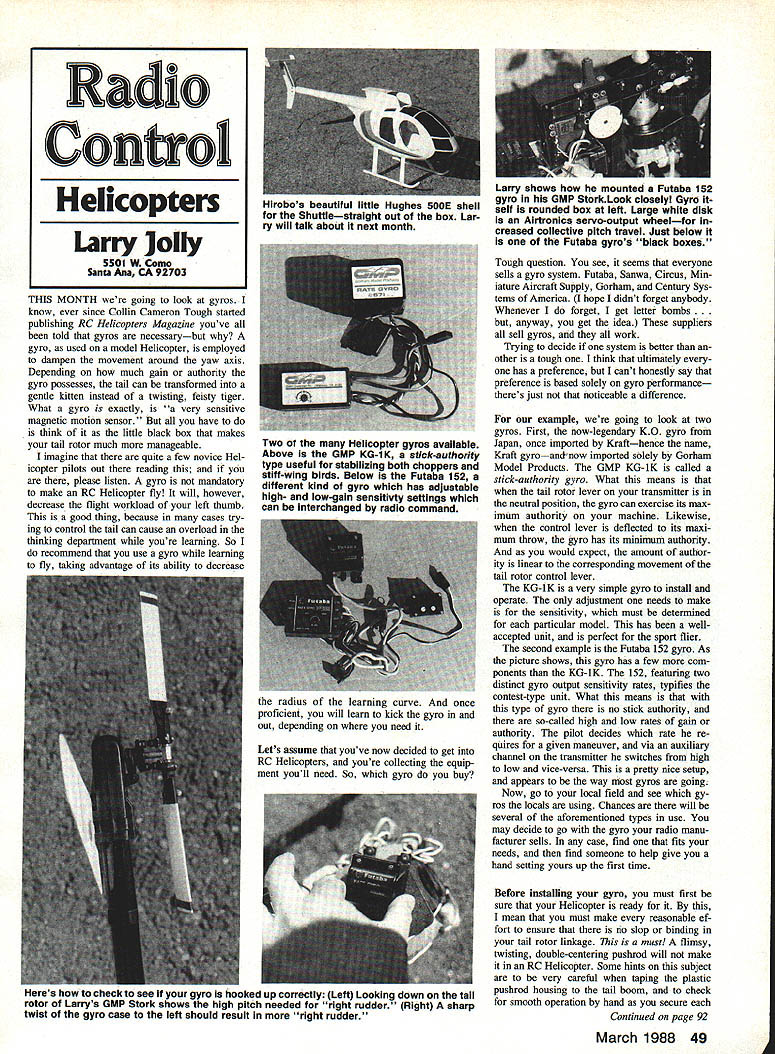
Two example gyros
For our example, we're going to look at two gyros.
#### K.O. KG-1K (Kraft gyro)
The now-legendary K.O. gyro from Japan, once imported by Kraft—hence the name Kraft gyro—is now imported solely by Gorham Model Products. The K.O. KG-1K is called a stick-authority gyro. What this means is that when the tail rotor lever is in the neutral position, the gyro can exercise its maximum authority on the machine. Likewise, when the control lever is deflected to its maximum throw, the gyro has its minimum authority. As you would expect, the amount of authority is linear to the corresponding movement of the tail rotor control lever.
The KG-1K is a very simple gyro to install and operate. The only adjustment one needs to make is for sensitivity, which must be determined for each particular model. This has been a well-accepted unit and is perfect for the sport flier.
#### Futaba 152
The Futaba 152 has a few more components than the KG-1K. The 152, featuring two distinct gyro output sensitivity rates, typifies the contest-type unit. With this type of gyro there is no stick authority; instead there are so-called high and low rates of gain or authority. The pilot decides which rate he requires for a given maneuver and, via an auxiliary channel on the transmitter, switches from high to low and vice-versa. This is a pretty nice setup and appears to be the way most gyros are going.
Choosing and setting up a gyro
Now, go to your local field and see which gyros the locals are using. Chances are there will be several of the aforementioned types in use. You may decide to go with the gyro your radio manufacturer sells. In any case, find one that fits your needs, and then find someone to help give you a hand setting yours up the first time.
Before installing your gyro, be sure that your helicopter is ready for it. By this, I mean that you must make every reasonable effort to ensure there is no slop or binding in your tail rotor linkage. This is a must! A flimsy, twisting, double-centering pushrod will not make it in an RC helicopter.
Some hints on this subject:
- Be very careful when taping the plastic pushrod housing to the tail boom.
- Check for smooth operation by hand as you secure each station with tape.
- It is to be hoped that most helicopter manufacturers will eventually go the way of Schluter and Schoonard and provide high-quality pushrod standoffs for the tail rotor pushrod.
Mounting and power considerations
Does your helicopter have a resting place for your gyro? If it does not come supplied with a gyro mounting plate, one can easily be put together from some scrap plywood. You must also take into account the need for more amp-hours drawn from your flight battery pack to drive your gyro.
I don't use separate packs for gyro and receiver, but if I were limited to 450 mAh packs, I would use two. Since your servos are drawing more current than when they are in a fixed-wing model (because each servo is being driven more frequently), I suggest installing one 1,200 mAh battery pack to drive both the airborne electronics and the gyro. If you're flying a Shuttle or Cricket, the new 800 or 900 mAh Sanyo packs will let you stay on the front edge of your center-of-gravity and still give you enough juice to power the airborne systems.
Checking gyro direction
Before you fly your newly installed gyro, you must— and I repeat must—determine that your gyro is operating in the right direction for your machine. I know some of you pros are laughing at me right now, but honestly, I've received calls from three guys last month who had their gyros backwards. Talk about catastrophe! Trying to fly a reversed gyro is like leaning into a punch.
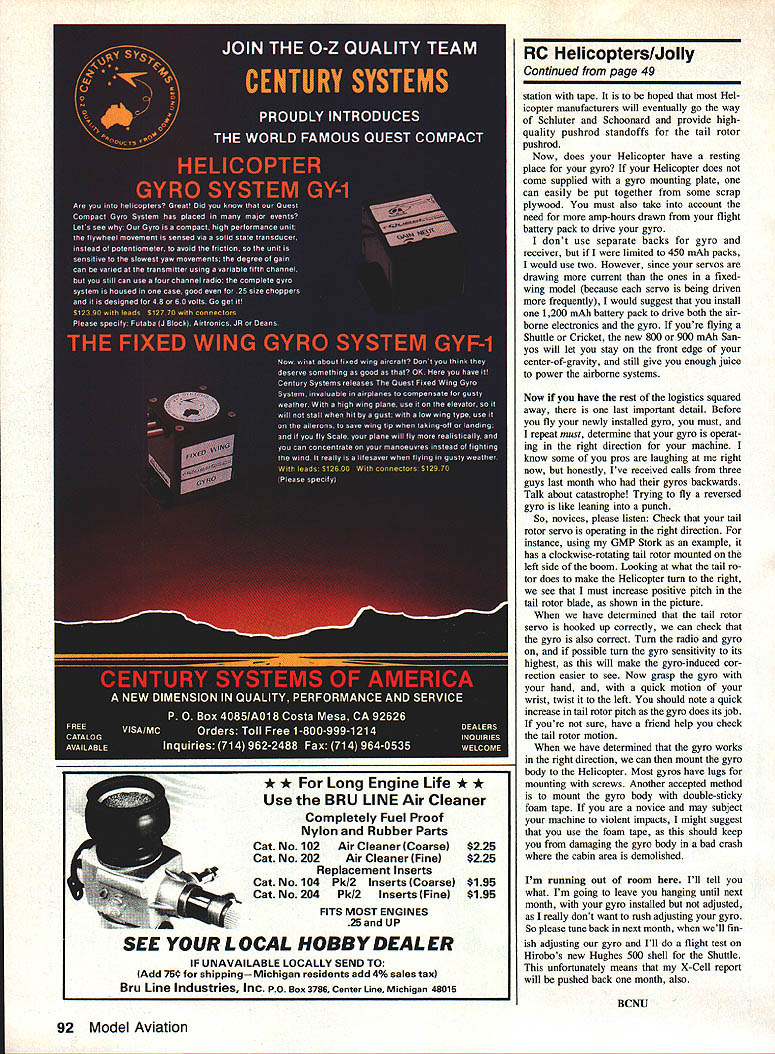
So, novices, please listen: check that your tail rotor servo is operating in the right direction. For instance, using my GMP Stork as an example, it has a clockwise-rotating tail rotor mounted on the left side of the boom. Looking at what the tail rotor does to make the helicopter turn to the right, we see that I must increase positive pitch in the tail rotor blade.
When we have determined that the tail rotor servo is hooked up correctly, we can check that the gyro is also correct. Turn the radio and gyro on, and if possible turn the gyro sensitivity to its highest, as this will make the gyro-induced correction easier to see. Now grasp the gyro with your hand, and with a quick motion of your wrist, twist it to the left. You should note a quick increase in tail rotor pitch as the gyro does its job. If you're not sure, have a friend help you check the tail rotor motion.
Mounting the gyro body
When we have determined that the gyro works in the right direction, we can mount the gyro body to the helicopter. Most gyros have lugs for mounting with screws. Another accepted method is to mount the gyro body with double-sided foam tape. If you are a novice and may subject your machine to violent impacts, I suggest using the foam tape, as this should help protect the gyro body in a bad crash where the cabin area is demolished.
Conclusion / Next month
I'm running out of room here. I'll tell you what: I'm going to leave you hanging until next month, with your gyro installed but not adjusted, as I really don't want to risk adjusting your gyro. So please tune back in next month, when we'll finish adjusting our gyro and I'll do a flight test on Hirobo's new Hughes 500 shell for the Shuttle. This unfortunately means that my X-Cell report will be pushed back one month, also.
BCNU
Transcribed from original scans by AI. Minor OCR errors may remain.

