
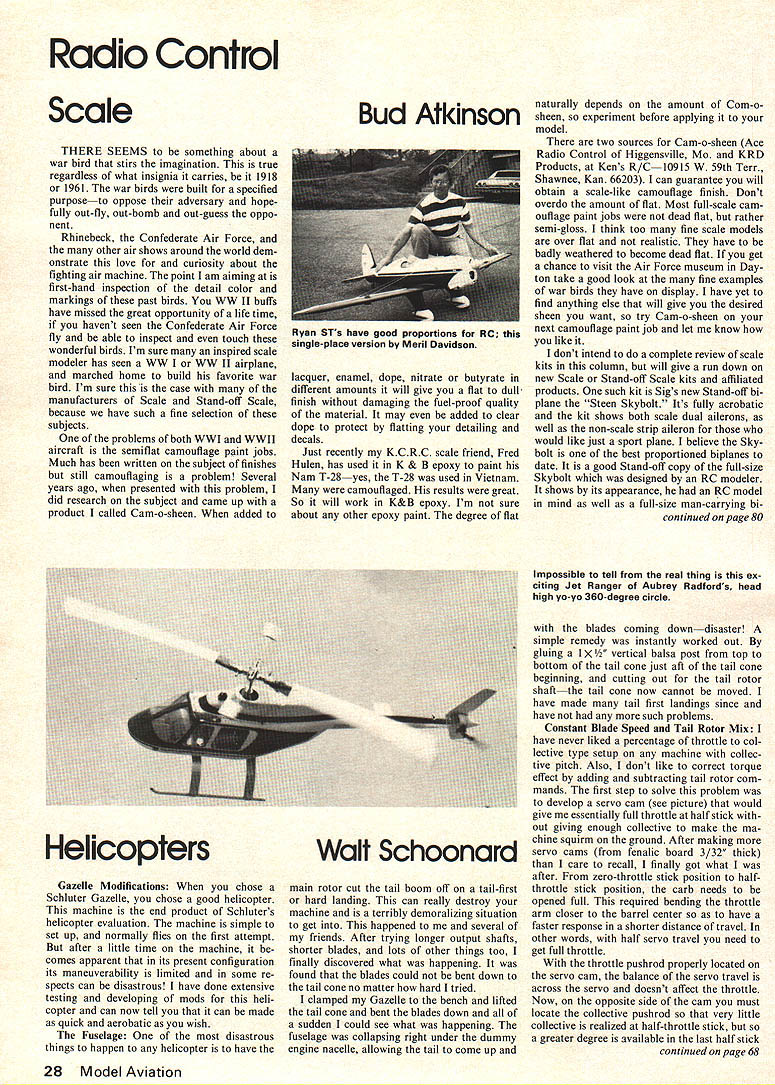
Helicopters
Walt Schoonard
Gazelle Modifications: When you chose a Schluter Gazelle, you chose a good helicopter. This machine is the end product of Schluter's helicopter evaluation. The machine is simple to set up, and normally flies on the first attempt. But after a little time on the machine, it becomes apparent that in its present configuration its maneuverability is limited and in some respects can be disastrous! I have done extensive testing and developing of mods for this helicopter and can now tell you that it can be made as quick and aerobatic as you wish.
The Fuselage: One of the most disastrous things to happen to any helicopter is to have the main rotor cut the tail boom off on a tail-first or hard landing. This can really destroy your machine and is a terribly demoralizing situation to get into. This happened to me and several of my friends. After trying longer output shafts, shorter blades, and lots of other things too, I finally discovered what was happening. It was found that the blades could not be bent down to the tail cone no matter how hard I tried.
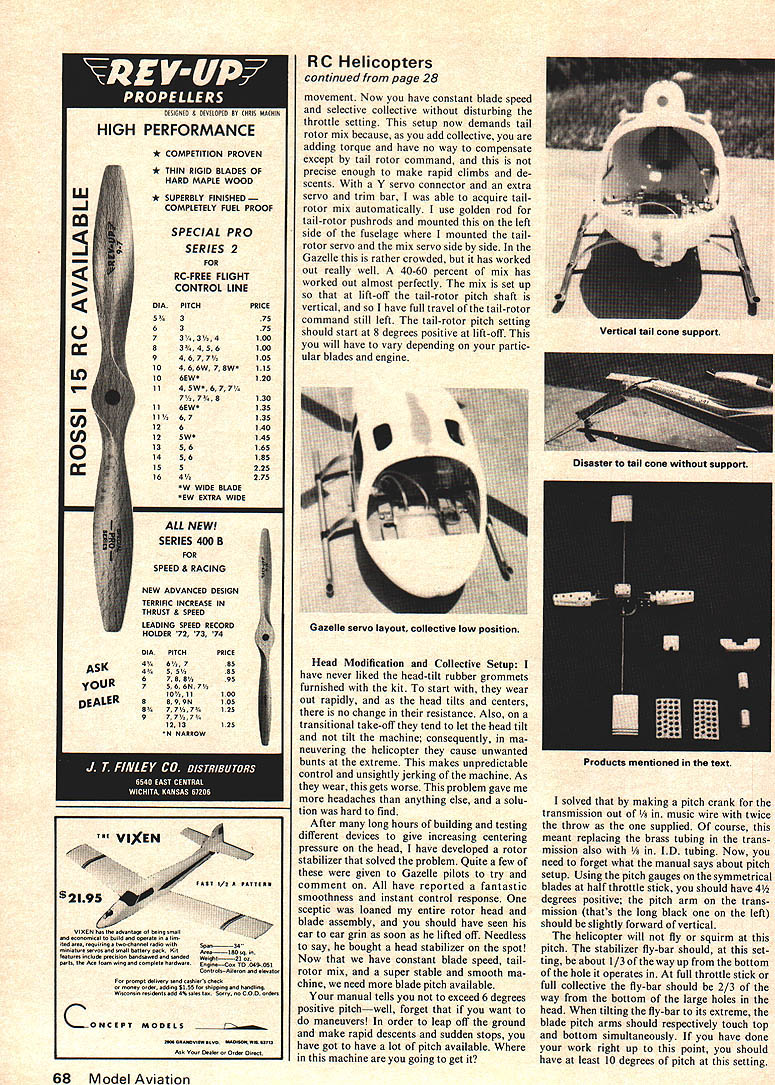
I clamped my Gazelle to the bench and lifted the tail cone and bent the blades down and all of a sudden I could see what was happening. The fuselage was collapsing right under the dummy engine nacelle, allowing the tail to come up and with the blades coming down—disaster! A simple remedy was instantly worked out. By gluing a 1 1/2" vertical balsa post from top to bottom of the tail cone just aft of the tail cone beginning, and cutting out for the tail rotor shaft—the tail cone now cannot be moved. I have made many first landings since and have not had any more such problems.
Constant Blade Speed and Tail Rotor Mix: I have never liked a percentage of throttle to collective type setup on any machine with collective pitch. Also, I don't like to correct torque effect by adding and subtracting tail rotor commands. The first step to solve this problem was to develop a servo cam (see picture) that would give me essentially full throttle at half stick without giving enough collective to make the machine squirm on the ground. After making more servo cams (from female board 3/32" thick) than I care to recall, I finally got what I was after. From zero to full throttle position to half-throttle stick position, the carb needs to be more open to the barrel center so as to have a faster response in a shorter distance of travel. In other words, with half servo travel you need to get full throttle.
With the throttle pushrod properly located on the servo cam, the balance of the servo travel is across the servo and doesn't affect the throttle. Now, on the opposite side of the cam you must locate the collective pushrod so that very little collective is realized at half-throttle stick, but a greater degree is available in the last half stick. Movement. Now you have constant blade speed and selective collective without disturbing the throttle setting. This setup now demands tail rotor mix because, as you add collective, you are adding torque and have no way to compensate except by tail rotor command, and this is not precise enough to make rapid climbs and descents. With a Y servo connector and an extra servo and trim bar, I was able to acquire tail-rotor mix automatically. I use golden rod for tail-rotor pushrods and mounted this on the left side of the fuselage where I mounted the tail-rotor servo and the mix servo side by side. In the Gazelle this is rather crowded, but it has worked out really well. A 40-60 percent of mix has worked out almost perfectly. The mix is set up so that at lift-off the tail-rotor pitch shaft is vertical, and so I have full travel of the tail-rotor command still left. The tail-rotor pitch setting should start at 8 degrees positive at lift-off. This you will have to vary depending on your particular blades and engine.
Head Modification and Collective Setup: I have never liked the head-tilt rubber grommets furnished with the kit. To start with, they wear out rapidly, and as the head tilts and centers, there is no change in their resistance. Also, on a transitional take-off they tend to let the head tilt and not tilt the machine; consequently, in maneuvering the helicopter they cause unwanted bumps at the extreme. This makes unpredictable control and unsightly jerking of the machine. As they wear, this gets worse. This problem gave me more headaches than anything else, and a solution was hard to find.
After many long hours of building and testing different devices to give increasing centering pressure on the head, I have developed a rotor stabilizer that solved the problem. Quite a few of these were given to Gazelle pilots to try and comment on. All have reported a fantastic smoothness and instant control response. One special modification is the center rotor head and blade assembly, and you should have seen the ear-to-ear grin as soon as he lifted off. Needless to say, he bought a head stabilizer on the spot! Now that we have constant blade speed and selective pitch, tail-rotor mix, and a super stable and smooth machine, we need more blade pitch available.
Your manual tells you not to exceed 6 degrees positive pitch—well, forget that if you want to do maneuvers! In order to leave off the ground and make rapid descents and sudden stops, you have got to have a lot of pitch available. Where in this machine are you going to get it?
I solved that by making a pitch crank for the transmission out of 1/8-in. music wire with two of the throw as the one supplied. Of course, this meant replacing the brass tubing in the transmission also with 1/8-in. I.D. tubing. Now, you need to forget what the manual says about pitch setup. Using the pitch cranks on the symmetrical blades at half throttle stick, you should have 4-1/2 degrees positive; the pitch arm on the transmission (that's the long black one on the left) should be slightly forward of vertical.
The helicopter will not fly or squirm at this pitch. The stabilizer flybar should, at this setting, be about 3/8 of the way up from the bottom of the hole it operates in. At full throttle stick, the flybar should be 2-3/8 of the way from the bottom of the large holes in the hub. When tilting the flybar to its extreme, the blade pitch arms should respectively touch top and bottom simultaneously. If you have done your work right up to this point, you should have at least 10 degrees of pitch at this setting. Blade Holders—Fly-Bar Paddles and Transmission Support—About now you are going to begin to notice the blade holders are not going to take the strain; also, they won't keep a track setting and will change in a quick turn. Blade holders were consequently developed that will stand anything you put them through. They also permit pitch setting with an Allen wrench. The 12-mm lead angle has always been difficult to maintain with the old blade holders, but not even my hard head has been able to dislodge these holders. The blades themselves can be shortened as much as 1½ inches each to increase blade speed. This also helps to quicken the Gazelle. Make sure the entire tail fully assembled with blades is balanced by supporting it via the fly-bar. The fly-bar paddles should have 7/16-in. holes identically drilled in each to lighten the paddles and speed up the cyclic steering. The ears on the transmission tend to crack and break as the machine becomes more responsive. The development of a transmission support that ties the two transmission plates together has eliminated this problem (see picture).
Fiberglass Cooling Shroud—Many of you have probably been frustrated by the plastic cooling duct supplied in the kit. It fatigues and cracks and nothing seems to stop it. I solved this by coating the inside of the duct with mold release and laying up a couple of layers of 0.2-oz. cloth and resin and then popping off the old duct. You now have a light and smooth fiberglass duct that will outlast the helicopter. Add a bead of resin around the edge to form a sealing flange; this will hold it steady and can be cut when you need to remove it.
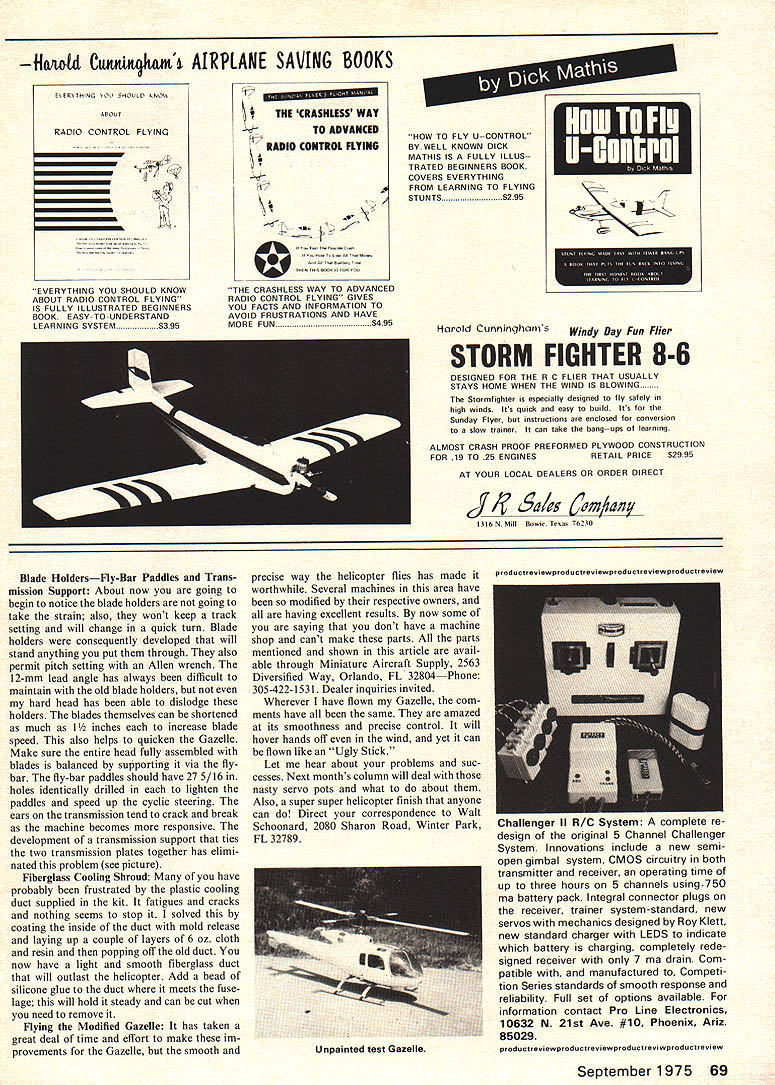
Flying the Modified Gazelle—It has taken a great deal of time and effort to make these improvements for the Gazelle, but the smooth and precise way the helicopter flies has made it worthwhile. Several machines in this area have been so modified by their respective owners, and all are having excellent results. By now some of you are saying that you don't have a machine shop and can't make these parts. All the parts mentioned and shown in this article are available through Miniature Aircraft Supply, 2563 Diversified Way, Orlando, FL 32804. Phone: 305-422-1531. Dealer inquiries invited.
Whenever I have flown my Gazelle, the comments have all been the same. They are amazed at its smoothness and precise control. It will hover hands off even in the wind, and yet it can be flown like an "Ugly Stick."
Let me hear about your problems and successes. Next month's column will deal with those nasty servo pots and what to do about them. Also, a super helicopter finish that anyone can do! Direct your correspondence to Walt Schoonard, 2080 Sharon Road, Winter Park, FL 32789.
Transcribed from original scans by AI. Minor OCR errors may remain.

