
Radio Control: Helicopters
Paul Tradelius 4620 Barracuda Dr., Bradenton, FL 34208
Idle needle valve adjustments
I'm going to present some ideas regarding subjects that people have asked me about, including techniques for adjusting the idle needle valve, whether heavy helicopters really do fly faster, and fixing a broken tail-rotor drive shaft.
Idle needle valve adjustments have become slightly more complicated in the past few years with the introduction of the three-needle carburetor, but I have found that by continuing to use the techniques I developed for the two-needle (TN) carb things stay a little less complicated.
The basic idea is to realize that the carburetor not only adjusts the amount of fuel going to the engine, it actually holds a small amount of fuel. You can see this easily by pulling the fuel line off the engine while it's running—the engine continues to run for several seconds. I use the quantity of fuel in the carburetor as a gauge for adjusting the idle mixture. Doing that may seem strange at first, but it has worked for me for many years and you may find it very helpful.
Main needle valve
Now that I've talked about the idle needle valve (nv), I'll talk about the main nv. It does what its name implies—it's the main adjustment for fuel entering the engine. Although the main and idle nv can interact on some carb designs, it's important to get the main nv adjusted first so you have a determined amount of fuel entering the carb. This adjustment is not critical to setting the idle nv, but it should be set so the engine runs a good two-cycle without being too lean.
Once the main nv is adjusted, bring the engine to idle. Stop the rotor blades (and hold them firmly) to keep them from rotating should you unintentionally bump the throttle stick, and pinch the fuel line between the tank and the carb. Although this will stop the fuel, the engine will continue to run for several seconds—you should watch what happens during this short time period.
Since the fuel is cut off, you're driving the engine to a lean condition and would expect the rpm to increase slightly. From my experience, it should increase for three or four seconds before the engine starts to die from lack of fuel. Release the fuel line before the engine quits so you don't have to restart it repeatedly while making adjustments.
If the engine starts to die almost immediately when the fuel line is pinched, the idle mixture is too lean and needs more fuel. The idle nv on most engines is very sensitive, so open it about 1/4 turn and try the pinch test again. Continue to open the idle nv in 1/4-turn increments until the engine increases in rpm for three to four seconds before showing signs of quitting.
If the idle mixture is too rich when you perform the pinch test, the rpm will increase for more than three or four seconds (a rich condition means there is too much fuel in the carb). In this case, close the idle mixture 1/4 turn and try the pinch test again until the correct mixture is obtained.
Although this pinch test works on a variety of carbs, it will only put you in the ballpark. Final minor adjustments must be made after checking idle performance and watching how the engine accelerates from idle to full speed. Large adjustments to the idle mixture may affect the main nv, which may require another round of adjustments to refine both settings.
Although it takes many words to describe this technique, it's straightforward and easy to do at the field once you become familiar with it and use it a few times.
Heavy helicopters and speed
The subject of heavy helicopters comes up from time to time; some think they have certain advantages, one of which is that they fly faster. That is not correct.
The usual explanations I hear are: (1) heavy helicopters can dive better because of the added weight and therefore pick up additional speed, and (2) they appear to be tilted forward more in level flight, which supposedly allows the main rotor blades to provide additional horizontal thrust.
As for the first point, a rock falls faster than a feather, so that point is true—but it's no reason to make a rock out of a helicopter. If you want to pick up speed while descending, roll the helicopter onto its back and use the lift of the rotor blades to pull the helicopter down; you will be adding this thrust to the weight and it will come down in a hurry.
As for forward flight, the excess thrust of the main rotor system propels the helicopter forward. Suppose your helicopter has just enough power to sustain a hover. If you lower the nose to get into forward flight without adding thrust from the rotor system, the helicopter must descend. That's why you add collective when transitioning into forward flight—to provide additional lift to maintain altitude and to provide the extra thrust needed.
Fixing a broken tail-rotor drive shaft
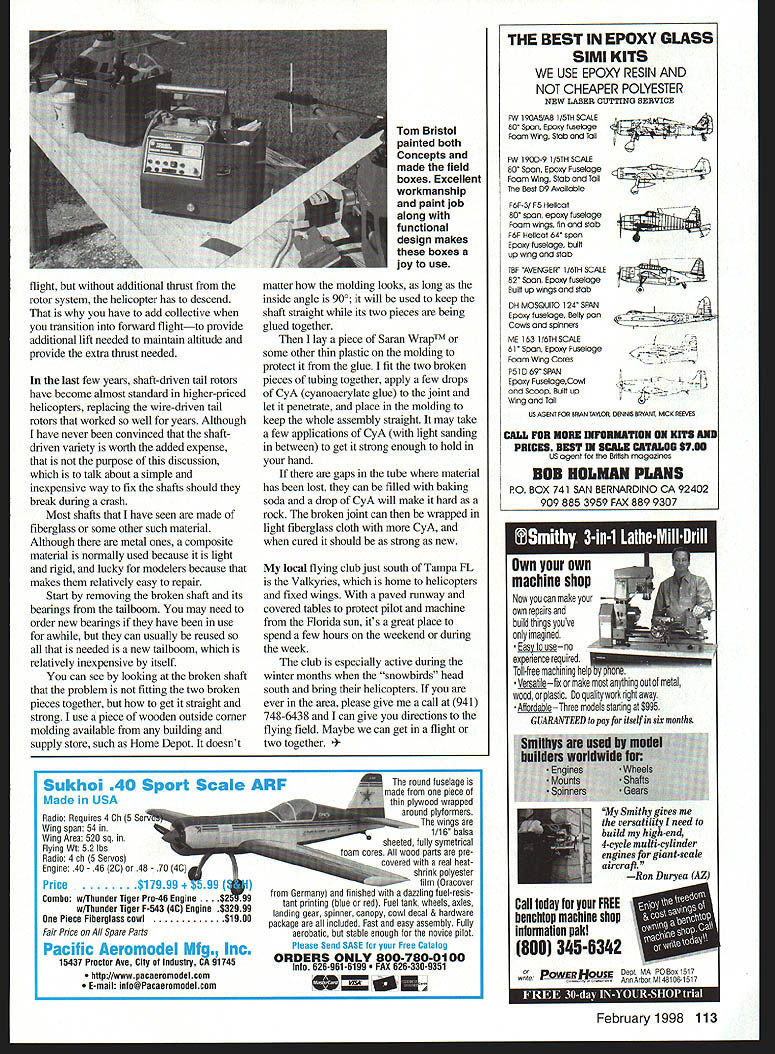
In the last few years, shaft-driven tail rotors have become almost standard in higher-priced helicopters, replacing wire-driven tail rotors that worked well for years. Although I have never been convinced the shaft-driven variety is worth the added expense, the purpose of this section is to describe a simple, inexpensive way to fix shafts that break during a crash.
Most shafts I've seen are made of fiberglass or similar composite material. Although there are metal ones, composites are normally used because they are light and rigid—and they are relatively easy to repair.
Steps to repair a broken shaft:
- Remove the broken shaft and its bearings from the tailboom. You may need new bearings if the old ones are worn, but they can often be reused; usually the only part needed is a new tailboom, which is relatively inexpensive.
- Examine the broken shaft. The problem is not fitting the two pieces together, but getting them straight and strong.
- Use a piece of wooden outside-corner molding (available at building-supply stores). The inside angle should be 90°; it will be used to keep the shaft straight while the pieces are glued together.
- Lay a piece of plastic wrap (Saran Wrap or similar) on the molding to protect it from glue.
- Fit the broken pieces together, apply a few drops of CyA (cyanoacrylate glue) to the joint and let it penetrate, then place the assembly in the molding to keep it straight.
- It may take a few applications of CyA, with light sanding between applications, to get it strong enough to hold in your hand.
- If there are gaps where material has been lost, fill them with baking soda and add a drop of CyA; this mixture hardens like a rock.
- Wrap the broken joint in light fiberglass cloth with more CyA; when cured it should be as strong as new.
Valkyries flying club
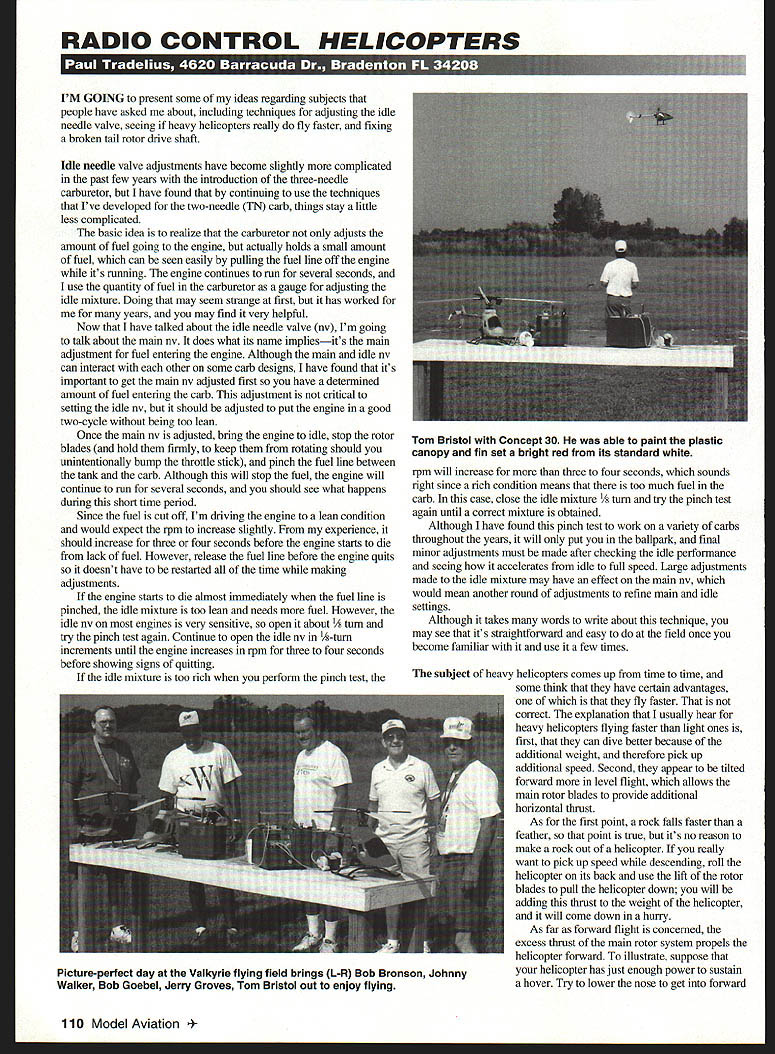
My local flying club just south of Tampa, FL, is the Valkyries, which is home to helicopters and fixed wings. With a paved runway and covered tables to protect pilot and machine from the Florida sun, it's a great place to spend a few hours on the weekend or during the week.
The club is especially active during the winter months when the "snowbirds" head south and bring their helicopters. If you are ever in the area, please give me a call at (941) 748-6438 and I can give you directions to the flying field. Maybe we can get in a flight or two together.
Transcribed from original scans by AI. Minor OCR errors may remain.

