
RADIO CONTROL HELICOPTERS
Author
Paul Tradelius 4620 Barracuda Dr., Bradenton, FL 34208 E-mail: flytrade@earthlink.net
In my October and November 1997 columns I wrote about the need for a proper mechanical setup in preparation for adjusting the pitch curves on your helicopter, and about using a computer helicopter radio to set up a straight-line pitch curve once you have determined the high and low pitch endpoints.
However, setting up and measuring these endpoints requires the use of a pitch gauge. It enables you to set the pitch, or static angle of attack, of the rotor blades to whatever position or range you desire. This pitch must be set correctly and within certain limits if the helicopter is to fly as designed and to your desires.
Although there are several pitch gauges on the market and sometimes it's difficult to determine which is best, I recommend one that is easy to use and gives repeatable results. Notice I did not say it has to be accurate.
First of all, there is no way to know if any of the pitch gauges are accurate; you take a reading and assume that the manufacturers have made the gauge correctly. To say that one is more accurate than another depends largely on the design and manufacturing process, which you cannot evaluate.
Second, as I will go into later, the accuracy of the readings depends not only on the pitch gauge, but on how level the flybar and swashplate are, and how well you align everything with your eye.
The Miniature Aircraft and Kalt pitch gauges are easy to use, give repeatable results, and are reasonably priced. Both slip on the blade easily, are easy to align visually, and have large, easy-to-read numbers.
I have seen more-complicated gauges that require levels or other parts to hold the gauge in position, and are quite complicated to set up. These are not easy to use at the flying field, and are no better in overall accuracy.
Setup principles
Whatever gauge you use, it's important to follow a few basic principles to get accurate and repeatable readings.
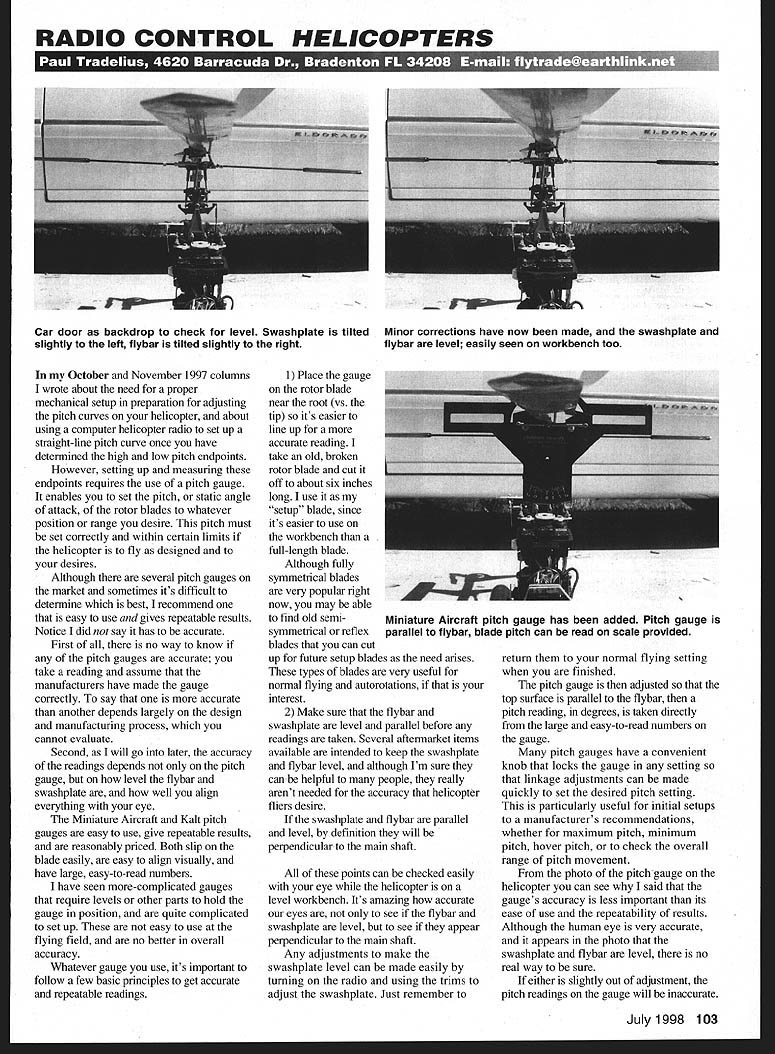
- Place the gauge on the rotor blade near the root (versus the tip) so it's easier to line up for a more accurate reading.
- I take an old, broken rotor blade and cut it off to about six inches long. I use it as my "setup" blade, since it's easier to use on the workbench than a full-length blade.
- Although fully symmetrical blades are very popular right now, you may be able to find old semi-symmetrical or reflex blades that you can cut up for future setup blades as the need arises. These types of blades are very useful for normal flying and autorotations, if that is your interest.
- Make sure that the flybar and swashplate are level and parallel before any readings are taken.
- Several aftermarket items available are intended to keep the swashplate and flybar level, and although they can be helpful to many people, they really aren't needed for the accuracy that helicopter fliers desire.
- If the swashplate and flybar are parallel and level, by definition they will be perpendicular to the main shaft.
- All of these points can be checked easily with your eye while the helicopter is on a level workbench. It's amazing how accurate our eyes are, not only to see if the flybar and swashplate are level, but to see if they appear perpendicular to the main shaft.
- Any adjustments to make the swashplate level can be made easily by turning on the radio and using the trims to adjust the swashplate. Just remember to return them to your normal flying setting when you are finished.
The pitch gauge is then adjusted so that the top surface is parallel to the flybar, then the pitch reading, in degrees, is taken directly from the large and easy-to-read numbers on the gauge.
Many pitch gauges have a convenient knob that locks the gauge in any setting so that linkage adjustments can be made quickly to set the desired pitch setting. This is particularly useful for initial setups to a manufacturer's recommendations, whether for maximum pitch, minimum pitch, hover pitch, or to check the overall range of pitch movement.
From the photo of the pitch gauge on the helicopter you can see why I said that the gauge's accuracy is less important than its ease of use and the repeatability of results. Although the human eye is very accurate, and it appears in the photo that the swashplate and flybar are level, there is no real way to be sure. If either is slightly out of adjustment, the pitch readings on the gauge will be inaccurate. This means that any readings taken from the gauge are probably within a +/-1° accuracy range. That's fine for our work.
Remember, the initial setup is just to get the blades in the proper flying range with further adjustments made once you see how the helicopter performs.
With the advent of the new computer radios it's also much easier to make further pitch adjustments at the flying field—and almost while flying the helicopter. It's not uncommon to make a short flight, land, and with the engine at idle, use the pitch-curve function of the radio to make a slight adjustment—then fly again to see the results.
In this case the pitch gauge was not used to make the adjustment, but once the helicopter does fly and perform to your satisfaction, the pitch gauge can be used to record the particular pitch settings so that the helicopter can be set up again after maintenance, repairs, etc.
Another use of the pitch gauge at the flying field is to compare two helicopters in their pitch and flying characteristics. If someone has a helicopter similar to yours that is flying well, it would be easy to see what his/her pitch settings are, and to adjust your machine accordingly. This would at least be a place to start, and is another reason why whatever gauge you decide on should be easy to use at the flying field.
Revolution PZ-200 Sport Piezo Gyro
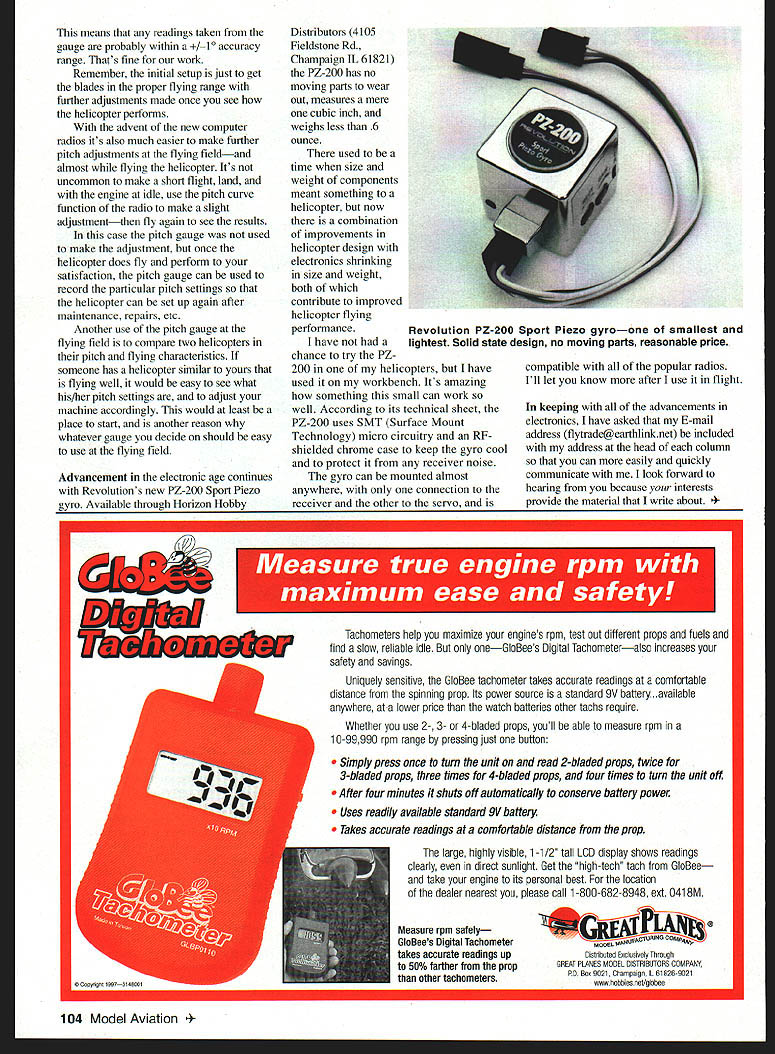
Advancement in the electronic age continues with Revolution's new PZ-200 Sport Piezo gyro. Available through Horizon Hobby Distributors (4105 Fieldstone Rd., Champaign, IL 61821), the PZ-200 has no moving parts to wear out, measures a mere one cubic inch, and weighs less than 0.6 ounce.
There used to be a time when size and weight of components meant something to a helicopter, but now there is a combination of improvements in helicopter design with electronics shrinking in size and weight, both of which contribute to improved helicopter flying performance.
I have not had a chance to try the PZ-200 in one of my helicopters, but I have used it on my workbench. It's amazing how something this small can work so well. According to its technical sheet, the PZ-200 uses SMT (Surface Mount Technology) micro circuitry and an RF-shielded chrome case to keep the gyro cool and to protect it from any receiver noise.
The gyro can be mounted almost anywhere, with only one connection to the receiver and the other to the servo, and is compatible with all of the popular radios. I'll let you know more after I use it in flight.
Contact / Feedback
In keeping with all of the advancements in electronics, I have asked that my E-mail address (flytrade@earthlink.net) be included with my address at the head of each column so that you can more easily and quickly communicate with me. I look forward to hearing from you because your interests provide the material that I write about.
Transcribed from original scans by AI. Minor OCR errors may remain.

