
RADIO CONTROL HELICOPTERS
Paul Tradelius 4620 Barracuda Dr., Bradenton, FL 34208 E-mail: flytrader@earthlink.net
The Concept 46VR
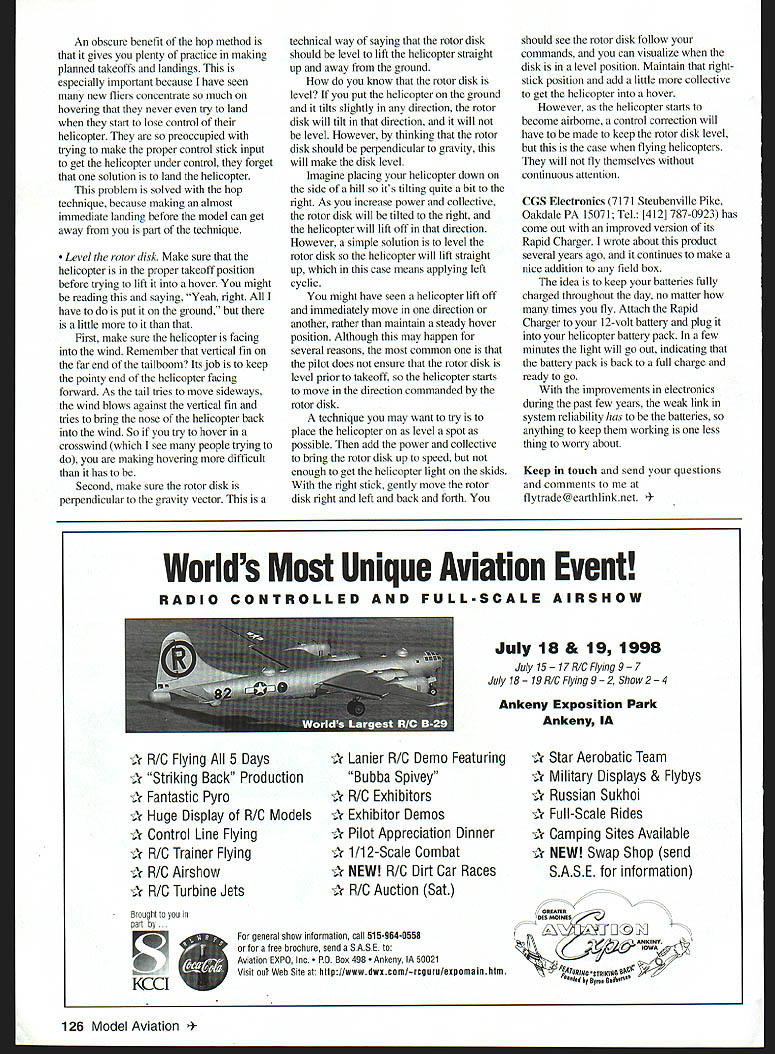
The Concept 46VR is Kyosho's latest helicopter entry distributed by Great Planes Model Distributing, and is designed for the more aggressive or advanced flier. The Concept line of .30-size helicopters has been a mainstay in the learning process of new helicopter pilots throughout the world, and those who have learned on these machines can progress with a helicopter that is specifically designed to take them to the "next step" in flying.
Although I haven't had time to start building the 46VR yet, it seems to follow the same well-thought-out building and design features that many have come to expect from Kyosho — a detailed and easy-to-read instruction manual, quality components (including a muffler), and a design for simplicity and ease of maintenance. I'll let you know more as I progress with the kit.
Safety and advice for new fliers
Clyde Stacy, a friend and fellow flier in Pittsburgh, Pennsylvania, was telling me he was helping a new flier in his area. Some of the points he made were to ensure the safety of the flier and spectators; start by making a series of "hops" versus trying to hover and level the rotor disk prior to takeoff.
I told him I thought those were good points, and Clyde said that I should agree with him because that's the way I taught him to fly many years ago. He asked if I have ever combined all of these points in one column for new fliers, and I don't think I ever have, so here goes:
Flying safety is the first and most important thing a new flier should consider when entering this great hobby. The safety of the pilot and of the spectators has to be paramount; you can buy new helicopters or fix broken ones, but every precaution must be taken to ensure that no one is hurt while pilots are flying. There are many ways to do this:
- Don't practice by yourself.
A friend can act as a safety observer, and should an accident occur, he or she can provide first-aid and call for help. With the cellular phone becoming such a standard personal item, its presence at the flying field is almost essential.
- Inspect new helicopters before flight.
If a pilot brings a new helicopter to the field (this applies whether he or she is a new pilot or an experienced one), look it over to see if there is anything glaring that needs to be fixed. We are all so interested in getting that new helicopter into the air that we sometimes overlook the most basic items in our preflight inspection. An excellent and experienced builder and flier who flies out of Waynesburg, Pennsylvania came to the field once with his most recent pride and joy, only to be disappointed when the helicopter did not handle right on its initial hovering test flights. Several of us looked at the helicopter between flights, when someone pinpointed the problem — the paddles were on backward. It is hard to believe basic mistakes happen to the most experienced fliers, and specific problems are hard to spot unless you are looking for them.
- Don't stand too close to your helicopter.
When many fliers put their helicopters on the ground for flight, they only move back two or three paces before bringing the model into a hover; this puts you much too close. A glitch in the radio, a failed battery pack, or any other minor malfunction could have the helicopter on top of you before you have a chance to move out of the way. I recommend a distance of 15–20 feet and about 30° to the side; this not only puts you a safe distance away from the helicopter, but the slight side view of the helicopter provides a better overall perspective for flying.
Hop technique
Try to hop. Most pilots hover their helicopters in the three- to five-foot range, but I have seen many novices on training gear also try to hover at this altitude, which is much too high.
While learning to hover, altitude is not your friend. If you make a mistake, it allows the helicopter to hit the ground that much harder; therefore, I recommend a series of ever-increasing hops.
Start by trying to get light on the skids, and then raise the helicopter enough for a one-second hop. It will happen very quickly (so you can't make too much of a mistake) and can actually be classified as a very short hover. Once you feel comfortable with it, progress to a two-second hover, a three-second hover, and so on.
Another beneficial aspect of this type of practice is that it gives you time to assess what is happening to the helicopter, and what corrections should be made. After each hop, analyze what the helicopter did and what corrections (if any) you made with the control sticks. Which way did the helicopter move? Did you provide the correct control input to keep the helicopter in a hover? What can be better next hop?
This technique will serve you well as you progress in your flying because you can make definite improvements only by analyzing your mistakes. An obscure benefit of the hop method is that it gives you plenty of practice in making planned takeoffs and landings. This is especially important because I have seen many new fliers concentrate so much on hovering that they never even try to land when they start to lose control of their helicopter. They are so preoccupied with trying to make the proper control stick input to get the helicopter under control, they forget that one solution is to land the helicopter.
This problem is solved with the hop technique, because making an almost immediate landing before the model can get away from you is part of the technique.
Level the rotor disk
Make sure that the helicopter is in the proper takeoff position before trying to lift it into a hover. First, make sure the helicopter is facing into the wind. Remember that vertical fin on the far end of the tailboom? Its job is to keep the pointy end of the helicopter facing forward. As the tail tries to move sideways, the wind blows against the vertical fin and tries to bring the nose of the helicopter back into the wind. So if you try to hover in a crosswind (which I see many people attempting), you are making hovering more difficult than it has to be.
Second, make sure the rotor disk is perpendicular to the gravity vector. This is a technical way of saying that the rotor disk should be level to lift the helicopter straight up and away from the ground.
How do you know that the rotor disk is level? If you put the helicopter on the ground and it tilts slightly in any direction, the rotor disk will tilt in that direction, and it will not be level. By thinking that the rotor disk should be perpendicular to gravity, this will help make the disk level.
Imagine placing your helicopter down on the side of a hill so it's tilting quite a bit to the right. As you increase power and collective, the rotor disk will be tilted to the right, and the helicopter will lift off in that direction. A simple solution is to level the rotor disk so the helicopter will lift straight up, which in this case means applying left cyclic.
You might have seen a helicopter lift off and immediately move in one direction or another, rather than maintain a steady hover position. Although this may happen for several reasons, the most common one is that the pilot does not ensure that the rotor disk is level prior to takeoff, so the helicopter starts to move in the direction commanded by the rotor disk.
A technique you may want to try is to place the helicopter on as level a spot as possible. Then add the power and collective to bring the rotor disk up to speed, but not enough to get the helicopter light on the skids. With the right stick, gently move the rotor disk right and left and back and forth. You should see the rotor disk follow your commands, and you can visualize when the disk is in a level position. Maintain that right-stick position and add a little more collective to get the helicopter into a hover.
However, as the helicopter starts to become airborne, a control correction will have to be made to keep the rotor disk level — this is true for any flying helicopter. They will not fly themselves without continuous attention.
CGS Electronics Rapid Charger
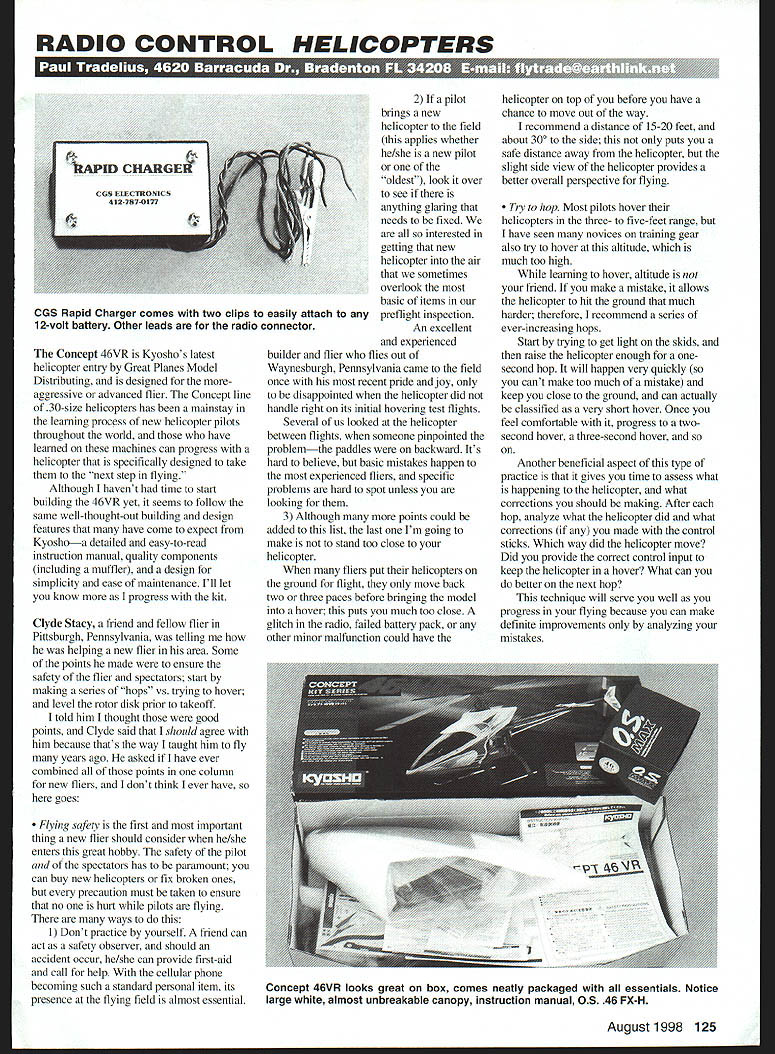
CGS Electronics (Steubenville Pike, Oakdale, PA 15071; Tel.: (412) 787-0923) has come out with an improved version of its Rapid Charger. I wrote about this product several years ago, and it continues to make a nice addition to any field box.
The idea is to keep your batteries fully charged throughout the day, no matter how many times you fly. Attach the Rapid Charger to your 12-volt battery and plug it into your helicopter battery pack. In a few minutes the light will go out, indicating that the battery pack is back to a full charge and ready to go.
With the improvements in electronics over the past few years, the weak link in system reliability has to be the batteries, so anything to keep them working is one less thing to worry about.
Keep in touch and send your questions and comments to me at flytrader@earthlink.net.
Transcribed from original scans by AI. Minor OCR errors may remain.

