
RADIO CONTROL HELICOPTERS
Paul Tradelius, 4620 Barracuda Dr., Bradenton FL 34208 E-mail: flytrade@earthlink.net
Correspondence and E-mail
Several months ago I joined the electronics age and got an ISP, which gave me an E-mail address. I asked Model Aviation to include my address in the column so readers and I could better stay in touch. That worked well — I have received many letters, including questions and comments, which is exactly what I wanted: to know what readers are interested in and to make the column more useful.
However, there have been a few glitches. From time to time I receive messages back that begin with "this is the second time I have written" or "I am just unable to respond to the sender." I'm not sure what happens to your mail if I don't get it — whether it falls into some sort of black hole or I accidentally delete it before reading. When I do get mail I often cannot send a reply; hitting "reply" should be a no-brainer, but sometimes I receive delivery-failure messages for technical reasons I don't understand.
I'm still learning this E-mail stuff, so please bear with me. If you send a message and don't get a response within a few days, please resend it. If you still don't get a reply, make sure your return address is correct and working.
O.S. .46 FX-H installation and initial troubleshooting
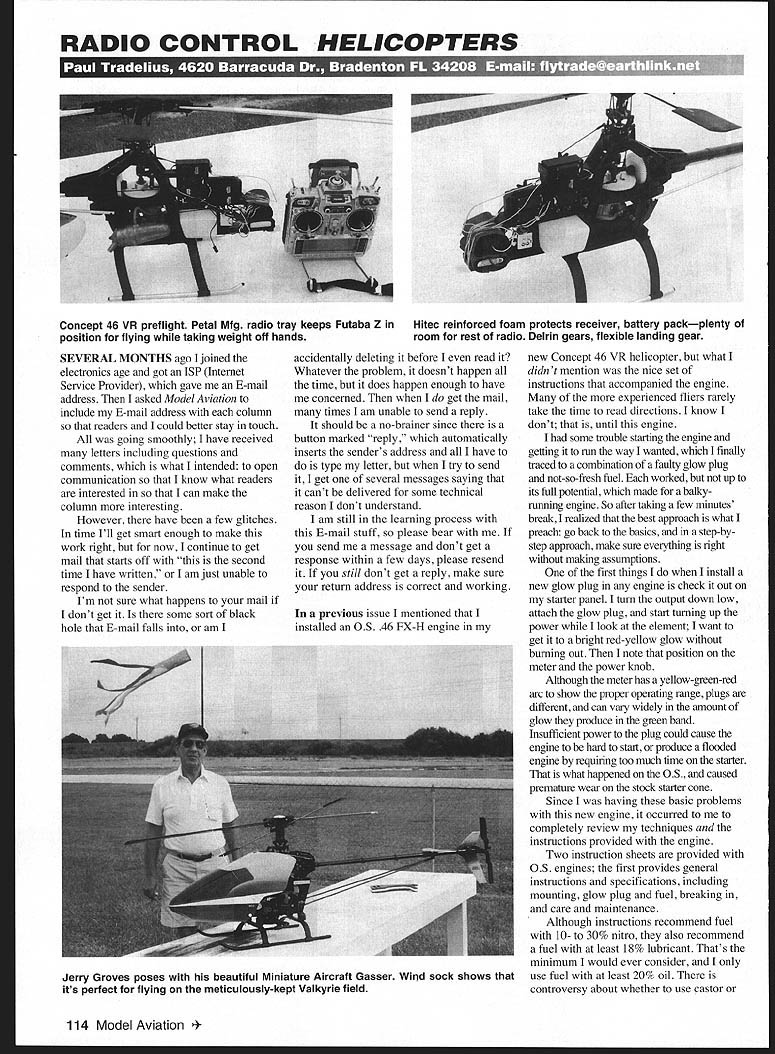
In a previous issue I mentioned installing an O.S. .46 FX-H engine in my new Concept 46 VR helicopter. What I didn't mention then was the helpful set of instructions that came with the engine. Like many experienced fliers, I rarely read directions — until this engine forced me to.
I had trouble starting the engine and getting it to run properly. The problem turned out to be a combination of a faulty glow plug and not-so-fresh fuel. Each component worked, but not at full potential, which produced a balky-running engine and premature wear on the stock starter cone. That made me step back and review my techniques and the manufacturer's instructions.
One of the first things I do when I install a new glow plug is check it on my starter panel:
- Turn the output down low and attach the glow plug.
- Slowly turn up the power while watching the element.
- Get it to a bright red-yellow glow without burning it out.
- Note the position on the meter and the power knob.
Although the meter has a yellow-green-red arc indicating proper operating range, glow plugs vary widely in how they glow in the green band. If you provide insufficient power to the plug it can make the engine hard to start or require excessive starter time, which can wear the starter cone prematurely.
Fuel and break-in recommendations
- The instructions recommend fuel with 10–30% nitro and at least 18% lubricant. I consider 18% the minimum; I only use fuel with at least 20% oil.
- There is controversy over castor vs. synthetic oil; whatever you choose, use 20% oil.
- The instructions recommend a short break-in period: run slightly rich for the first few flights by setting the main needle valve a little open for full power.
- Although I prefer to break an engine on the bench, with this engine I haven't needed to; after a few flights it hovers in a general-flight mode.
Carburetor adjustments
The engine came with a second instruction sheet specific to carburetor setup. It presents an extensive procedure, showing steps in a flow-chart (Christmas-tree) fashion. There are two adjustments on the carburetor: the main and idle (referred to in the instructions as the "Mixture Control Valve").
Definitions and approach:
- The main needle valve is the primary mixture adjustment for the engine and should be set to provide maximum power at full throttle.
- The idle needle valve adjusts mixture at idle and part-throttle speeds.
I disagree with the instructions that tell you to adjust the idle needle valve first and then the main. The main needle valve must be set first before any meaningful idle and acceleration adjustments can be established.
Other practical points:
- Make all adjustments with the fuel tank 1/4–1/3 full. When the tank is low the engine has a tougher time getting fuel up to the carburetor; the instructions do not consider this.
- With the main and idle needle valves set per the instructions, the engine should start and the helicopter can be brought into a hover. Slight adjustments to the main needle valve can be made to keep the engine slightly rich for break-in before adjusting the idle.
Safety reminder:
- Bring the rotor blades to a stop before making any engine adjustments, and hold the throttle stick at full idle with your finger (or a friend's). I've had the wind blow my neck strap or a piece of clothing into the throttle stick and end up holding onto the rotor head for dear life — don't let that happen to you.
My idle adjustment technique — the "pinch test"
The instructions suggest adjusting the idle needle valve and then fine-tuning both main and idle for good throttle response from idle to full power. I disagree: once the main needle valve is set for the desired top end, do not lean the main further — that will make the engine lean at full power and cause excessive heat and wear. Leave the main where it provides full power and tune the idle with the idle needle valve.
To judge idle mixture I use the "pinch test":
- Bring the engine to idle.
- Pinch the fuel line from the tank to the engine while listening to the engine.
- Pinching restricts fuel and forces the engine toward a lean condition. The engine should increase in speed slightly for 2–4 seconds after pinching, then begin to die from lack of fuel.
- If the rpm increases for more than 4 seconds, the idle mixture is too rich — close the idle needle valve about 1/4 turn and test again.
- If the rpm does not increase much or the engine starts to die right away, the idle mixture is too lean — open the idle needle valve about 1/8 turn and test again.
This technique has worked well on many model engines and provides a good baseline for minor adjustments determined by flight characteristics.
Additional adjustment notes
- High-nitro fuels run richer than mild fuels, so needle valves need to be opened slightly when using them.
- Throttle response at hover is also affected by the relationship between main rotor pitch angle and throttle opening. You may be hovering at a low rotor/engine speed with a high collective pitch setting, which can bog the engine when climbing. Consider collective pitch and throttle together when making carb adjustments.
Flight impressions and setup for the Concept 46 VR
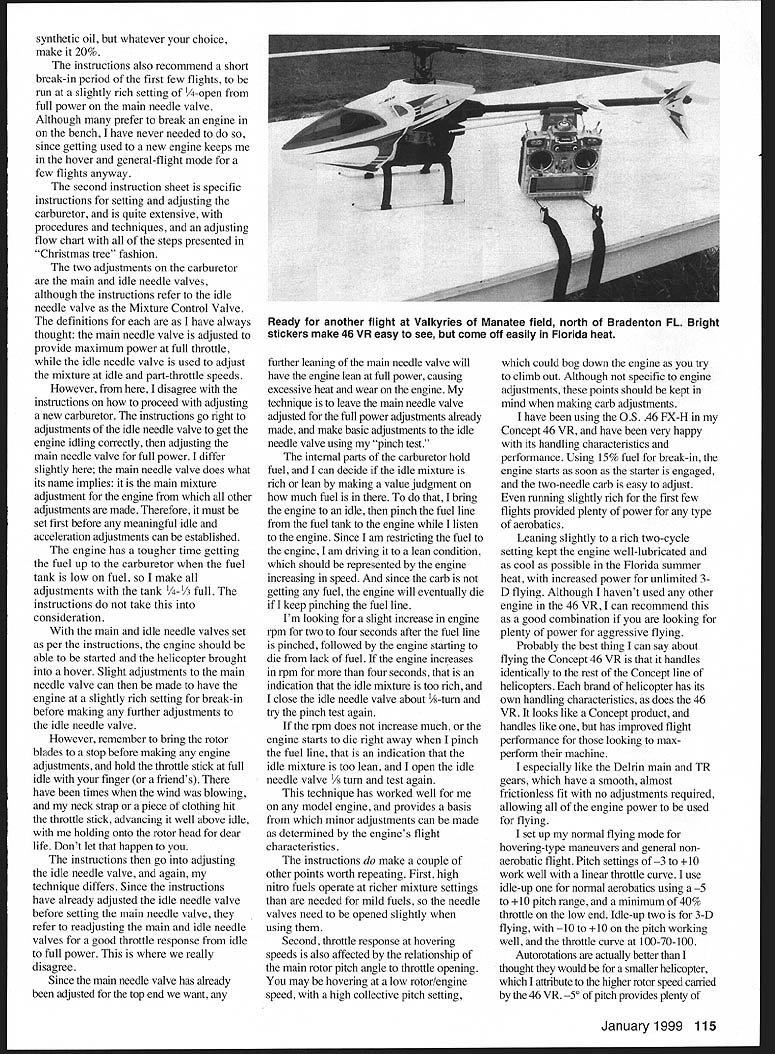
I've been using the O.S. .46 FX-H in my Concept 46 VR and am very happy with its handling and performance. Using 15% fuel for break-in, the engine starts as soon as the starter is engaged, and the two-needle carb is easy to adjust. Running slightly rich for the first few flights provided plenty of power for aerobatics.
Leaning slightly rich for two-stroke lubrication kept the engine well-lubricated and as cool as possible in the Florida summer, while still providing increased power for unlimited 3-D flying. I haven't used any other engine in the 46 VR, but I can recommend this combination for pilots seeking plenty of power for aggressive flying.
The Concept 46 VR handles identically to the rest of the Concept line: it looks and handles like a Concept product but with improved performance for those looking to maximize their machine. I especially like the Delrin main and tail rotor gears; they have a smooth, almost frictionless fit with no adjustments required, allowing all engine power to be used for flying.
Typical setup I use:
- Hover/general non-aerobatic flight: pitch settings of -3 to +10 with a linear throttle curve.
- Idle-up 1 (standard aerobatics): pitch range +5 to +10, minimum 40% throttle on the low end.
- Idle-up 2 (3-D flying): pitch range -10 to +10, throttle curve set at 100-70-100.
Autorotations:
- Autorotations are better than I expected for a small helicopter, likely due to the higher rotor speed carried by the 46 VR.
- -5° of pitch provides plenty of negative pitch to get you down. I recommend keeping forward flight until close to the ground so you can use the reserve collective for a smooth touchdown.
Blades
Great Planes Model Distributors (2904 Research Rd., Champaign IL 61826) has two new Heli-Max 550 mm blades that should work well on the 46 VR:
- A fully symmetrical printed sport blade: precolored wood blade with a colorful design on top and a white bottom. The color difference should improve flight orientation during aggressive aerobatics or when flying at greater distances.
- The Heli-Max FRP 550 mm all-white fiberglass blade: fully symmetrical, tapered tip, thinner profile for increased rotor speed and performance.
I'll be flying with these blades and will report on their performance.
Until the next issue, let's keep in touch via E-mail.
Transcribed from original scans by AI. Minor OCR errors may remain.

