
Radio Control: Helicopters
Paul Tradelius 4620 Barracuda Dr., Bradenton FL 34208 E-mail: ilytrade@earthlink.net
Pinch Test for Idle Mixture
I received an E-mail about a column I wrote several issues ago concerning my "pinch test" for judging an engine's idle-mixture setting. The reader was concerned about how long to pinch the fuel line because they were seeing different results than I mentioned.
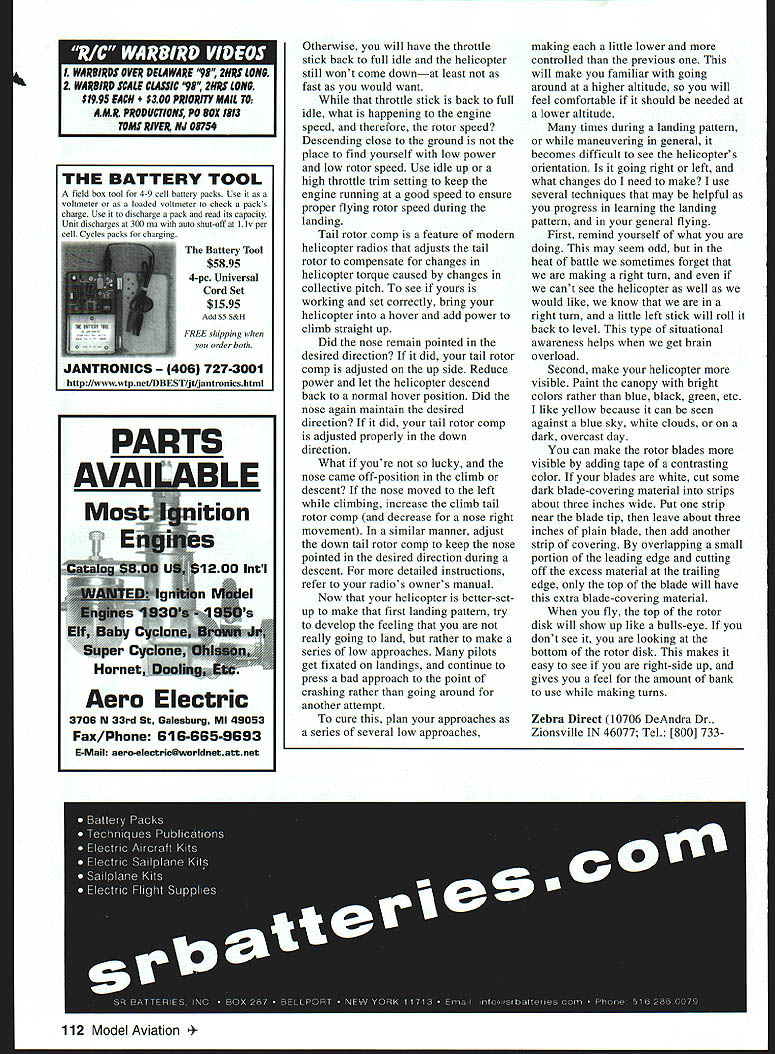
- Pinch the line until you see a result. With the engine at idle, pinch the line to stop fuel flow; this makes the engine run leaner. If you continue to constrict the line, the engine will quit from lack of fuel.
- On a properly adjusted idle mixture, pinching the fuel line will allow the engine to increase rpm slightly during a three- to four-second period; then rpm will decrease because of fuel starvation.
- If the engine's rpm does not increase when pinched, the idle mixture may be too lean.
- If rpm increases for more than four seconds, the idle mixture is too rich.
Adjusting the Main Needle Valve
Adjusting the main needle valve cannot be done with the engine running wide-open on the helicopter. I strongly advise against strapping a helicopter to a test stand or table and attempting main-needle adjustments at full throttle for two reasons:
- Safety: adjusting the mixture at full throttle puts you too close to spinning rotor blades. Any accident, such as the helicopter coming loose, could be fatal.
- Accuracy: a test stand or table restricts the downward flow of air through the rotor disk and increases drag compared to a normal hover. Full-throttle conditions in actual flight involve much greater air-mass flow and cannot be accurately simulated on a test stand.
When Using a Test Stand for Break-In
Some people bench-run engines to break them in and make initial adjustments. If you replace the rotor system with a suitable propeller to load the engine (as for fixed-wing aircraft), the pinch test can be used for both idle and main-needle adjustments.
- Start with the manufacturer's recommended main-needle setting.
- To ensure the engine is on the rich side for break-in and cooling, open the main needle 1/8 to 1/4 turn farther than recommended.
- With the engine at full throttle, pinch the fuel line for a second or two and note changes in sound and rpm. With a slightly rich setting you should see a slight rpm increase as excess fuel is burned off.
- Close the main needle valve slightly and repeat. If the engine still increases rpm when pinched, it remains rich. Continue closing until the engine no longer increases rpm when pinched.
- If the engine decreases rpm immediately (without first increasing) when pinched, the mixture is too lean and that is harmful to the engine.
Bench-Run vs Installed Engines and Break-In
My preference is to install the engine in the helicopter and run it slightly rich for the first few flights. I don't claim to be an expert, and I leave detailed engine work to those more knowledgeable. Modern helicopter engines and manufacturing techniques have made break-in less critical than in the past, but keep an open mind and consider these points:
- Older practice required careful break-in for maximum power and long life.
- New metal technologies and manufacturing make many engines nearly ready to fly out of the box.
- Running slightly rich for initial flights helps cooling and lubrication.
I welcome readers' thoughts on whether engine break-in is necessary today.
Transitioning from Forward Flight Back to a Hover
I received E-mail from a flier progressing in hovering and forward flight but having trouble transitioning back to a hover.
Common, but problematic, technique:
- Flying at altitude, stopping the helicopter in front of you, then descending into a hover. This can be difficult because the helicopter descends into its own downwash, affecting controls and causing instability, especially in calm winds.
Best options:
- Have help from an experienced flier using a buddy box.
- If that's not available, prepare the helicopter and yourself before attempting approaches and landings.
Setup Checks Before Practicing Approaches
- Collective pitch range: Check with a pitch gauge and ensure sufficient negative pitch (about -3° to -5°). Negative pitch helps descend while maintaining rotor speed.
- Rotor speed: Prevent engine/rotor speed decay in descent. If rotor speed falls, tail-rotor effectiveness drops and you may yaw. Practice descents while keeping rotor speed up by applying a little throttle or increasing governor settings.
- Use idle-up or a high throttle-trim setting to keep the engine at a good speed during landings.
Tail Rotor Compensation (Tail Rotor Comp)
Tail-rotor comp compensates for torque changes caused by collective changes.
- Test it: Hover, then add power to climb straight up. If the nose stays pointed, the climb tail-rotor comp is correct.
- Reduce power to descend: If the nose stays pointed, the down tail-rotor comp is correct.
- If the nose moves left during climb, increase the climb tail-rotor comp (decrease if it moves right). Adjust the down comp similarly for descent. Refer to your radio's manual for detailed instructions.
Approach and Landing Technique
- Think of approaches as a series of low approaches rather than one committed landing. Many pilots fixate on landing and will press a bad approach rather than go around.
- Plan several low approaches, each a bit lower and more controlled. This builds familiarity with executing a go-around from higher altitude and reduces the urge to continue a poor approach.
- Make approaches slowly and use small control inputs.
Maintaining Orientation and Visibility
Losing sight of orientation during landing or maneuvers is common. Techniques to help:
- Maintain situational awareness: Remind yourself what you are doing (for example, "I'm in a right turn"). This helps recover when visual cues are limited.
- Make the helicopter more visible: Paint the canopy in bright colors (I prefer yellow) so it stands out against sky or clouds.
- Make rotor blades more visible: Add contrasting tape or blade-covering strips near the tips, leaving alternating plain sections so the top of the rotor disk displays a bulls-eye when viewed from above. If you see the bulls-eye, the rotor disk top is facing you; if not, you are looking at the bottom. This helps judge orientation and bank amount.
Electronics and Servos
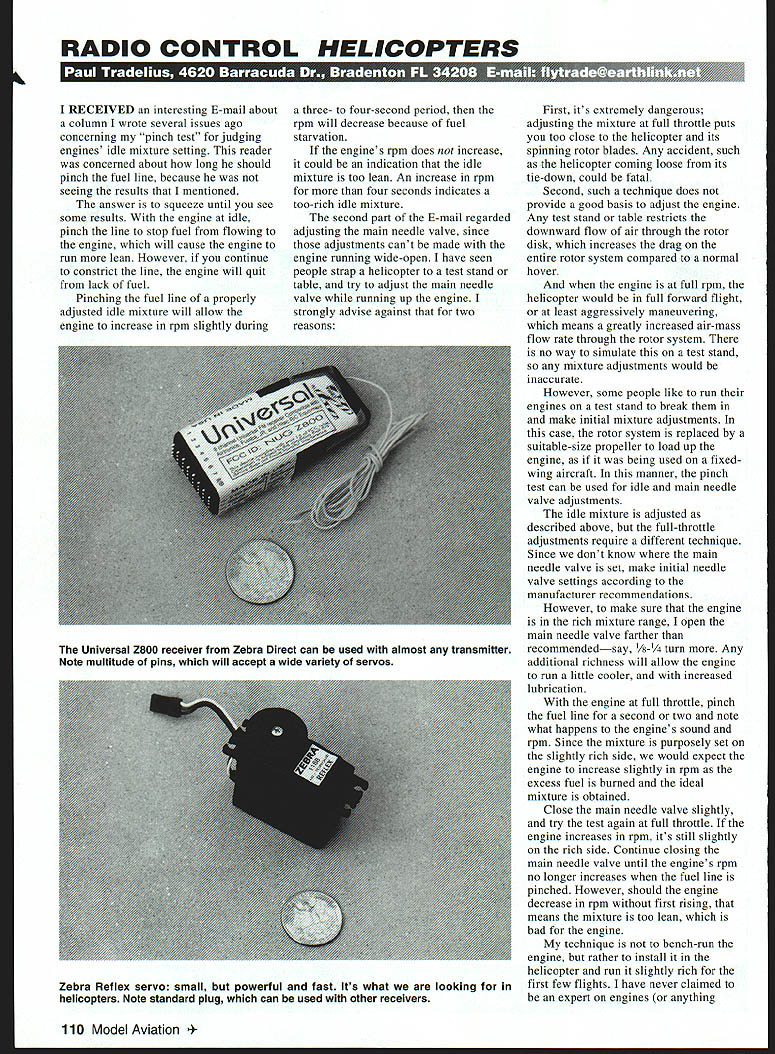
Zebra Direct produces a nice line of aftermarket electronics for helicopters. I have been using the Universal Z800 FM receiver for a few weeks and found it extremely reliable with no glitches.
- The Z800 has a distinctive, slim "candy bar" shape with servos plugged into the end.
- It uses universal decoding, allowing use with almost any FM transmitter (Futaba, JR, Airtronics, Hitec, etc.) by fitting the proper crystal for your transmitter frequency.
- The Z800 supports different servo pinouts: it has four pins per channel with a diagram showing how to plug in Futaba, JR, or Airtronics servos. For example, the bottom three pins are for Futaba/JR servos (ground on top), while Airtronics servos plug into the top three pins (signal on top).
- Mixing servo brands on one helicopter should be possible, which is useful if you have older servos in storage.
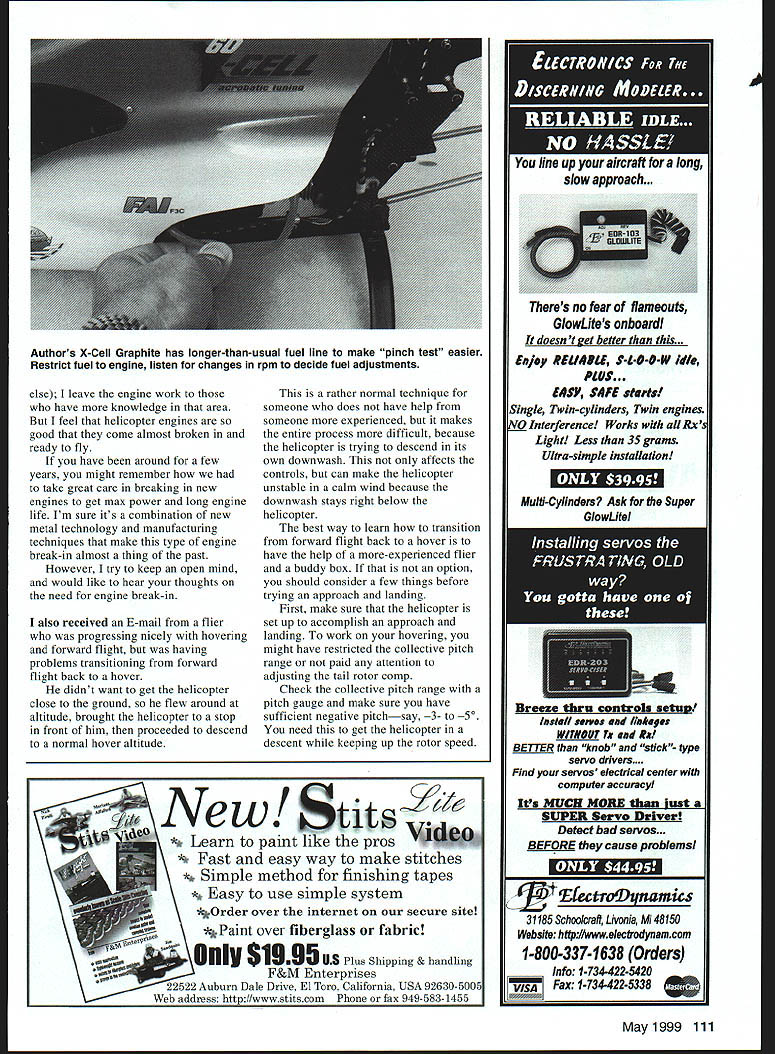
Zebra Direct also offers servos such as the Pro Reflex 1188 with metal gears. Its specs are impressive: 130 oz-in torque and a 0.24-second transit time for 60° rotation—well-suited for helicopter use. I'm impressed with the component quality I've seen from Zebra Direct.
Transcribed from original scans by AI. Minor OCR errors may remain.

