
Radio Control: Helicopters
Dave Chesney
I want to thank all the fellows who've written or called me during the past months. I think I've answered all the letters, but occasionally I lose some in the shop and find them weeks later. I'm getting better, though, so if you haven't gotten a reply from me, write again.
This month the weather is better, and I've decided to do more flying and less writing. I hope these few ramblings will hold your interest while I recoup a few flying skills.
Flybar straightening
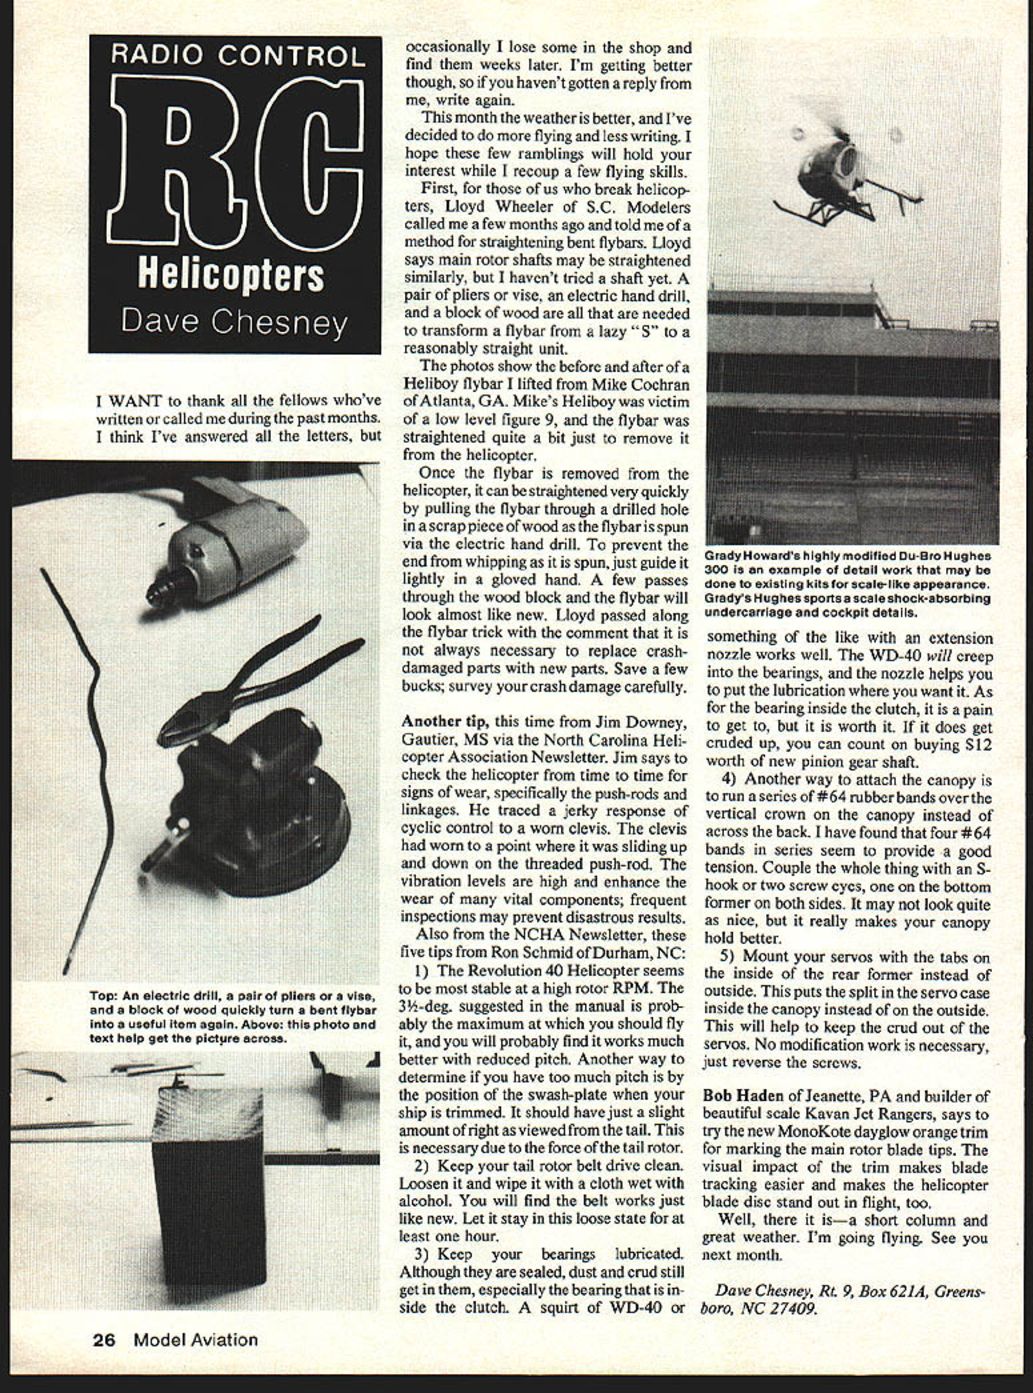
First, for those of us who break helicopters, Lloyd Wheeler of S.C. Modelers called me a few months ago and told me of a method for straightening bent flybars. Lloyd says main rotor shafts may be straightened similarly, but I haven't tried a shaft yet. A pair of pliers or vise, an electric hand drill, and a block of wood are all that are needed to transform a flybar from a lazy "S" to a reasonably straight unit.
The photos show the before and after of a Heliboy flybar I lifted from Mike Cochran of Atlanta, GA. Mike's Heliboy was the victim of a low-level figure 9, and the flybar was straightened quite a bit just to remove it from the helicopter.
Once the flybar is removed from the helicopter, it can be straightened very quickly by pulling the flybar through a drilled hole in a scrap piece of wood as the flybar is spun with the electric hand drill. To prevent the end from whipping as it is spun, just guide it lightly in a gloved hand. A few passes through the wood block and the flybar will look almost like new. Lloyd passed along the flybar trick with the comment that it is not always necessary to replace crash-damaged parts with new parts. Save a few bucks; survey your crash damage carefully.
Inspection and maintenance
Another tip, this time from Jim Downey, Gautier, MS, via the North Carolina Helicopter Association Newsletter: check the helicopter from time to time for signs of wear, specifically the push-rods and linkages. He traced a jerky response of cyclic control to a worn clevis. The clevis had worn to the point where it was sliding up and down on the threaded push-rod. The vibration levels are high and enhance the wear of many vital components; frequent inspections may prevent disastrous results.
Also from the NCHA Newsletter, these five tips from Ron Schmid of Durham, NC:
- The Revolution 40 helicopter seems to be most stable at a high rotor RPM. The 3-1/2-degree suggested in the manual is probably the maximum at which you should fly it, and you will probably find it works much better with reduced pitch. Another way to determine if you have too much pitch is by the position of the swash-plate when your ship is trimmed. It should have just a slight amount of right as viewed from the tail. This is necessary due to the force of the tail rotor.
- Keep your tail rotor belt drive clean. Loosen it and wipe it with a cloth wet with alcohol. You will find the belt works just like new. Let it stay in this loose state for at least one hour.
- Keep your bearings lubricated. Although they are sealed, dust and crud still get in them, especially the bearing that is inside the clutch. A squirt of WD-40 or something of the like with an extension nozzle works well. The WD-40 will creep into the bearings, and the nozzle helps you put the lubrication where you want it. As for the bearing inside the clutch, it is a pain to get to, but it is worth it. If it does get crudded up, you can count on buying $12 worth of new pinion gear shaft.
- Another way to attach the canopy is to run a series of #64 rubber bands over the vertical crown on the canopy instead of across the back. I have found that four #64 bands in series seem to provide a good tension. Couple the whole thing with an S-hook or two screw eyes, one on the bottom former on both sides. It may not look quite as nice, but it really makes your canopy hold better.
- Mount your servos with the tabs on the inside of the rear former instead of outside. This puts the split in the servo case inside the canopy instead of on the outside. This will help to keep the crud out of the servos. No modification work is necessary, just reverse the screws.
Bob Haden of Jeannette, PA, and builder of beautiful scale Kavan Jet Rangers, says to try the new MonoKote dayglow orange trim marking the main rotor blade tips. The visual impact of the trim makes blade tracking easier and makes the helicopter blade disc stand out in flight, too.
Well, there it is — a short column and great weather. I'm going flying. See you next month.
Dave Chesney Rt. 9, Box 621A Greensboro, NC 27409
Transcribed from original scans by AI. Minor OCR errors may remain.

