
Radio Control: Helicopters
Dave Chesney
I had a column bumped for Nats coverage, and then missed one due to personal conflicts, so this column could be a bit old by the time you read it. If it's the spring of 1983, I hope you are planning to attend at least one helicopter meet during the coming flying season and that all of your machines have been cleaned up and are ready to go.
A few months ago George Myers wrote an excellent "Radio Technique" column on the Apollo radio, followed by one on gyros. I appreciate everyone who wrote to say how useful those columns were. George and I had similar projects and ideas at that time, so I hope we didn't overkill the subjects. If you are flying helicopters or thinking about starting, George's gyro column is well worth looking up. Watch my column for the latest information on my seven-year-old radio system, but see George for much of the technical detail.
Recent Projects and the Heliboy
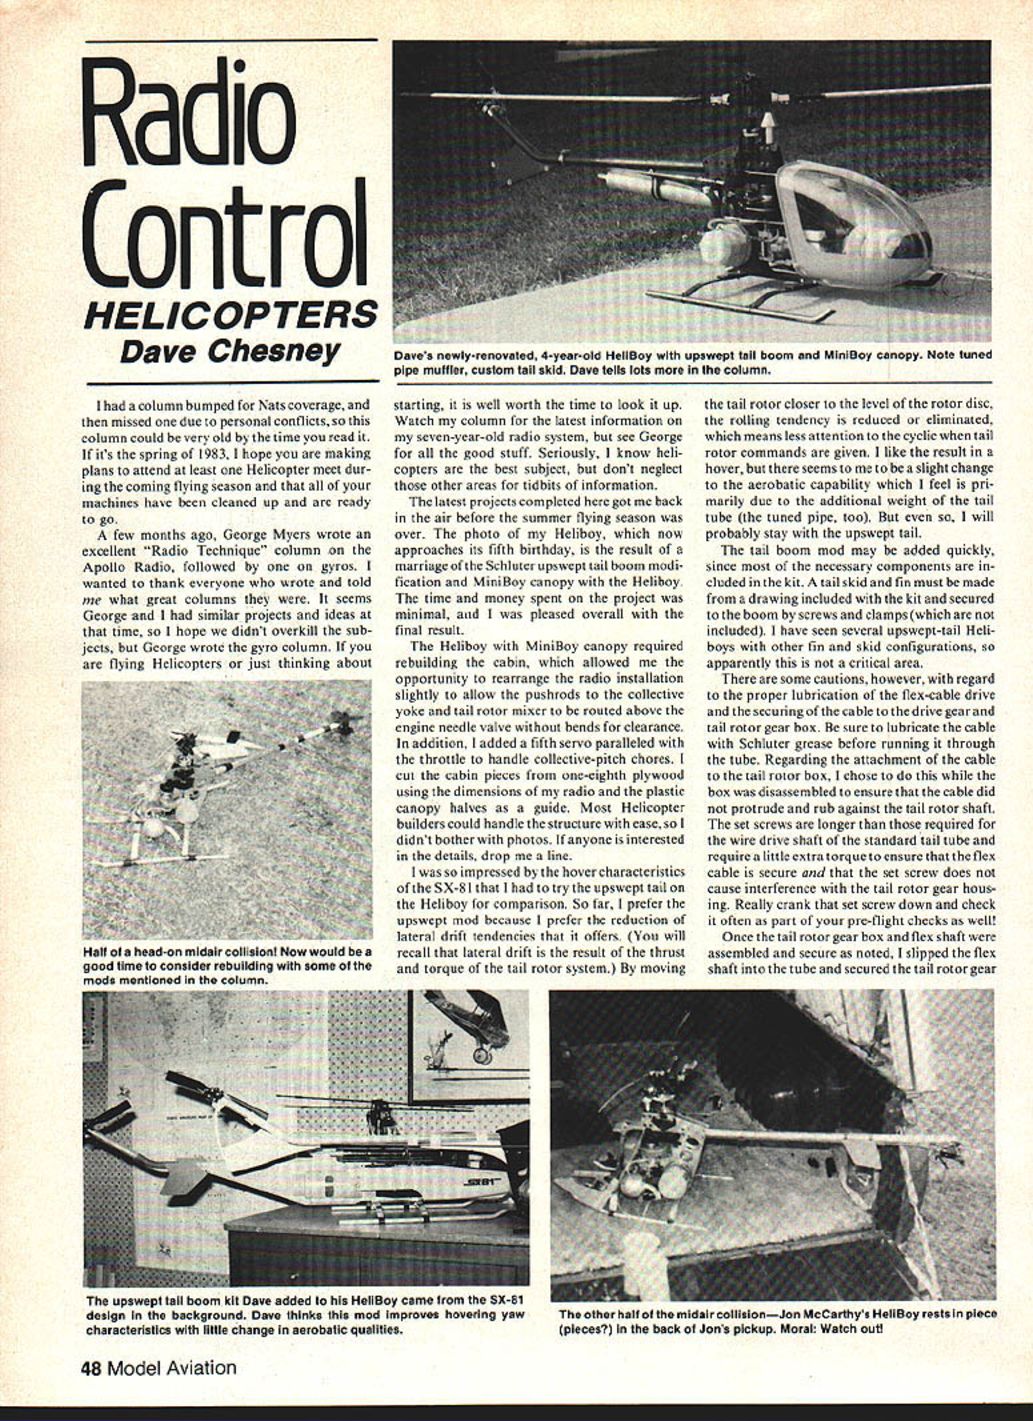
The latest projects got me back in the air before the summer flying season ended. My Heliboy, which now approaches its fifth birthday, is the result of marrying the Schluter upswept tail-boom modification and the MiniBoy canopy to the Heliboy. Time and money spent were minimal, and I'm pleased with the overall result.
Cabin and Radio Installation
The MiniBoy canopy required rebuilding the cabin, which gave me the opportunity to rearrange the radio installation. I routed the pushrods for the collective yoke and tail-rotor mixer above the engine and needle valve to avoid bends for clearance. I also added a fifth servo paralleled with the throttle to handle collective-pitch chores.
- Cabin pieces were cut from 1/8" plywood using the radio dimensions and the plastic canopy halves as a guide.
- Most helicopter builders should handle this structure easily; I did not include photos. If anyone wants details, drop me a line.
Flight Characteristics and Upswept Tail
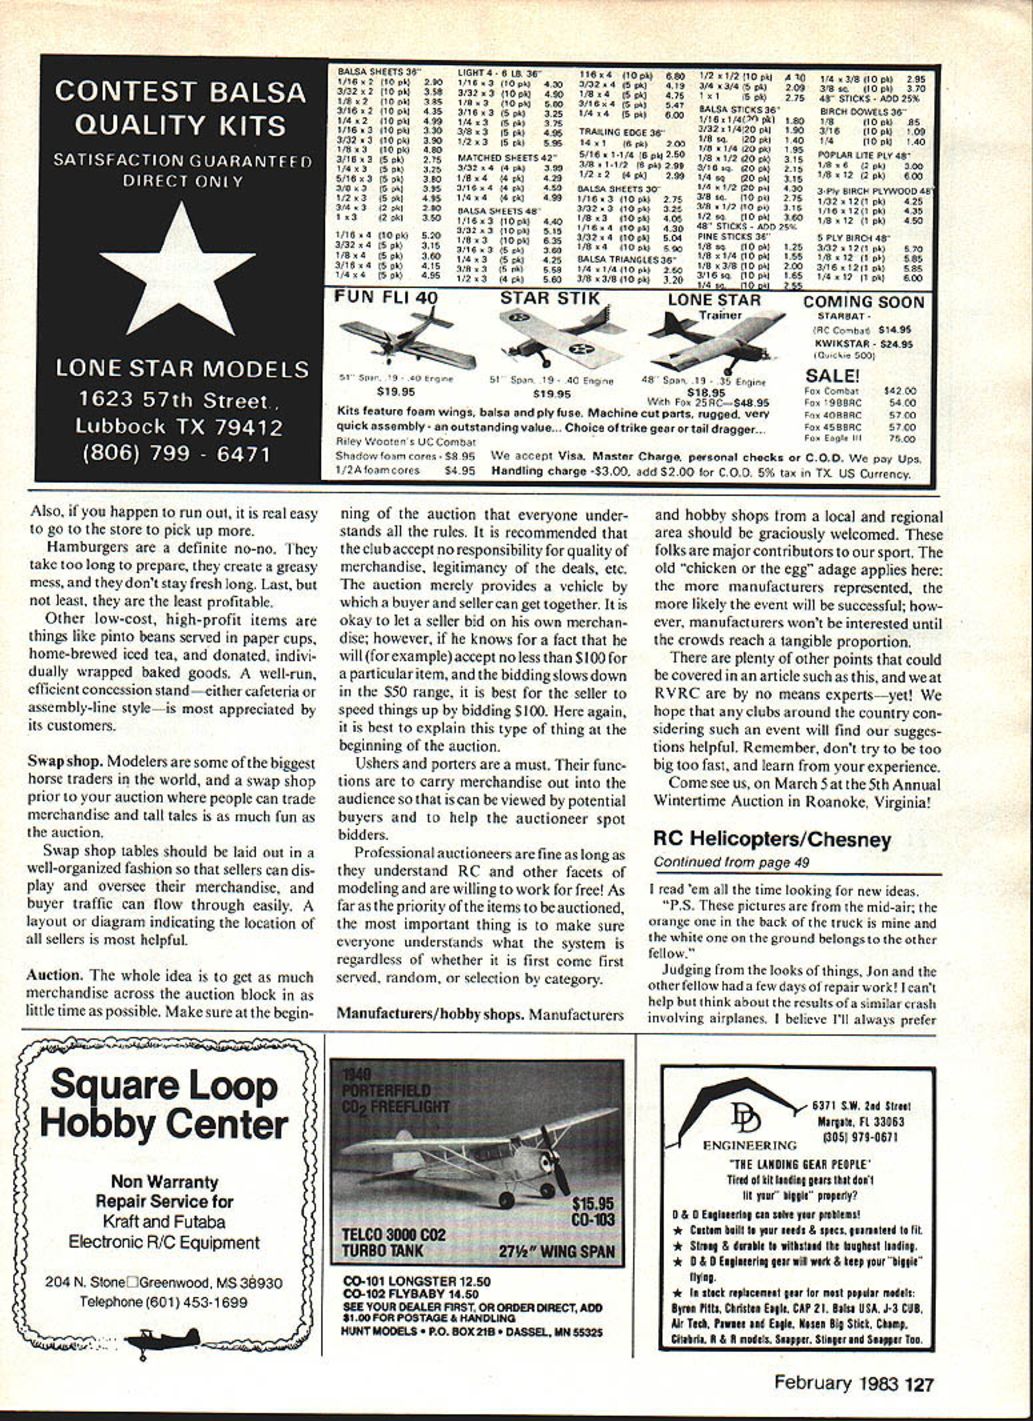
I was impressed by the hover characteristics of the SX-81 and tried the upswept tail on the Heliboy for comparison. So far, I prefer the upswept modification because it reduces lateral drift tendencies. Lateral drift results from the thrust and torque of the tail-rotor system; by moving the tail rotor closer to the level of the rotor disc, the rolling tendency is reduced or eliminated. That means less attention to the cyclic when tail-rotor commands are given.
There may be a slight change in aerobatic capability, primarily due to the additional weight of the tail tube (and the tuned pipe). Despite that, I will probably stay with the upswept tail.
Installing the Tail-Boom Modification
The tail-boom mod can be added quickly since most necessary components are included in the kit.
- The tail skid and fin must be made from the drawing included with the kit and secured to the boom.
- Clamps and screws are required to secure the assembly; some items may not be supplied.
- I've seen several upswept-tail Heliboys with different fin/skid configurations, so that area is not critical.
Lubrication and Flex-Cable Drive
There are important cautions regarding proper lubrication and securing of the flex-cable drive:
- Lubricate the flex cable with Schluter grease before running it through the tube.
- When attaching the cable to the tail-rotor gearbox, disassemble the box so the cable does not protrude or rub against the tail-rotor shaft.
- Use the correct set screws: they are longer for the flex cable than for the wire drive shaft and may require extra torque to secure properly.
- Torque those set screws down firmly and check them often as part of your preflight inspection.
Once the tail-rotor gearbox and flex shaft are assembled and secured, slip the flex shaft into the tube and secure the gearbox to the tail tube with the clamps. At the front gear axle, another long set screw secures the cable to the gear axle.
Cautions at this point:
- Ensure the cable is neither stretched nor bowed; allow it to find its natural running length within the brass flex-shaft guide tube.
- Make sure set screws do not protrude into or interfere with adjacent plastic gears or housings.
I noticed after installation that an extra-long set screw caused interference with the plastic main gear as the rotor turned. Remedy this to avoid in-flight failure:
- File the set screw down slightly for clearance and reinstall it, or
- Trim the plastic on the main gear where necessary.
Finally, recheck the center of gravity (CG) of the machine and add nose weight if required—the new tail tube is heavier than the standard unit.
Tools and Parts
Schluter U.S.A. offers special hardened Allen screwdrivers ideal for torquing down the set screws. They come in:
- 1.5 mm
- 2.5 mm
These are easier to keep track of than loose Allen wrenches in the flight box.
MiniBoy Owners and Warranty Cards
Schluter U.S.A. has replacement parts available for some MiniBoy issues reported in the field. Owners who sent in their owner cards will receive these parts free of charge. If you did not send in the card or if you are a second owner, write to Schluter U.S.A. If you are a second owner, include the name of the first owner in case the original card is still on file.
A general tip: always send in warranty and ownership cards regardless of manufacturer. Distributor owner files put you on mailing lists for newsletters and allow manufacturers to notify owners with airworthiness directives when problems are discovered. It’s a valuable service—use it.
Reader Letter: John McCarthy (Kenner, LA)
The photos of two crashed Heliboys and the following letter were received from John McCarthy of Kenner, LA:
"I thought I might drop you a line to say I'm sorry to hear about your SX-81 crashing. My Heliboy did the same thing, but at about 3 ft. above ground level, so I only broke the blades. I've since ground flats on the soldered ends of the flex cable to prevent set-screw slippage.
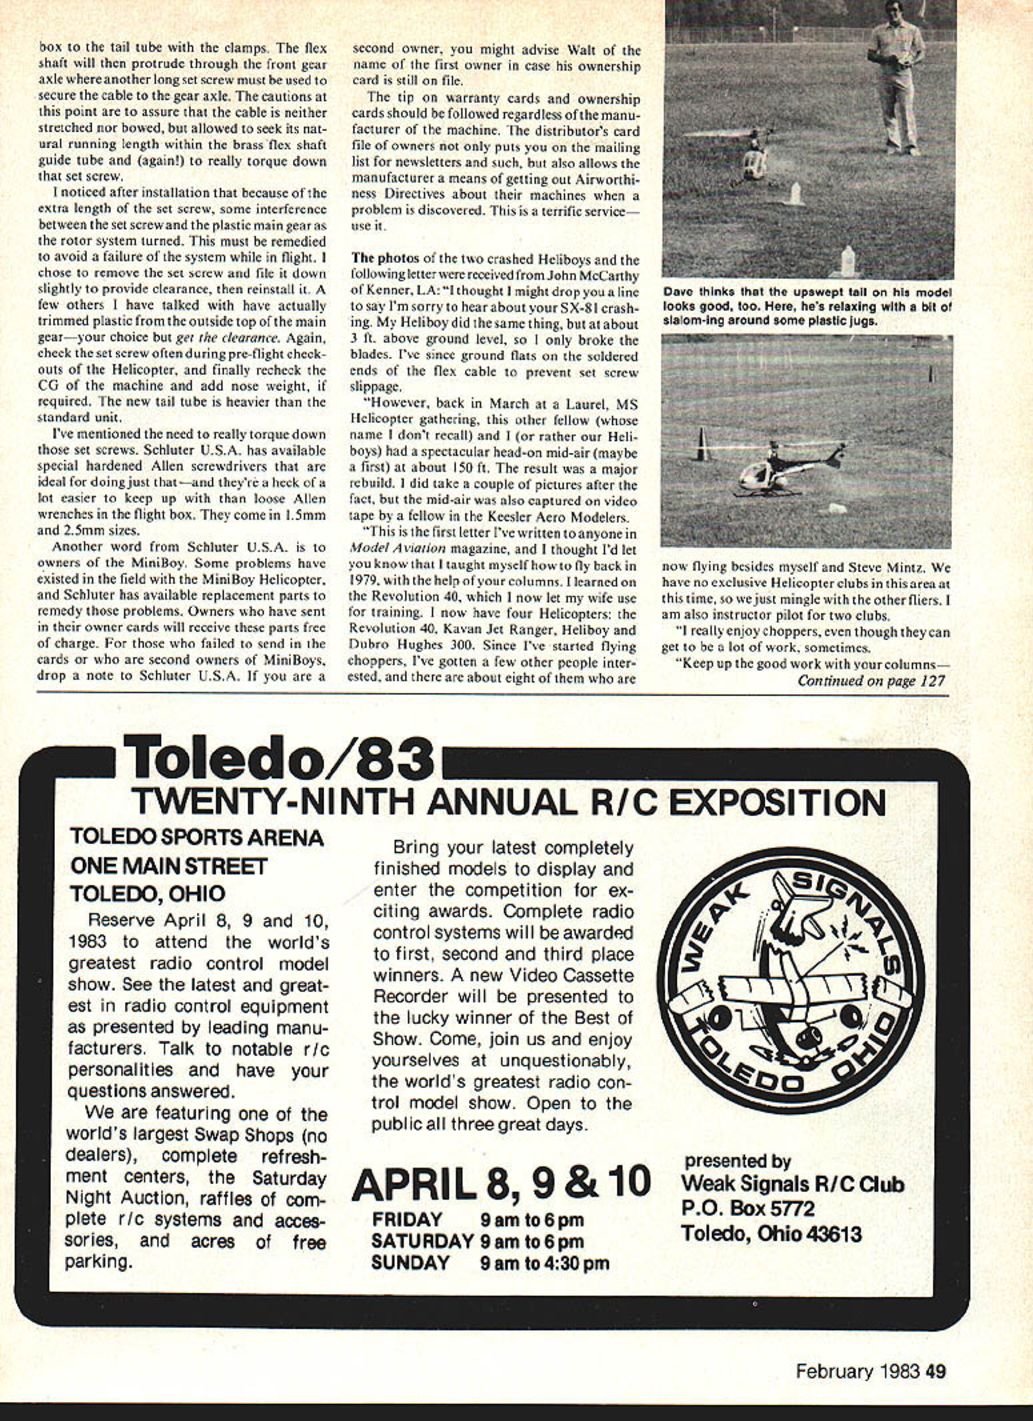
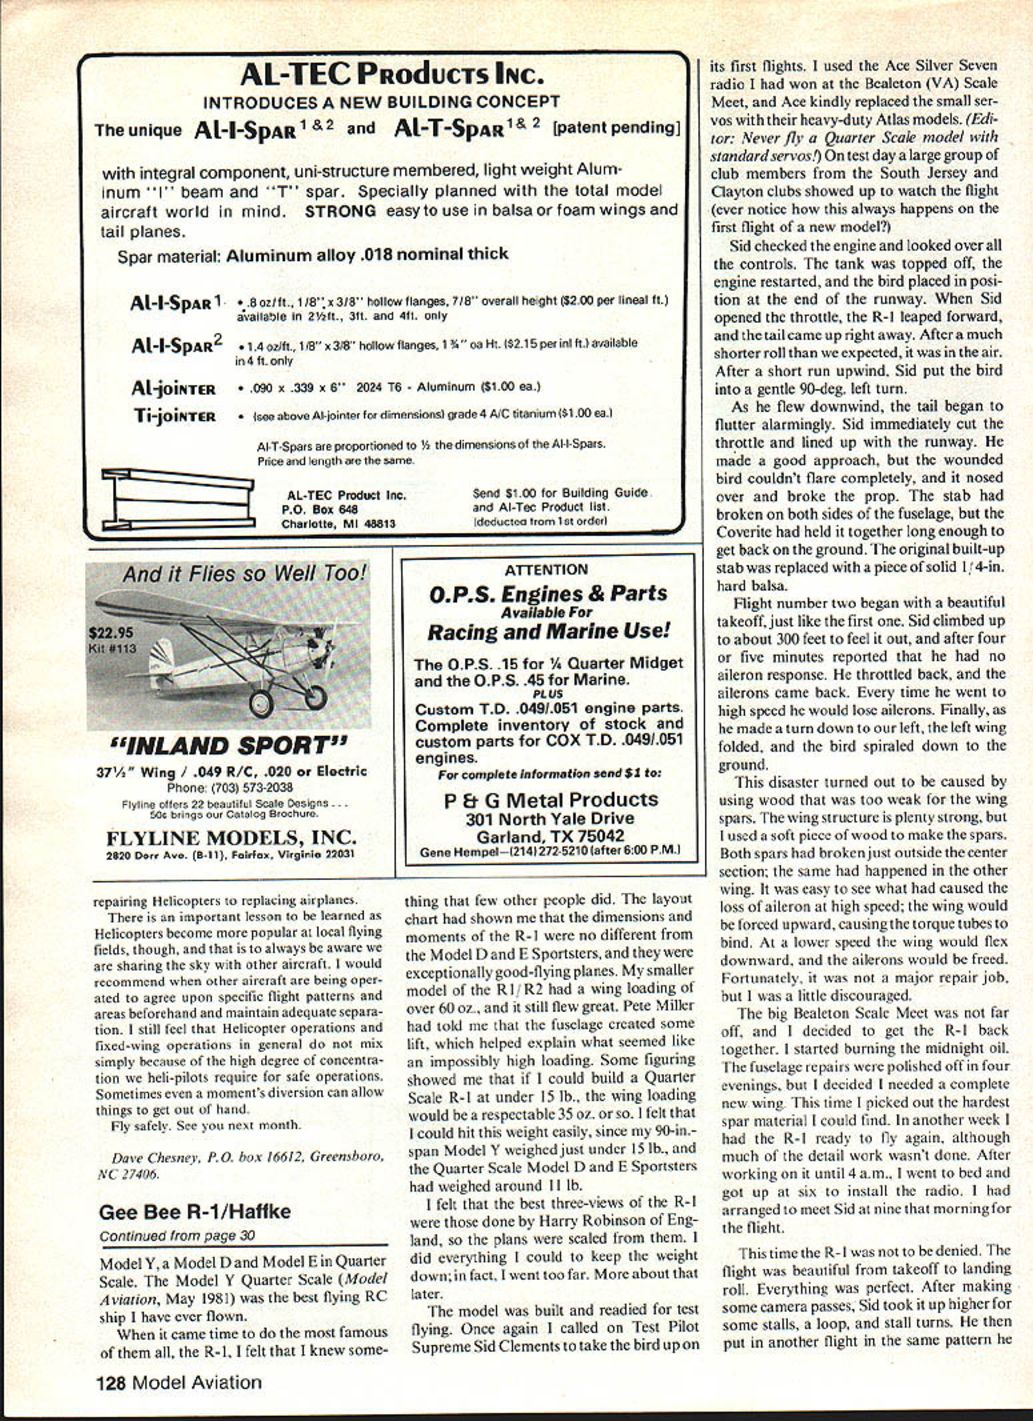
"Back in March at a Laurel, MS helicopter gathering, another fellow and I (or rather our Heliboys) had a spectacular head-on mid-air at about 150 ft. The result was a major rebuild. I took a couple of pictures afterward, and the mid-air was also captured on videotape by a fellow in the Keesler Aero Modelers.
"This is the first letter I've written to anyone in Model Aviation magazine. I taught myself how to fly back in 1979 with the help of your columns. I learned on the Revolution 40, which I now let my wife use for training. I now have four helicopters: the Revolution 40, Kavan Jet Ranger, Heliboy and Dubro Hughes 300. Since I started flying choppers, I've gotten a few other people interested; there are about eight of them now flying besides myself and Steve Mintz. We have no exclusive helicopter clubs in this area at this time, so we just mingle with the other fliers. I am also instructor pilot for two clubs.
"I really enjoy hoppers, even though they can be a lot of work sometimes. Keep up the good work with your columns—"
Safety and Field Operations
As helicopters become more popular at local flying fields, it's important to be aware that we share the sky with other aircraft. I recommend:
- Agreeing beforehand on specific flight patterns and operating areas when other aircraft are present.
- Maintaining adequate separation between helicopter and fixed-wing operations.
- Recognizing that helicopter flying often requires a high degree of concentration; even a momentary diversion can lead to problems.
I still feel that helicopter operations and fixed-wing operations do not always mix well because of the concentration required for safe helicopter flight. Plan and communicate to keep everyone safe.
Fly safely. See you next month.
Dave Chesney P.O. Box 16612, Greensboro, NC 27406
Transcribed from original scans by AI. Minor OCR errors may remain.

