
Radio Control: Helicopters
Walt Schoonard
WHEN I FIRST started writing for this magazine, I wrote about the Florida RC Helicopter Association and how it was conceived and organized. The magazine was rather new then, and I don't know if I got your attention with that article. The Florida club started out with two helicopter pilots wanting to fly with others. After our first organizational meeting a year ago last October on a rainy and blowing day, only one helicopter flew. However, several others did try. Now, a little over a year later at our fly-ins, we get at least 20, and they all fly! In fact, the sky is full of helicopters most of the time, and there is seldom a crash.
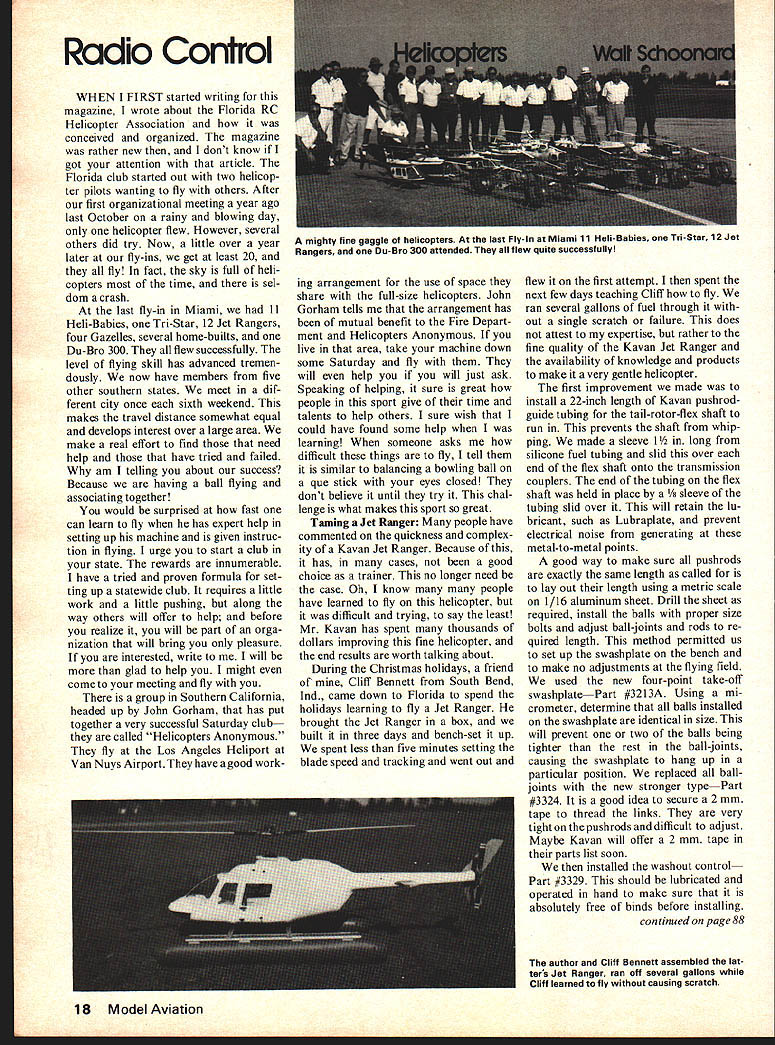
At the last fly-in in Miami, we had 11 Heli-Babies, one Tri-Star, 12 Jet Rangers, four Gazelles, several home-builts, and one Du-Bro 300. They all flew successfully. The level of flying skill has advanced tremendously. We now have members from five other southern states. We meet in a different city once each sixth weekend. This makes the travel distance somewhat equal and develops interest over a large area. We make a real effort to find those that need help and those that have tried and failed. Why am I telling you about our success? Because we are having a ball flying and associating together!
You would be surprised at how fast one can learn to fly when he has expert help in setting up his machine and is given instruction in flying. I urge you to start a club in your state. The rewards are innumerable. I have a tried and proven formula for setting up a statewide club. It requires a little work and a little pushing, but along the way others will offer to help; and before you realize it, you will be part of an organization that will bring you only pleasure. If you are interested, write to me. I will be more than glad to help you. I might even come to your meeting and fly with you.
There is a group in Southern California, headed up by John Gorham, that has put together a very successful Saturday club. They are called "Helicopters Anonymous." They fly at the Los Angeles Heliport at Van Nuys Airport. They have a good working arrangement for the use of space they share with the full-size helicopters. John Gorham tells me that the arrangement has been of mutual benefit to the Fire Department and Helicopters Anonymous. If you live in that area, take your machine down some Saturday and fly with them. They will even help you if you will just ask. Speaking of helping, it sure is great how people in this sport give of their time and talents to help others. I sure wish that I could have found some help when I was learning! When someone asks me how difficult these things are to fly, I tell them it is similar to balancing a bowling ball on a cue stick with your eyes closed! They don't believe it until they try it. This challenge is what makes this sport so great.
Taming a Jet Ranger: Many people have commented on the quickness and complexity of a Kavan Jet Ranger. Because of this, it has, in many cases, not been a good choice as a trainer. This no longer need be the case. Oh, I know many people have learned to fly on this helicopter, but it was difficult and trying, to say the least! Mr. Kavan has spent many thousands of dollars improving this fine helicopter, and the end results are worth talking about.
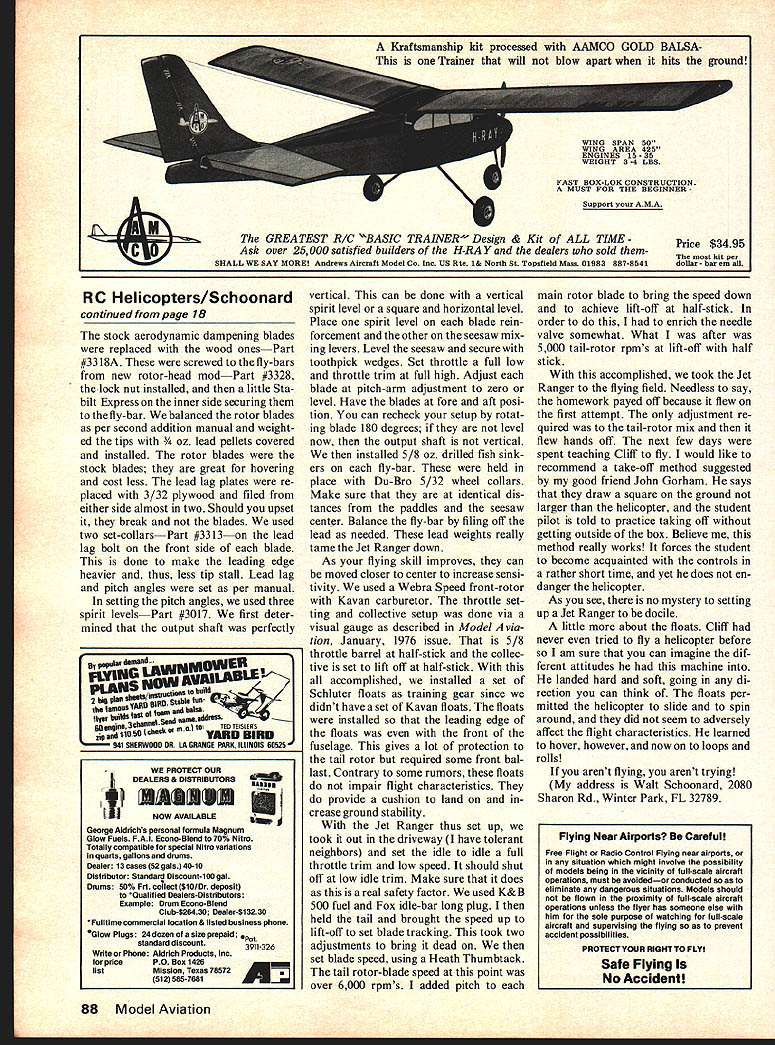
During the Christmas holidays, a friend of mine, Cliff Bennett from South Bend, Ind., came down to Florida to spend the holidays learning to fly a Jet Ranger. He brought the Jet Ranger in a box, and we built it in three days and bench-set it up. We spent less than five minutes setting the blade speed and tracking and went out and flew it on the first attempt. I then spent the next few days teaching Cliff how to fly. We ran several gallons of fuel through it without a single scratch or failure. This does not attest to my expertise, but rather to the fine quality of the Kavan Jet Ranger and the availability of knowledge and products to make it a very gentle helicopter.
The first improvement we made was to install a 22-inch length of Kavan pushrod guide tubing for the tail-rotor flex shaft. This prevents the shaft from whipping. We made a sleeve 1-1/2 in. long from silicone fuel tubing and slid this over one end of the flex shaft onto the transmission couplers. The end of the tubing on the flex shaft was held in place by a 3/8 sleeve of the tubing slid over and will retain the lubricant, such as Lubraplate, and prevent electrical noise generated at the metal-to-metal points.
A good way to make sure all pushrods are exactly the same length is to lay out their length using a metric scale and cut with 1/16 in. aluminum sheet. Drill the sheet required to install balls of the proper size and bolts. Adjust ball-joints and rods to the required length. This method permitted us to set up the swashplate on the bench and make no adjustments at the flying field.
We used the new four-point take-off swashplate—Part #3213A. Using a micrometer, determine that all balls installed in the swashplate are identical in size. This will prevent one or two of the balls being tighter than the rest, which could cause the swashplate to hang up in a particular position. We replaced ball-joints with the new stronger type—Part #3324. It is a good idea to secure a 2 mm. tape to thread the links. They are very tight on the pushrods and difficult to adjust. Maybe Kavan will offer a 2 mm. tape in their parts list soon.
We then installed the washout control—Part #3329. This should be lubricated and operated by hand to make sure that it is absolutely free of binds before installing. The stock aerodynamic dampening blades were replaced with the wood ones—Part #3318A. These were screwed to the fly-bars from new rotor-head mod—Part #3328, the lock nut installed, and then a little Stabilit Express on the inner side securing them to the fly-bar. We balanced the rotor blades as per second edition manual and weighed the tips with 3/4 oz. lead pellets covered and installed. The rotor blades were the stock blades; they are great for hovering and cost less. The lead lag plates were replaced with 3/32 plywood and filled from either side almost in two. Should you upset it, they break and not the blades. We used two set-collars—Part #3313—on the lead lag bolt on the front side of each blade. This is done to make the leading edge heavier and thus, less tip stall. Lead lag and pitch angles were set as per manual.
In setting the pitch angles, we used three spirit levels—Part #3017. We first determined that the output shaft was perfectly vertical. This can be done with a vertical spirit level or a square and horizontal level. Place one spirit level on each blade reinforcement and the other on the seesaw mixing levers. Level the seesaw and secure with toothpick wedges. Set throttle a full low and throttle trim at full high. Adjust each blade at pitch-arm adjustment to zero or level. Have the blades at fore and aft position. You can recheck your setup by rotating blade 180 degrees; if they are not level now, then the output shaft is not vertical. We then installed 5/8 oz. drilled fish sinkers on each fly-bar. These were held in place with Du-Bro 5/32 wheel collars. Make sure that they are at identical distances from the paddles and the seesaw center. Balance the fly-bar by filing off the lead as needed. These lead weights really make the Jet Ranger down.
As your flying skill improves, they can be moved closer to the center to increase sensitivity. We used a Webra Speed front rotor with Kavan carburetor. The throttle setting and collective setup was done via a visual gauge as described in Model Aviation, January, 1976 issue. That is 5/8 throttle barrel at half-stick and the collective is set to lift-off at half-stick. With this all accomplished, we installed a set of Schluter floats as training gear since we didn't have a set of Kavan floats. The floats were installed so that the leading edge of the floats was even with the front of the fuselage. This gives a lot of protection to the tail rotor but required some front ballast. Contrary to some rumors, these floats do not impair flight characteristics. They do provide a cushion to land on and increase ground stability.
With the Jet Ranger thus set up, we took it out in the driveway (I have tolerant neighbors) and set the idle to idle a full throttle trim and low speed. It should shut off at low idle trim. Make sure that it does as this is a real safety factor. We used K & B .500 fuel and Fox idle-bar long plug. I then held the tail and brought the speed up to lift-off to slide blade tracking. This took two adjustments to bring it dead on. We then set blade speed, using a Heath Thumtrack. The tail rotor-blade speed at this point was over 6,000 rpm's. I added pitch to each main rotor blade to bring the speed down and to achieve lift-off at half-stick. In order to do this, I had to enrich the needle valve somewhat. What I was after was 5,000 tail-rotor rpm's at lift-off with half stick.
With this accomplished, we took the Jet Ranger to the flying field. Needless to say, the homework paid off because it flew on the first attempt. The only adjustment required was to the tail-rotor mix and then it flew hands off. The next few days were spent teaching Cliff to fly. I would like to recommend a take-off method suggested by my good friend John Gorham. He says that they draw a square on the ground not larger than the helicopter and the student pilot is told to practice taking off without getting outside of the box. Believe me, this method really works! It forces the student to become acquainted with the controls in a rather short time, and yet he does not endanger the helicopter.
As you see, there is no mystery to setting up a Jet Ranger to be docile. I will tell more about the floats. Cliff had never even tried to fly a helicopter before so I am sure that you can imagine the different attitudes he had toward his machine. He landed hard and soft, going in any direction you can think of. The floats permitted the helicopter to slide and to spin around, and they did not seem to adversely affect the flight characteristics. He learned to hover, however, and now on to loops and rolls!
If you aren't flying, you aren't trying! (My address is Walt Schoonard, 2080 Sharon Rd., Winter Park, FL 32789.)
Transcribed from original scans by AI. Minor OCR errors may remain.

