
RADIO CONTROL: PYLON RACING
Bill Hager 4 Holly Springs Dr. Conroe, TX 77302
FOR MOST of us Pylon Racers—or, for that matter, just about anyone who flies RC planes—the most intense, critical, and demanding time is that first flight with a new airplane. You don't know for sure what your plane is going to do. So let's look at a few things that can help you with your first trim flight.
But first, I have a correction to make. For those of you who have been trying to call Jerry Small about his Kazi Killer Formula One or quarter-midget kit, his correct phone number is (817) 481-6456.
Also, let's take time to plug the people who are responsible for making us go fast:
- Clarence Lee, C.F. Lee Mfg., 10112 Woodward Ave., Sunland, CA 91040; (818) 352-3766
- Dave Shadel, Performance Specialties, 1851 Pinto Circle, Gardnerville, NV 89410; Tel.: (702) 265-7523
- Dave Layman, Boss Racing Engines, 7515 Brookleaf Dr., Houston, TX 77041; Tel.: (713) 937-0553
- Henry Nelson, 121 Pebble Creek Lane, Zelienople, PA 16063; Tel.: (412) 538-5282
If you have too much right aileron trim (which means the plane has been trying to roll to the left), you can cut the bottom of the right wing just a few inches from the trailing edge. The goal is to bring the trailing edge up to meet the trim portion of the aileron. Use five-minute epoxy to fill the gap where you cut the wing. Always bring the trailing edge up—never down—for correction.
Now, on to your first trim flight with that new Pylon Racer
Let's back up to before you leave the house. Double-check all your hookups. Make sure you put all the screws back in the servos—the ones that hold the servo control arms (wheels). I have seen many planes lost just because someone forgot to put that screw back.
Be sure your battery and receiver are well protected. Do not neglect the battery; it's just as important as your receiver. Pack both in soft foam rubber (or soft, loose foam). You need as much isolation from vibration as you can get. I use a large block of foam that follows the inside contour of the fuselage, then stick the receiver right in the middle. Keep it loose.
Check your control throws. For example, on my last Formula One I set the elevator throw at 3/16 in., measured at the inside next to the rudder; the ailerons at 3/16 in., measured at the outer tip; and the rudder at 1/2 in. Most of you probably have a radio with dual rates—set high rate to add about 15% (or maybe another 1/32 in.).
Check the center of gravity (CG). See your building instructions for this. On most Formula Ones that I have had, the CG will be 2 3/8 in. to 2 1/2 in. from the leading edge of your wing. On a plane with a large tail like the Kazi Killer, it may be as far back as 2 5/8 in.; but remember, it's better to be a little nose-heavy at first.
I use a "Z" bend at the servo and a steel clevis at the other end of my pushrods. Do not forget to put a small piece of fuel tubing around the clevis to make sure it does not open up or come off the horn. I also use fiberglass arrow shafts for pushrods.
Now you are ready to go. Your batteries have been charged, right?
By the way, why not take some 10% or 15% fuel along with your regular high-nitro fuel? Why? Well, if you stop and think about it, wouldn't your first trim flight be better at, say, 100 mph rather than 180 mph? Less speed means a less severe reaction to an out-of-trim condition. You need all the help you can get on your first flight. You might want to add a little to your throws if you do this: at least start out on high rate—maybe 20% to begin with.
After you arrive at the field, check everything again. Check your servo throws and confirm all controls are moving the right way. I have seen people get in a hurry and set up ailerons backwards—that usually means instant disaster.
You're ready! Put your plane on the ground, and range check your radio (see your instruction book for the correct procedures). I also check the range with my engine running. If you have less range or the servos start moving around, do not fly until you have your radio checked out.
I always check all the controls every time I fly—before I start the engine and again after I run the engine while I'm standing by the plane.
You have finally put in your first flight. Everything went great! The plane flew straight, and your throws were right on. Well then, let's go up on nitro and see what happens at speed. Wow! Everything works just great. You are home free, ready for that first contest.
Now, what if things are not perfect? For example, you may have had to use a lot of aileron trim just to get the plane to fly straight—everything is out. You might decide that the plane is no good and go back to the building board. Hold on—don't be so fast.
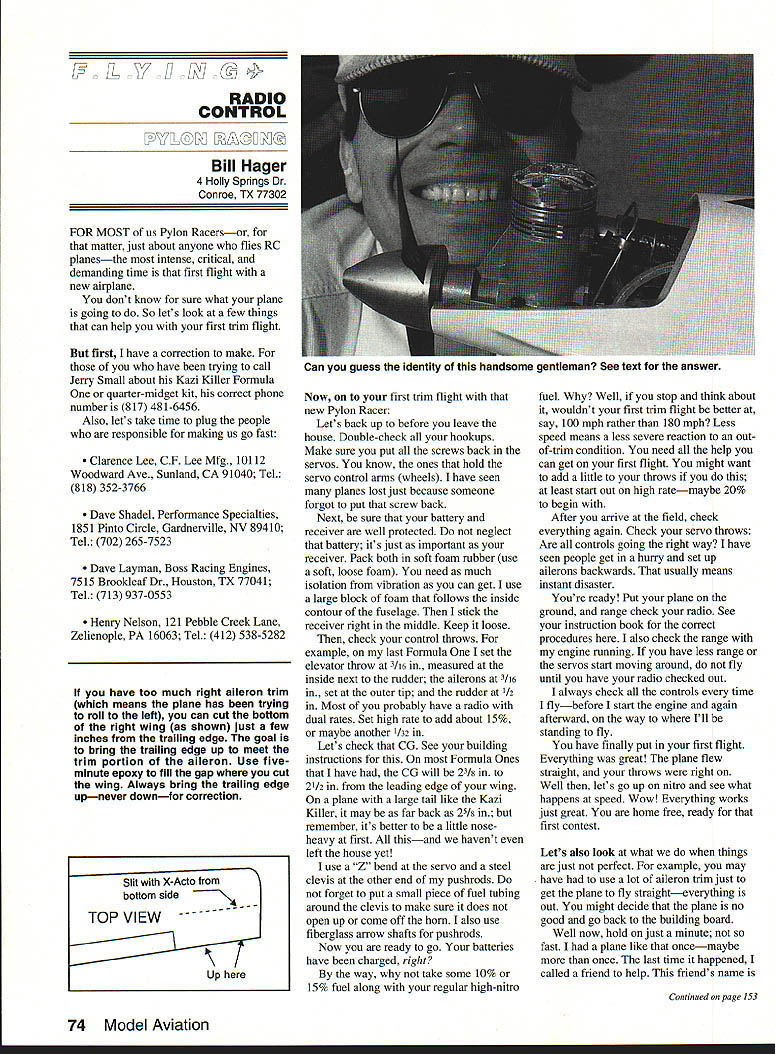
I once had a plane that required a lot of trim. I called a friend, Dub Jett, for help. As a matter of fact, some of the tips in this article are his. Dub is the current FAI World Champion, and over the years I have noticed that he is very quick to notice problems and get them fixed fast. (The photo in the original article shows Dub Jett with the business end of his Kazi Killer, which holds the FAI world record of 1:06.6. It was taken just before Dub won last year's World Championship race.)
If you have too much correction in your wing—say a lot of right trim—you can correct it as follows: cut the bottom of your right wing at the outer portion just a couple of inches from the trailing edge (from about where the aileron ends to about the tip). The idea is to bring the trailing edge up to match the aileron. While you hold the trailing edge in place, use five-minute epoxy to fill the small gap where you cut the wing. If you are careful, you will have only a small, thin line to touch up. It will only be necessary to do this to one side. Remember—you do not want washout on the tips; you want wash-in. Always bring the trailing edge up, never down, for correction.
Realign your ailerons and try another flight. This method works well for severe problems—use it only when a little aileron trim won't do.
Now, on to elevator throw. Use about 3/16 in. as a standard. You can adjust your CG to get this. The further back the CG, the less throw is needed to turn. There will be a point that is too sensitive; use whatever you are comfortable with. I use full stick for the number one turn. This keeps you from over turning and keeps you out of trouble. If you need more elevator to land, that is what flaperons are for—just go to a high rate.
Your plane should fly straight through turns. Only a small amount of rudder may be needed to correct a nose-up or nose-down condition.
If the plane tucks or tries to over-turn to the left, correct it by adding weight to the opposite wing—in this case the right wing—adding the weight at the CG line. I usually add weight 1/4 oz. at a time. Tape the weight to the top of the wing. If you tape it underneath the wing, it will just get torn off.
If your plane turns out to the right, add weight to the left wing. Do this until your plane flies straight around the number one pylon. After you have made the correct weight adjustments, you may want to cut a small hole in the wing tip and insert the weight that you have added.
The key to a good-flying airplane is to keep airflow, thrust, and rudder in a straight line. If you can get this right—no matter what it takes—you can make just about any plane fly.
If you set your plane up to fly straight through the turns and adjust all severe trim corrections, you will find you don't have to go back to the building board after all. That once-hard-to-fly plane will fly just great, and you can spend more time on your engines and props.
Good Luck
Transcribed from original scans by AI. Minor OCR errors may remain.

