

Radio Control: Pylon Racing
Dave Lane
CONGRATULATIONS are in order to Ron Schoor, re-elected as NMPRA president for a second term. Boy, some guys are really a glutton for punishment! Good luck for 1977, Ron, and to all the area V.P.s.
Rumor has it that Glenn Spickler will come out of retirement and run the Pylon event at the Nationals this year. All you QM and F-1 fliers that are planning to enter this year should have some great racing. The weather at March AFB in August will be hot, dry, smoggy and usually a 10 to 15 Kt. wind in the afternoon. The sun will be over the back straightaway between number one and number two pylons. The field elevation is 1533 ft. above sea level and the main runway is 13,300 ft. long. The secondary runway is about 7500 ft. long, so you should have enough space to set that hot machine down.
Beware, if it is hot, the density altitude could be around 2200 ft. above sea level. For those of you that have flown at Famosa, near Bakersfield, the density altitude on a hot day is usually around 1,000 ft. The planes should go well if the temperature stays in the 80s, but it will probably be in the 90s. Watch that nitro mix!
A couple of issues back, I talked about the fuel tank installation for QM's. Let's discuss the Formula One installation. It really isn't all that different, except that now we have to add a third line for pressure. This line connects to a pressure fitting at the crankcase backplate. Be sure the fitting is in the upper left-hand corner of the backplate when looking forward. See Fig. #1.
For racing, it is recommended that you use crankcase pressure rather than muffler or pipe pressure. It is important to maintain the pressure line in that there are no pin holes, cracks, kinks, etc., in the line.
The one thing that will ruin your day is a leaking pressure line. The engine either won't start or will run erratically and probably quit before you can finish the 10 laps.
The pressure line in the tank can either be the original vent line or a third line so that you can fill the tank without removing the pressure line from the engine. See Fig. #2.
I use only two lines and disconnect both lines when filling the tank. I figure that three lines give you a 33% more chance of trouble, and who needs trouble when you are trying to get ready for that next heat.
The fuel pickup for Formula One is usually a fixed-type rather than a clunk-type. This affords you a backup shut-off system in case the needle valve shut-off servo fails. You don't have a "throttle" on the Formula One aircraft like the QM. There is no idle rule in F-1 (maybe there should be). Most of the guys use a wire loop that pinches the fuel line against the firewall. The rules state that you shall have a positive fuel shut-off. This is for safety purposes. See Fig. #3.
Now, let's explore the control surfaces on that super-fast machine. I'm sure at one time or another at the flying field you have heard a plane go by with a noticeable hum; and then somebody said "listen to that 'flutter'!" Nine times out of ten, that flutter is due to a loose control surface.
When you install those hinges, be very careful that they are in alignment and tight. There are several hinges available at your local hobby shop. I like the flat one-piece nylon hinges that are about .012 of an in. thick. This material is very durable and flexible and you can install them so that they are practically invisible. These hinges come in strips about 6 in. long. Cut these strips into one-in. segments and drill 6 holes, three on each side of the hinge line. See Fig. #4. Be sure the slot in the surfaces to be hinged is on the centerline of the stab, elevators, fin and rudder. The ailerons should be hinged 1/16 in. from the top surface of the wing and aileron. See Fig. #5.
When you cut the slot for the hinge, remove enough material so the hinge will slip in the slot without forcing. Fill the slot with 5-minute epoxy, coat the hinge on both sides and slip into the slot. Wipe off. the excess epoxy so you don't glue the movable surfaces to the non-movable surfaces. The epoxy fills the holes in the hinges and acts as a pin bonded to the wood on both sides of the hinge. I have never had this type of hinge fail in flight.
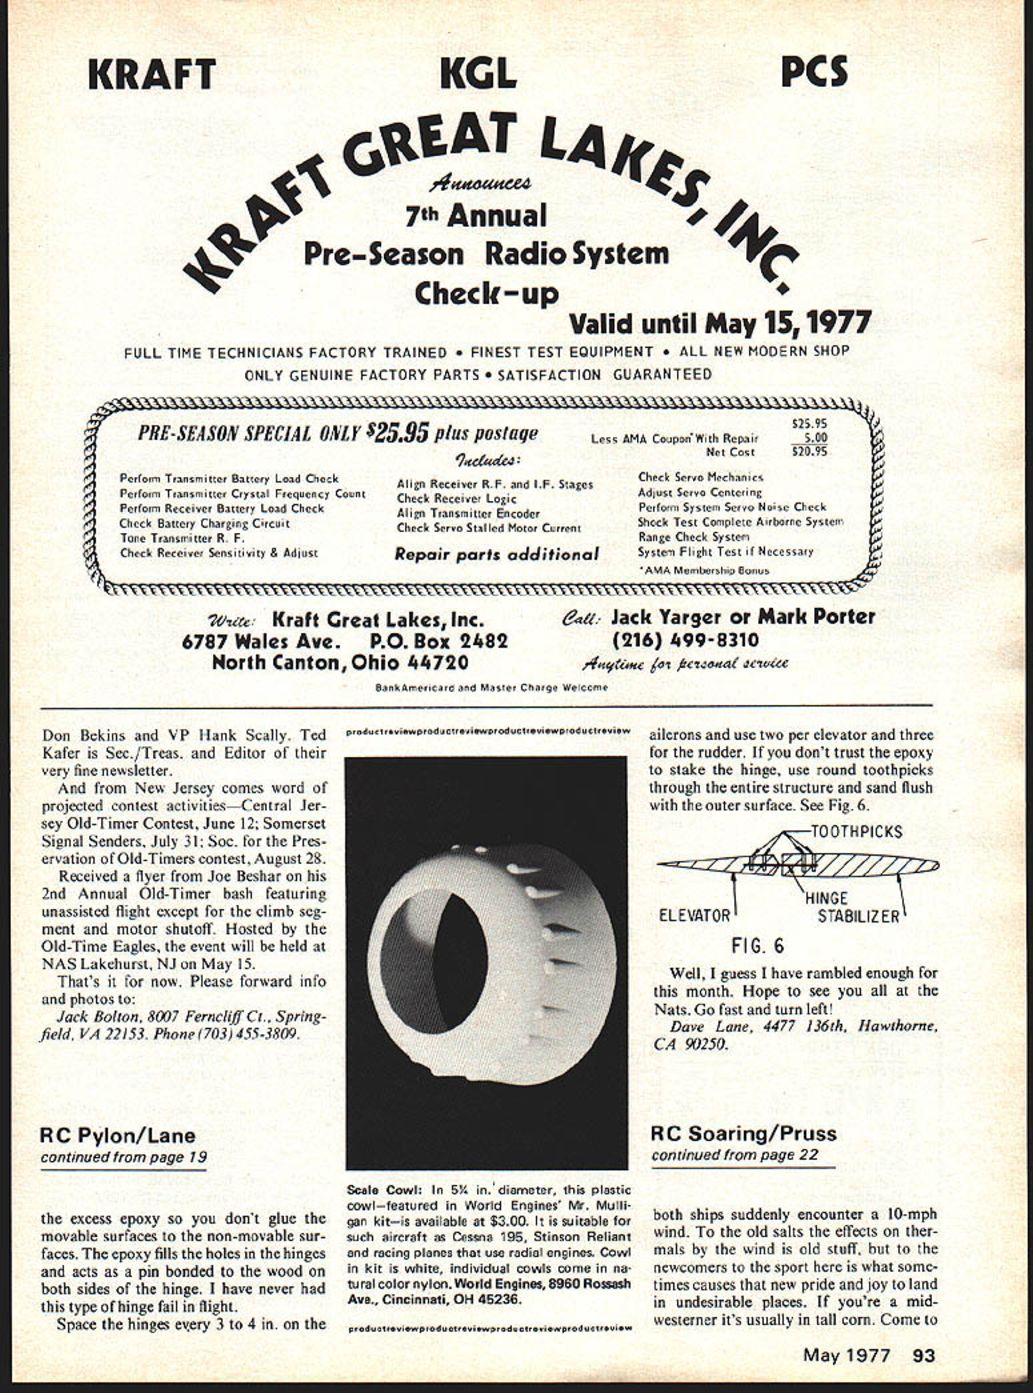
Space the hinges every 3 to 4 in. on the ailerons and use two per elevator and three for the rudder. If you don't trust the epoxy to stake the hinge, use round toothpicks through the entire structure and sand flush with the outer surface. See Fig. 6.
Well, I guess I have rambled enough for this month. Hope to see you all at the Nats. Go fast and turn left!
Dave Lane, 4477 136th, Hawthorne, CA 90250.
Transcribed from original scans by AI. Minor OCR errors may remain.

