
Radio Control: Pylon Racing
Dave Lane
RECEIVED A LETTER from Rod Hancher, Joint R/C Military Flyers Club, concerning the "thingies" that 1/2A racing is turning into. I agree with Rod. If any of you racing types would like to see at least a "semi-stand-off-scale" type of 1/2A racer, contact Rod at 1716A S. Fremont, Oceanside, CA 92054. Rod also is interested in the "Golden Age" category of racing aircraft (a man after my own heart!). I think there might be enough sport scale buffs out there to promote a Golden Age racing class to compete with CB's "800" class of Formula One. Let me or Rod know if you are interested.
The Texas City R/C Club newsletter had the following information on Monokote coverings. Since most of the 1/2A's, QM's and Q-500's are covered with this material, I thought you might like to read how the experts handle Monokote:
Most of the following notes are borrowed from Art Schroeder's RC column in MAN, April, 1975. His source (and airplane coverer) is Dan DeLuca who does things like winning Best Monokote Finish at Toledo! Lars Giertz also contributed a clever trick or two. I have tried most of these techniques, and they really work! So, if you want to do a professional job on your 2 1/2' Martinsyde Elephant (or possibly Monokote the bathroom), read on!
(Editor's Note: MA recently ran a Product Review item for the book "Applying Heat Shrink Covering to Model Airplanes," by Dan DeLuca. Published by Edson Enterprises, Inc., 228 Franklin Ave., Nutley, NJ 07110, the book costs $5.95, is extremely well illustrated, including four colors, and thoroughly covers the how-to-do aspects.)
Preparation: Like other covering materials, plastic films require proper surface preparation. Block sand the structure down to #400 paper. Fill cracks and dings and make small fillets with Hobbypoxy Stuff or vinyl acrylic spackling paste, not glue-based fillers. Monokote won't stick to these! Now for secret #1: Pierce all sheeted areas with a pin at about 4 to 6 holes per square inch. This lets the air out and insures a good seal to the wood. Also, provide air-bleed holes between sealed off compartments, such as D-spar wings, hollow core stabs, etc. (This needs to be done during construction, of course.) Naturally, if you are not a super-neat builder, you may have left enough gaps between parts to take care of this. Finally, fuel-proof all of the nose, tank compartment, wheel wells, and other critical areas with resin or epoxy before covering. This is the only way to insure that proper sealing has been accomplished.
Tools: Dan DeLuca uses only a sealing iron... no heat gun! Set the iron just below the melting point of the material (different for each brand). Best way is to adjust heat to the melting point, then back off slightly. On some irons you can then loosen the set-screw on the temperature control, rotate it so that it hits the high stop-peg, and re-tighten the screw. The sole of the iron (Teflon) should be polished down with #400 or #600 paper, before plugging it in, to remove pits and nicks which will scratch the surface. This really works! Some people like to cover the iron with thin cloth to prevent scratching, but this requires a higher temperature, of course. It also slows down the covering process considerably and increases the chances of getting a poor bond with the wood.
Cutting the Material: If different colors are used, such as sunburst, etc., lay out a paper template and draw lines on the wood surfaces with a felt pen. Cut panels of Monokote so that they butt at the lines or have a slight gap. Trim strips of the same material or striping tape are then used to seal over the joints. Use a metal straightedge and a sharp blade to cut the material on a hard-surfaced cardboard or other grainless working surface. Scissors won't do, unless the edge will be razored off after application.
Application: Use a vacuum cleaner brush, maybe tack-rag, to remove traces of sanding dust. Now Secret #2: Thin small flat areas such as slab tail edges, trailing edges, aileron cut-outs, etc., should be covered first. Thin strips wrap around onto the major part surface — a step well worth the time and trouble; otherwise the main panel covering must be wrapped around onto small areas which are much more likely to cause wrinkles and come unstuck. Also, note you can complete surface hinging if desired because the hinge line is already covered.
Now apply the main panels. Smooth out the piece and tack lightly along the edges to hold in place. Unless the surface has a compound curve, you can keep pulling and re-tacking until the covering is drum-tight and seals around the outside of the open framework. Then seal around the outside (for open framework), or start in the center (for all sheeted areas). The trapped air will be pushed out ahead of the iron or escape through the pin holes! Make sure the material is firmly bonded to the wood. This will minimize later wrinkling out in the sun (a common complaint against plastic films). If an air bubble does form, prick the center of it with a small pin and reheat the area.
Heat and stretch around tips, etc., only far enough to bond to the previously applied edge strips, then razor off the excess and seal down the cut edge. If compound curves are present, keep heating and gently stretching until the surface is completed. On open framework, the final step is to run the iron over the surface to complete the shrinking. Very little of this is needed if the covering was pulled taut enough while in the earlier stages. The use of smaller pieces of material makes the job easier. DeLuca always uses small bits to handle fillets and difficult compound curves.
A problem exists on areas that are made of plywood, are glassed (such as wing joint reinforcements), or even the epoxy or resin-coated engine areas. Monokote doesn't stick well to these surfaces. An extremely light mist coat of spray contact cement along the edges will solve this problem. You can also thin out the bottled variety to a watery consistency with lacquer thinner and brush on a very light coat.
Keep it smooth. The same trick also permits covering aluminum struts and landing gears rather than trying to paint them!
Trim: If possible, Super Monokote (dry) should be used for trim rather than the Monokote Trim Sheets (sticky). It is thinner and easier to handle. As mentioned before, on sheeted areas cut separate panels for each color rather than using a basic color with large pieces of overlaid trim; but, if necessary, it can be done. The problem in applying wide (½ in. or greater) widths of trim is trapped air. Work from the center outward to push out the air. Prick bubbles with a pin, or pierce the area to be covered with a pin just like sheeted surfaces. If this is done, run the iron over the pierced Monokote before applying the trim layer. I have found that pulling out the pin can leave a raised edge around the hole.
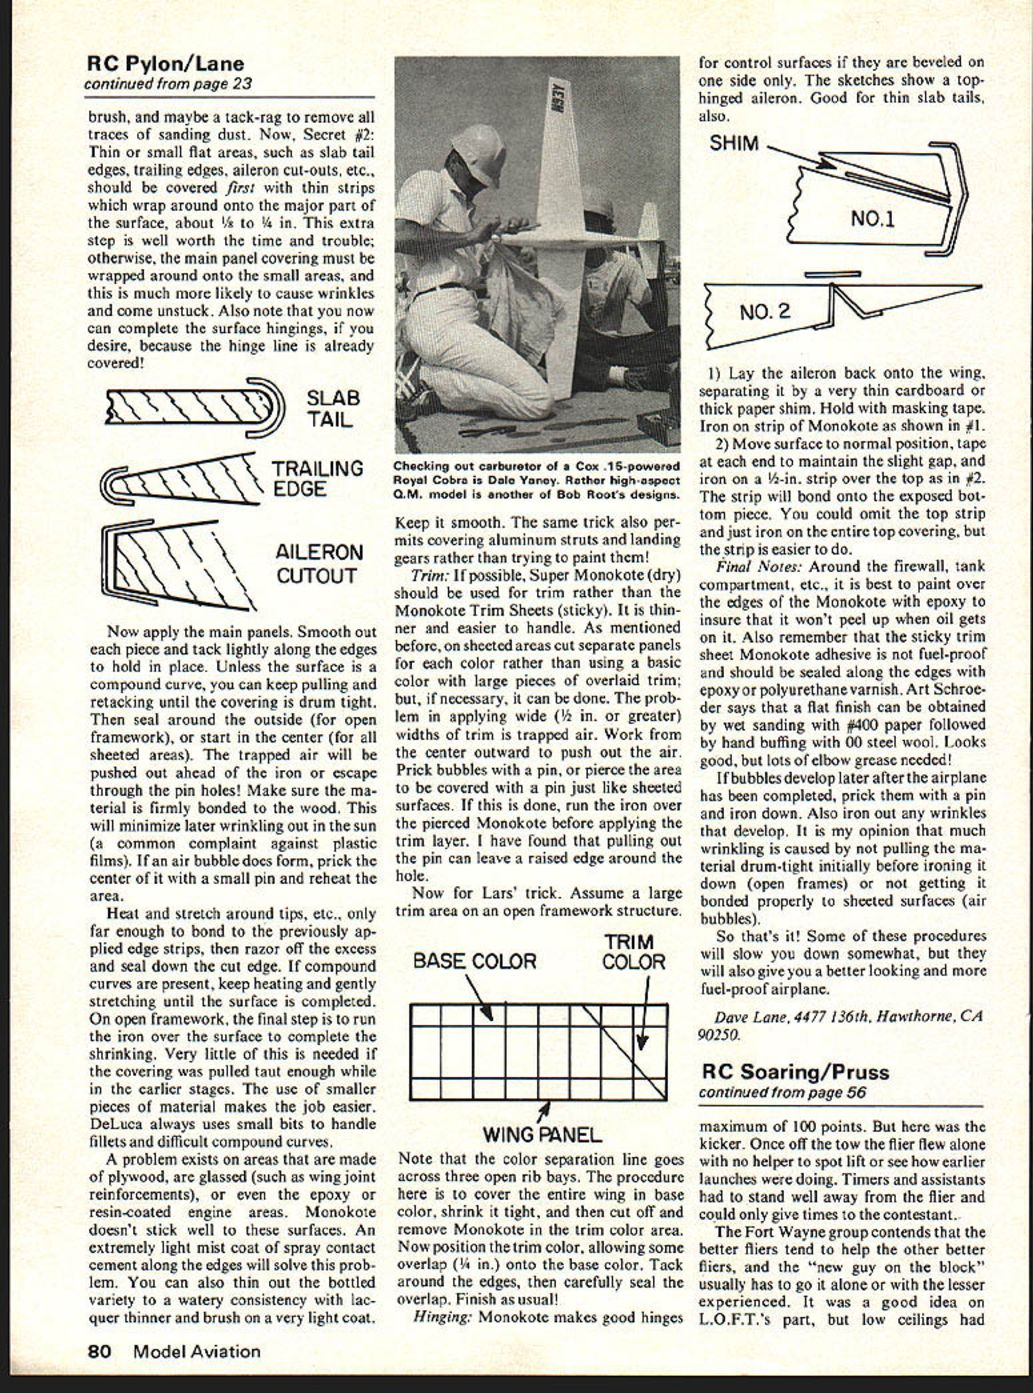
Now for Lars' trick. Assume a large trim area on an open framework structure.
Note that the color separation line goes across three open rib bays. The procedure here is to cover the entire wing in base color, shrink it tight, and then cut off and remove Monokote in the trim color area. Now position the trim color, allowing some overlap (¼ in.) onto the base color. Tack around the edges, then carefully seal the overlap. Finish as usual!
Hinging: Monokote makes good hinges for control surfaces if they are beveled on one side only. The sketches show a top-hinged aileron. Good for thin slab tails, also.
1) Lay the aileron back onto the wing, separating it by a very thin cardboard or thick paper shim. Hold with masking tape. Iron on strip of Monokote as shown in #1.
2) Move surface to normal position, tape at each end to maintain the slight gap, and iron on a ½-in. strip over the top as in #2. The strip will bond onto the exposed bottom piece. You could omit the top strip and just iron on the entire top covering, but the strip is easier to do.
Final Notes: Around the firewall, tank compartment, etc., it is best to paint over the edges of the Monokote with epoxy to insure that it won't peel up when oil gets on it. Also remember that the sticky trim sheet Monokote adhesive is not fuel-proof and should be sealed along the edges with epoxy or polyurethane varnish. Art Schroeder says that a flat finish can be obtained by wet sanding with #400 paper followed by hand buffing with 00 steel wool. Looks good, but lots of elbow grease needed!
If bubbles develop later after the airplane has been completed, prick them with a pin and iron down. Also iron out any wrinkles that develop. It is my opinion that much wrinkling is caused by not pulling the material drum-tight initially before ironing it down (open frames) or not getting it bonded properly to sheeted surfaces (air bubbles).
So that's it! Some of these procedures will slow you down somewhat, but they will also give you a better looking and more fuel-proof airplane.
Dave Lane, 4477 136th, Hawthorne, CA 90250.
Transcribed from original scans by AI. Minor OCR errors may remain.

