
Radio Control: Scale
Dan Parsons 11809 Fulmer Dr. Albuquerque, NM 87111
Scratch Designing
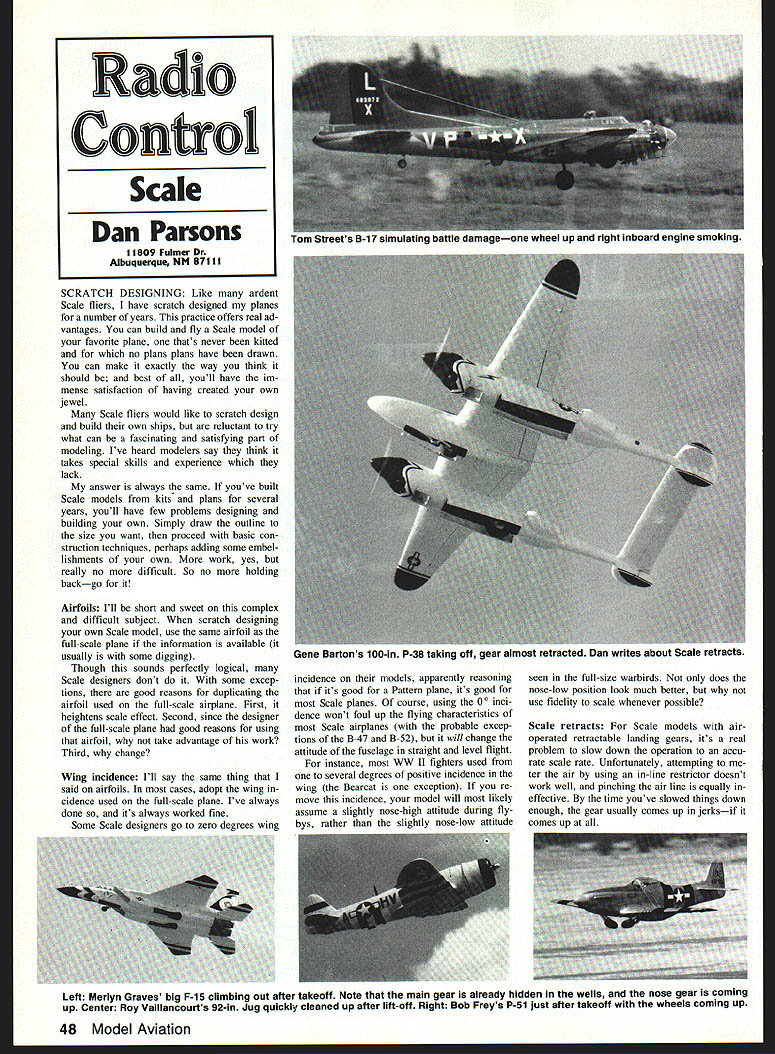
Like many ardent Scale fliers, I have scratch-designed my planes for a number of years. This practice offers real advantages. You can build and fly a Scale model of your favorite plane that's never been kitted and for which no plans have been drawn. You can make it exactly the way you think it should be; and best of all, you'll have the immense satisfaction of having created your own jewel.
Many Scale fliers would like to scratch-design and build their own ships but are reluctant to try what can be a fascinating and satisfying part of modeling. I've heard modelers say they think it takes special skills and experience which they lack. My answer is always the same: if you've built Scale models from kits and plans for several years, you'll have few problems designing and building your own. Simply draw the outline to the size you want, then proceed with basic construction techniques, perhaps adding some embellishments of your own. More work, yes, but really no more difficult. So no more holding back—go for it!
Airfoils
I'll be short and sweet on this complex and difficult subject. When scratch-designing your own Scale model, use the same airfoil as the full-scale plane if the information is available (it usually is with some digging).
Though this sounds perfectly logical, many Scale designers don't do it. With some exceptions, there are good reasons for duplicating the airfoil used on the full-scale airplane. First, it heightens scale effect. Second, since the designer of the full-scale plane had good reasons for using that airfoil, why not take advantage of his work? Third, why change?
Wing incidence
I'll say the same thing that I said on airfoils. In most cases, adopt the wing incidence used on the full-scale plane. I've always done so, and it's always worked fine.
Some Scale designers go to zero degrees wing incidence, apparently reasoning that since it's good for a Pattern plane, it's good for most Scale planes. Of course, using 0° incidence won't foul up the flying characteristics of most Scale airplanes (with the probable exceptions of the B-47 and B-52), but it will change the attitude of the fuselage in straight and level flight. For instance, most WWII fighters used from one to several degrees of positive incidence in the wing (the Bearcat is one exception). If you remove this incidence, your model will most likely assume a slightly nose-high attitude during flybys, rather than the slightly nose-low attitude seen in the full-size warbirds. Not only does the nose-low position look much better, but why not use fidelity to scale whenever possible?
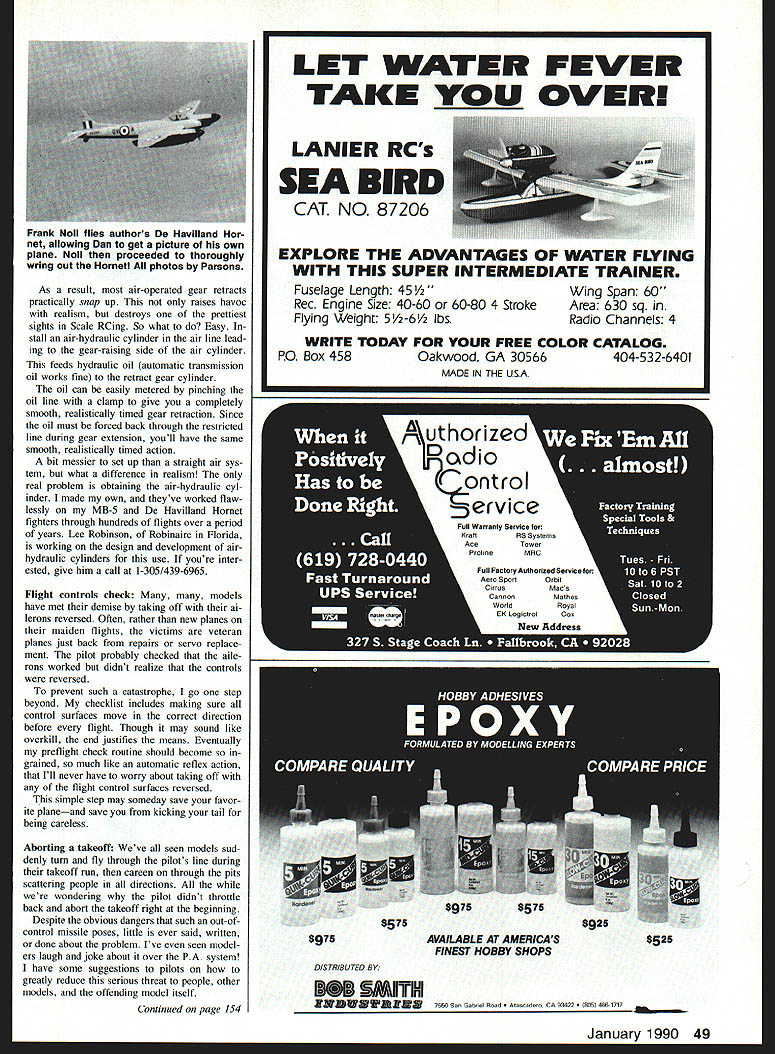
Scale retracts
Scale models with air-operated retractable landing gear have a real problem: slowing down the operation to an accurate scale rate. Unfortunately, attempting to meter the air by using an in-line restrictor doesn't work well, and pinching the air line is equally ineffective. By the time you've slowed things down enough, the gear usually comes up in jerks—if it comes up at all.
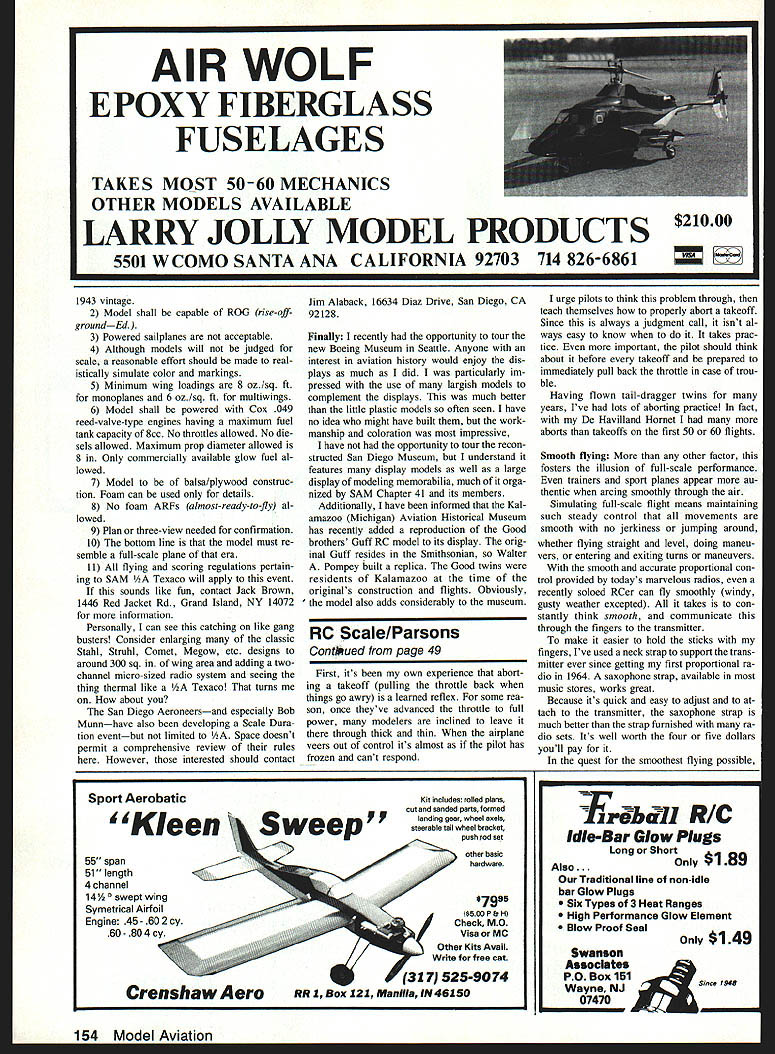
As a result, air-operated gear retracts practically snap up and raise havoc with realism, destroying what are otherwise the prettiest sights in Scale RCing. So what? Easy: stall the air—use an air-hydraulic cylinder. Lead the gear-raising side air line to an air cylinder which feeds hydraulic oil (automatic transmission oil works fine) to the retract gear cylinder. The retract gear cylinder oil can easily be metered by pinching the oil line with a clamp to give completely smooth, realistically timed gear retraction. Since oil must be forced back through a restricted line during gear extension, you'll have the same smooth, realistically timed action. It's a bit messier to set up than a straight air system, but the difference in realism is worth it.
The real problem is obtaining an air-hydraulic cylinder. I've made my own; they've worked flawlessly in my MB-5 De Havilland Hornet fighters through hundreds of flights over a period of years. Lee Robinson of Robinaire, Florida, is working on the design and development of air-hydraulic cylinders. If you're interested, give him a call: 1-305-439-6965.
Flight controls
Check models that have met their demise taking off due to ailerons being reversed. Often rather new planes on maiden flights become victims; veteran planes just back from repairs are also at risk when a servo replacement or other work has been done. The pilot probably checked the ailerons and thought they worked but didn't realize the controls were reversed.
To prevent such catastrophe, go a step beyond the checklist and include making sure control surfaces move in the correct direction before flight. Though it may sound like overkill, the end justifies the means. Eventually a preflight check routine should become ingrained much like automatic reflex action. This simple step may someday save your favorite plane—and save you from kicking yourself for being careless.
Aborting a takeoff
We've all seen models suddenly turn and fly through the pilot's line during their takeoff run, then careen on through the pits scattering people in all directions. All the while we're wondering why the pilot didn't throttle back and abort the takeoff right at the beginning. Despite the obvious dangers that such an out-of-control missile poses, little is ever said, written, or done about the problem.
I have some suggestions to pilots on how to greatly reduce this serious threat to people, other models, and the offending model itself:
- First, aborting a takeoff (pulling the throttle back when things go awry) is a learned reflex. For some reason, once they've advanced the throttle to full power, many modelers are inclined to leave it there through thick and thin. When the airplane veers out of control it's almost as if the pilot has frozen and can't respond. I urge pilots to think this problem through, then teach themselves how to properly abort a takeoff. Since this is always a judgment call, it isn't always easy to know when to do it. It takes practice. Even more important, the pilot should think about it before every takeoff and be prepared to immediately pull back the throttle in case of trouble.
- Practice aborting in safe conditions where mistakes won't cause damage. Having flown tail-dragger twins for many years, I've had lots of aborting practice. In fact, my De Havilland Hornet had many more aborts than takeoffs on the first 50 or 60 flights.
Smooth flying
More than any other factor, smooth flying fosters the illusion of full-scale performance. Even trainers and sport planes appear more authentic when circling smoothly through the air. Simulating full-scale flight means maintaining smooth, steady control so that all movements are smooth with no jerkiness or jumping around. With the smooth and accurate proportional control provided by today's radios, a recently soloed RC'er can fly smoothly (windy, gusty weather excepted). All it takes is to constantly think "smooth," and communicate this through the fingers to the transmitter.
To make it easier to hold the sticks with my fingers, I've used a neck strap to support the transmitter ever since getting my first proportional radio in 1964. A saxophone strap, available in most music stores, works great. Because it's quick and easy to adjust and to attach to the transmitter, the saxophone strap is much better than the strap furnished with many radio sets. It's well worth the four or five dollars you'll pay for it.
In the quest for the smoothest flying possible, constantly think "smooth" and translate that into gentle, deliberate stick movements.
Transcribed from original scans by AI. Minor OCR errors may remain.

