
Radio Control: Scale
Jeff Troy 200 S. Spring Garden St. Ambler, PA 19002
I've plenty of news, products, models and workbench time to share with you. The little Dynaflite P-51 Mustang with which I've been threatening you for the past two months is almost completely framed, and many of the modifications made to this inexpensive but interesting model are finally here for you. As usual, I'll get things rolling with new products.
Palmer Plans: A-26B Invader and C-130H "Herky Bird"
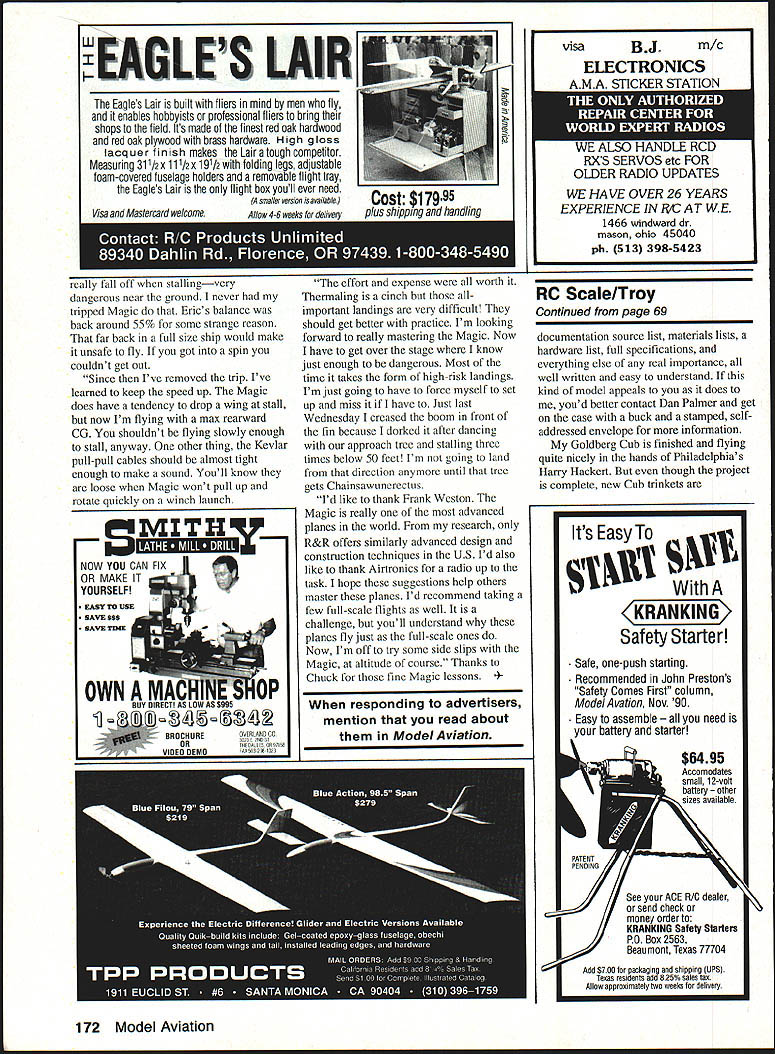
The Douglas A-26 Invader has always been among my favorite Second World War aircraft, so I was pleased to see a trio of plan sets from Dan Palmer at Palmer Plans, 210-1/2 El Camino Drive, Beverly Hills, CA 90212. The new sets include 1/30- and 1/8-scale Lockheed C-130H Hercules plans (called "Herky Bird") and a 1/12-scale Douglas A-26B Invader. A bare-bones photo of the Palmer Invader in the press release was especially inspiring.
Like many of you, I built Guillows, Sterling and Comet stick-and-tissue models as a kid, so Dan Palmer's stringer-and-bulkhead construction — followed by full balsa sheeting instead of tissue — appealed to my nostalgic side. These models should be quick to frame and are very attractive for those who want transportable, conventionally built balsa-and-plywood scale models.
From the Palmer press release: "... most of us do not have the space to build giant-size models and there are many true scale aficionados who would like to build conventional balsa and light plywood models that are transportable to the airfield in the family car, which do not require expensive power plants, high-priced retracts..."
Key specifications and notes:
- Plans claimed to be authentic scale, based on original three-views furnished courtesy of McDonnell Douglas and Lockheed Marietta. A copy of the appropriate three-view is included with each plan set.
- A-26B Invader: 70 in. span, 540 sq. in. area.
- Designed for twin .25 two-stroke or four-stroke engines.
- Target all-up weight: 5 lb 6 oz (loading about 22.9 oz/sq ft).
- Six-channel radio recommended (flaps, retracts, two auxiliary channels).
- Robart retracting tricycle gear systems suggested; Fiberglass Master, Inc. offers custom cowls.
- Palmer's construction manual includes documentation sources, materials and hardware lists, full specifications and detailed, easy-to-understand instructions.
If this kind of model appeals to you, contact Dan Palmer for more information (include a buck and a stamped, self-addressed envelope).
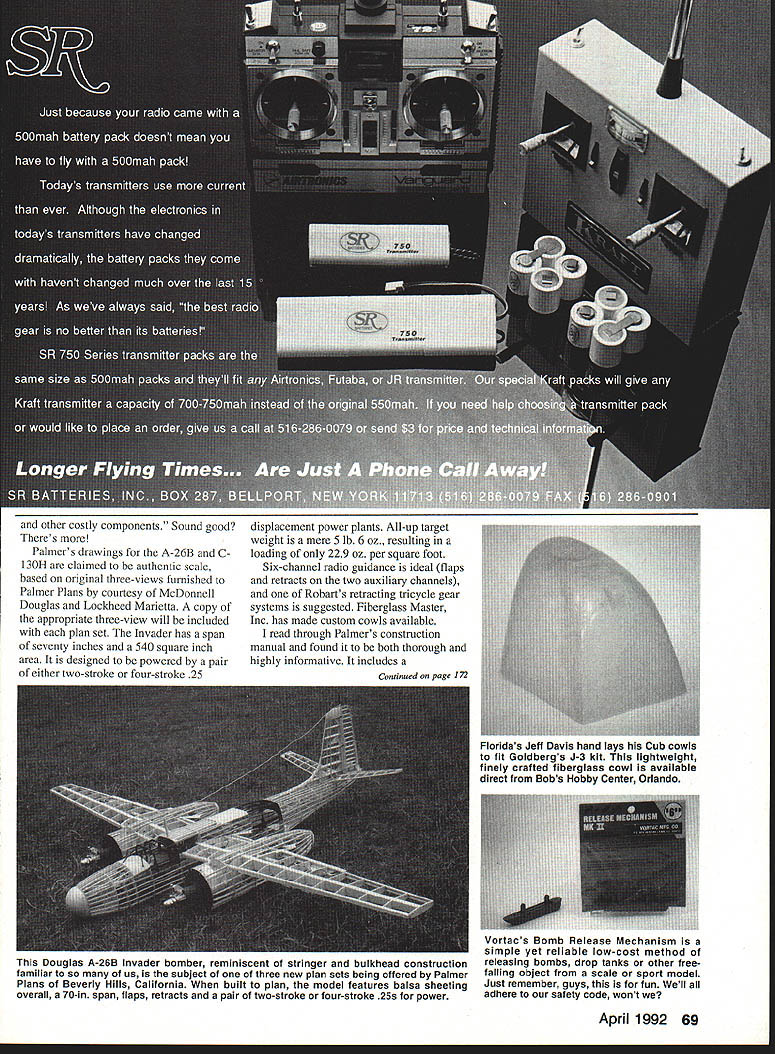
Scale Model Research: Photo Paaks and Three-Views
Scale Model Research has released a large catalog of Photo Paaks and three-views. The booklet is a useful documentation source covering many subjects — great for scale modelers.
Catalog highlights (available from Scale Model Research, 2334 Ticonderoga, Costa Mesa, CA 92626 — send $5 to Bob Banaka):
- Photo Paaks for over 150 pre-1920 airplanes
- 150 sailplanes
- 200 helicopters
- 100 seaplanes
- 650 jets
- 650 heavy-metal warbirds
- 350 multi-engine subjects
- 1,500 civilian subjects
- 55 aircraft engines
- Multiple examples: 24 Cubs, 12 Jennys, 6 Ultimate Bipes, 13 Extras, and the F-117 Stealth Fighter
Goldberg Cub: Fiberglass Cowl
My Goldberg Cub is finished and flying nicely in the hands of Philadelphia's Harry Hackert. A new fiberglass cowl for this model is one of the nicest I've seen. Available from Bob's Hobby Center, 7333 Lake Underhill Road, Orlando, FL 32822, each cowl is hand-laid by Jeff Davis of Florida. The cowl fits tightly, looks right, and weighs very little. Price: $18.95 postpaid.
Aviation Heritage Books: Paul Matt Drawings
Aviation Heritage Books (SunShine House, P.O. Box 2065, Terre Haute, IN 47802) recently issued a flyer offering two new books of scale drawings by Paul Matt. Each book:
- Measures 8 1/2 x 11 in.
- Is softbound with over 150 pages
- Includes several photographs to complement the drawings
Paul Matt's drawings are also available separately and make attractive workshop wall decorations. Send a stamped, self-addressed envelope for ordering information.
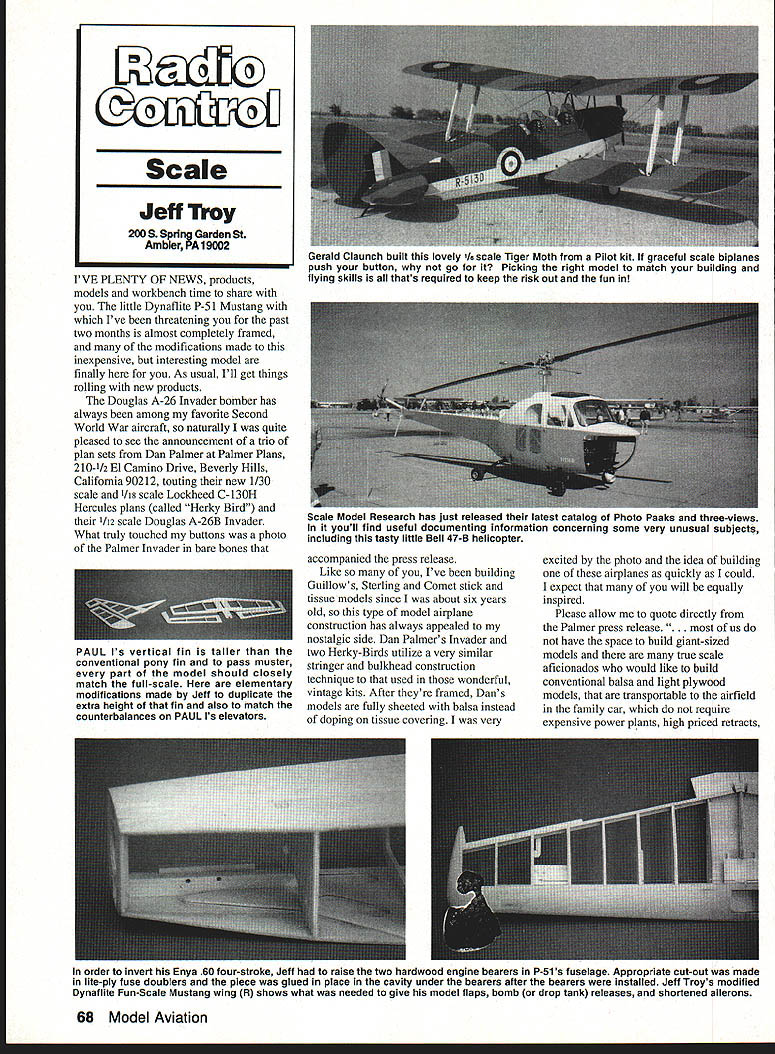
Gerald Claunch's 1/6-Scale Tiger Moth
Gerald Claunch's 1/6-scale Pilot Tiger Moth is a great example of what a smaller model can be with a few extra hours of care. Gerald uses an O.S. .46 SF engine and is very happy with the model's appearance and performance. After basic construction, he finished the model with Super Shrink Coverite and Chevron Perfect Camouflage paints.
Notable detailing methods:
- External control cables are dummies but add tremendous visual impact.
- Corrugated upper wing center section: Gerald wrapped the center section with about 40 wraps of electrical hookup wire, filled the gaps with sheetrock spackling compound, and before the filler cured used a wet finger to form rounded valleys between each wrap. A little dry brushing with aluminum paint or a swipe of silver Rub-n'-Buff completed the look.
A little extra time pays off. It might normally take 100 hours to build a fair airplane — spend just 10% more time (10 extra hours) to duplicate details and work more carefully. The improvement is remarkable; next time you may invest 20% more!
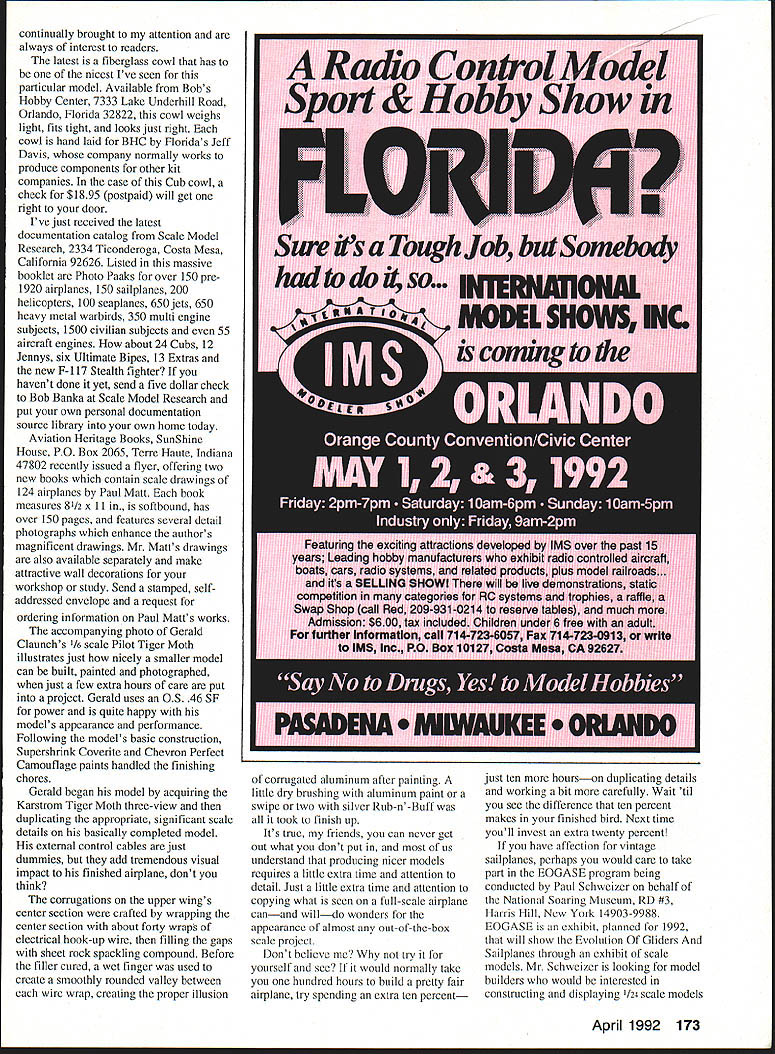
EOGASE: Vintage Sailplane Exhibit
If you have an affection for vintage sailplanes, consider taking part in the EOGASE program being conducted by Paul Schweizer for the National Soaring Museum (R.D. #3, Harris Hill, NY 14032-9988). EOGASE is an exhibit planned for 1992 that will show the evolution of gliders and sailplanes through the years with example models. Mr. Schweizer is looking for model builders interested in constructing and displaying 1/2-scale models.
Dynaflite P-51 Mustang: Progress and Modifications
My Dynaflite Mustang's framing is nearing completion. I've constructed all the major components and only need to add some sheeting, final shaping and sanding. Here's what I did, starting with the wing.
#### Wing modifications
- I decided the model wouldn't look right without flaps, so I shortened and widened the kit's ailerons and planned for flap installation. I trimmed 1/2 in. from the rear of each wing rib, then re-cut the notch to accept a 1/8 x 1/2-in. sub-trailing edge and double-checked each rib's fit to the plan.
- Building sequence: pinned down lower spar, added ribs, pinned sub-trailing edge and the 1/4 x 5/8-in. trailing-edge pieces atop the sub-trailing edge. After gluing, I finished the rest of the wing per plan and then removed the panel from the board.
- Because the wing chord was now 1/2 in. shorter, I added a 1/4 x 5/8-in. doubler along the trailing edge for exactly 10 in. (the new aileron length). I also added two 1/4 x 5/8-in. strips to the front of the aileron bearing blocks and cut new slots to accept the kit's strip aileron linkage, which now becomes the flap linkage. A 10 x 1/4 x 1/2-in. strip was added to the leading edge of each aileron. Flaps were completed by adding two 10 x 1/4 x 5/8-in. strips to each flap leading edge, increasing chord by 1/2 in. and restoring the original external contour.
- The kit's triangular wing tips were replaced by 1 x 1-in. blocks, glued, razor-planed and sanded to shape; filler pieces were added at tip/trailing-edge junctures.
#### Controls and hinge details
- I will use music wire pushrods and 90° nylon bellcranks for the ailerons. The kit's aileron linkage will operate the flaps. I plan to hinge the ailerons at the top of the wing; a single angle was sanded into the aileron leading edges rather than the usual bevel.
- The flaps need to move downward but are hinged at their centers to allow smooth linkage operation. I sanded the flap leading edges at 45° from the centerline down; the wing's trailing edges in the flap area were also sanded at 45° from centerline down. This allows flap travel to 90° without binding and without sophisticated linkage.
#### Bomb release
- A Vortac Manufacturing bomb release mechanism will be installed in each wing panel. A single Airtronics standard-size #102 servo will be mounted in the inside wing center section just ahead of the spar. Clear nylon guide tube is run through shear webs and ribs to carry the pull chord that activates the releases. I know of no more efficient and reliable bomb-release method.
#### Engine and fuselage modifications
- I chose to mount an Enya .60 four-stroke inverted to avoid the cylinder head protruding above the cowling. This required a smaller fuel tank and some front-end changes. Adjust the engine-bearer notches in the die-cut lite-ply doublers to keep the engine centered when inverted, then glue the doublers and hardwood bearers in place. Adjust the bearer cut-outs in the two foremost bulkheads accordingly. This is a simple job taking just a few minutes. Frame the basic fuselage per plan after these adjustments.
- I omitted the kit's hatch assembly and used a single 1/4-in. square stringer (instead of two) from the rear of the nose bulkhead to the top of the instrument-panel former. Use lite-ply scraps to fill holes in the forward bulkheads caused by relocating the hardwood engine bearers. Place the engine in the fuselage, mount the spinner backplate, and drill holes for engine mounting bolts, fuel lines and Du-Bro's Fuel Filler Valve — a handy device for cowl-in-engine installations.
#### Tail surfaces
- The tail surfaces were built as drawn, except I added counterbalances to the elevators and raised the vertical stabilizer height to match PAUL I. A few extra scrap pieces during construction made these changes easy.
For now, that's as far as I've gone. In the next RC Scale column you'll see this Dynaflite Mustang completely framed, sanded and ready for covering. I'll discuss the remainder of the construction details and the film-covering job then.
Till next month — build straight and fly safely. I'll talk with you again.
Jeff Troy
Transcribed from original scans by AI. Minor OCR errors may remain.

