


RADIO CONTROL SCALE
Jeff Troy 19 East Mt. Pleasant Avenue, Ambler PA 19002
FABRIC COVERINGS
Many scale models are covered with fabric, then primed and painted to precisely match the full-scale aircraft they're emulating. Fabric coverings are among the easiest-to-handle model finishing materials, but they have their share of quirks.
Have you ever covered a model with a polyester fabric (such as Colortex, Solartek, Super Coverite, or Worldtex), painted it with more than one color, then experienced a major disaster when the masking tape pulled away every layer of the paint job when it was removed? If so (and it has probably happened to most of us), don't be too quick to blame the products you're working with. The problem is more often caused by the method than by manufacturing. Even if the products you selected were individually the best, the combination of the products may not have been the best.
Understanding a problem often represents the quickest route to its solution. There are two real culprits that contribute to the problem of paint lifting from polyester:
- Polyester's surface chemistry: polyester isn't the most compatible material when it comes to adhesion; it doesn't readily allow many finishing products to stick.
- Masking tape: most masking tape has a very aggressive adhesive. Anytime you place the forceful grip of masking tape on a painted surface that doesn't want the paint to stick, you're in for trouble.
These two enemies wait to attack any modeler who ignores their presence. Even though it may seem like the job can't be done without a mess, here is a simple procedure to finish polyester fabrics:
You must coat the surface of the fabric with thinned nitrate dope before priming or painting. Nitrate has tremendous adhesion qualities; brush on one or two coats of thinned (50/50) nitrate over the fabric after it has been applied to the model. The nitrate will partially encapsulate the fibers, ensuring an improved bond between the fabric and your chosen primer or sealer.
Please note that this conditioning coat of thinned nitrate must be brushed on — not sprayed. If 50/50 nitrate is sprayed, it will dry moments after hitting the fabric and will not afford proper encapsulation.
Don't ignore this all-important step; it can often make the difference between properly adhered paint and paint that lifts.
Once the nitrate coat(s) are down, the model can be primed. Primer serves two important purposes: it increases adhesion and provides a uniform base. Primer should always be applied and, whenever possible, should be the same brand as the paint that will cover it.
- If your primer and paint are lacquer-based, the primer may be applied as soon as 24 hours after the thinned-nitrate conditioning coats.
- If you're priming and painting with enamel-based products, you must allow at least 72 hours for the solvents in the nitrate to dissipate before priming.
What about epoxy? Epoxy is an enamel. What about urethane? Urethane, too, is an enamel. In fact, if it ain't lacquer, it's enamel. That's all there is; you don't need to make it more complicated.
Be careful not to shortcut the 72-hour wait when using enamel over nitrate. If you cheat, you may do damage. You won't see problems right away, but six months down the road blisters may form as the solvents try to release themselves through the surface of your paint.
So you've covered, doped, primed, and painted your model in its base color; now it's time to apply the trim colors.
Enter problem number two: masking tape. In hobby terms, "masking" should describe what a tape must do, rather than specify the type of tape for the job.
When it comes to painted polyesters, true masking tape is an enemy and should be avoided. It sticks far too well, and its adhesion often increases the longer it is left on a surface.
Also avoid any type of vinyl or paper automotive masking tapes. These may be fine for acrylic lacquer and polyurethane finishes on steel cars, but they have no place on delicate, fabric-covered scale model airplanes. Most masking and automotive tapes are far too aggressive and will almost certainly do damage when lifted.
The proper tape? Drafting tape is the safest choice; it's readily available at well-stocked hobby shops, art-supply stores, or warehouse-style office stores. In appearance, drafting tape is much like masking tape but features a fine-grade adhesive. This adhesive affords excellent grip and is easily removed without damaging the paint.
Drafting tape has a less-than-perfect edge, but in most cases this will not be a problem. If a perfect edge is required, run a thin brush line of thinned clear dope or paint along the edge of the tape before you spray your trim coat(s). Be certain the clear dope you choose is compatible with your base coat. The clear coat will prevent your trim coat from bleeding under the tape, and you'll get a sharper mask line.
What about large masked areas on large surfaces? Self-adhesive shelf paper (Contact Paper, for example) is excellent here. It's cheap, comes in big rolls, has a sharp edge (when cut with sharp scissors or a #11 blade), and has just the right level of adhesion to grab without bonding to the paint below. Need a 22-inch roundel on a Sopwith Pup? You'll love shelf paper.
I suggest you do not use paper masks to cover the open areas of your model after the color-separation masks are in place. Paper absorbs liquid!
I use plastic trash bags. They're inexpensive, do not absorb liquid, and can be easily cut, folded, or wrapped around corners and edges without headaches.
Use masking tape to attach the plastic masks to the drafting tape — it's perfectly acceptable to use less-expensive masking tape to attach the trash-bag masks to the drafting-tape edge masks; just try to avoid letting the masking tape touch your model's surface.
When this procedure is used, paint lift is very rare. Try it!
Docu-Search
There are only a couple of Docu-Search requests this month.
- Dave Waggoner would like to build a Waterman Aerobile like the one pictured in a recent column. If anyone has plans, three-views, or photos, please let Dave know. Contact: Dave Waggoner, 12294 Pyrmont Rd., Brookville OH 45309.
- Dale Wilde is building and would especially like to model the Bellanca 28-92 Trimotor, "a one-of-a-kind racer built in 1937 for the Bendix Trophy Race." Dale has a three-view from Charles Mendenhall's book The Air Racer but needs more information—color information, photos, articles—anything. Contact: Dale Wilde, 110 Calle Pinonero, Santa Fe NM 87505.
---
Radio Control: Scale
The Phantom Strikes Again
In my review of Replicraft's incredible S.E.5a plan set in the February MA, I mistakenly referred to its creator as Jim Giger. Anyone who knows this man's work knows the name is Kiger, not Giger. I guess the brain fade got to me; I didn't write it that way. Sorry, Jim!
However I may have goofed the name, I don't believe you'll find a better S.E.5a plan anywhere, in any scale, or at any price. For a full description and a Replicraft information kit, send $1 to Jim Kiger at Replicraft, 1400 Gomes Road, Fremont CA 94538.
Manufacturers' News
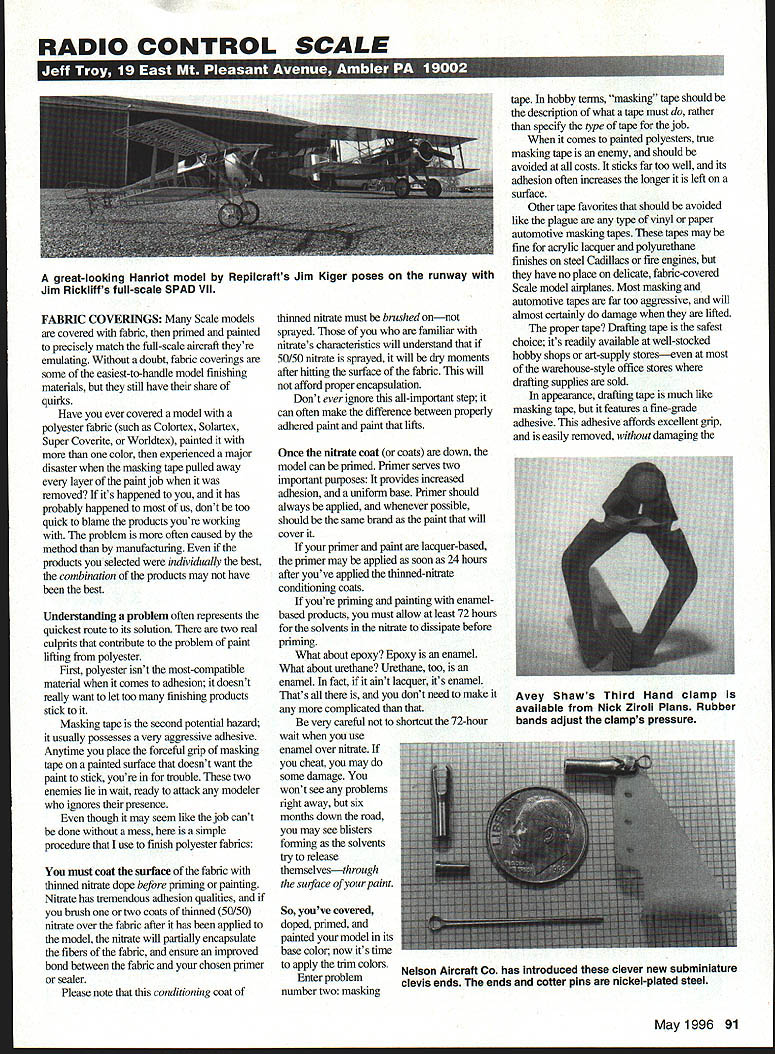
Nelson Aircraft Co. strikes again with a clever set of subminiature clevis ends, which can be used for many kinds of rod or wire straight-line, conventional, or scalelike push-pull or pull-pull linkages. The clevises and pins are nickel-plated steel and will take any linkage load or flying-wire load commonly encountered with an R/C model, including most giant-scale aircraft.
Nelson clevis ends are available in an adjustable version with 2-56 threads, or with a 1/32-inch-diameter hole that can be used as-is for most cable applications. They can also be drilled to accept 1/16-inch music wire. Pins are held in place with miniature cotter pins, and the units are packaged two to a set. For additional information on the subminiature clevis ends (or other Nelson hardware and finishing products), contact Nelson Aircraft Co., 21550 NW Nicholas Ct., Unit D, Hillsboro OR 97124.
Tools Are Great
Regardless of the job, there's always some tool that will make things easier or require less elbow grease. Clamps are some of the most useful and most available small hand tools in aeromodeling, but we can always use a few more.
Avey Shaw's Third Hand design is a refreshing departure from traditional clamps in that its jaws are self-locating to ensure solid contact with the surfaces being clamped. The clamp's muscle is supplied by rubber bands — a clever arrangement that enables the user to increase or decrease the pressure by changing the number of rubber bands on the clamp.
Avey Shaw's Third Hand is available through Nick Ziroli Plans, 2221-16 Fifth Avenue, Ronkonkoma NY 11779.
Modelers' Projects
I received a nice letter from A. Lynn Lockrow of Classic Airplans, thanking everyone involved for the excellent response he received from his Docu-Search request. Mr. Lockrow was also kind enough to send a photo of his original-design 30%-Monocoupe 90-A as built by Henry Helmke of Auburn, Alabama. The photo is here for you to enjoy.
Transcribed from original scans by AI. Minor OCR errors may remain.

