

RADIO CONTROL SCALE
Jeff Troy 19 East Mt. Pleasant Avenue, Ambler, PA 19002
Spitfire Build-Along
The 81-inch Dynaflite Spitfire is progressing very nicely. The better part of the fuselage is constructed, the engine and mount are installed, and the turtledeck and forward sheets are in place. Here's what has happened since my Nationals report.
Constructing the two fuselage sides is as simple as it gets. Lay waxed paper on top of the plan to protect it from adhesives, then trial-fit the fore and aft halves using a long straightedge to ensure an even top line. When the parts align, glue each forward half to its rearward mate with medium gap-filling CyA (cyanoacrylate) glue, then block-sand both sides smooth with #100 Ruff-Stuff paper on the ADC Tee-Bar.
When doing this kind of sanding work, hold the bar at a 45° angle to the surface being sanded and always be certain that there are no wood chunks, epoxy, or CyA lumps lodged in the paper to gouge your model's surface. Never let the end of the bar go or return over an open bay in the surface; doing so can cause chipping and splintering of the bay edge.
When the fuselage sides are smooth inside and out, a quick eyeball will determine the surfaces with the fewest blemishes. Pick the best right and left sides, then use a slow-setting epoxy to glue the plywood fuselage doublers to the insides of both parts. A paper towel dampened with isopropyl alcohol is very good for cleaning away excess adhesive before the epoxy cures—especially inside the slotted and grooved areas of the doublers, where parts such as the wing bolt block, servo mounts, and bulkhead sides will later be inserted.
When the epoxy has cured, use masking or drafting tape to hold the sides tightly together, then sand the edges of both sides until their perimeters are the same. Pay particular attention to the saddle area, where too much sanding could vary the wing's incidence, and to the fuselage top, where the objective is to achieve a straight line from fore to aft with no step where the front pieces mate with the rears.
After sanding, remove the tape slowly and lay the sides on your bench. Cut the triangle and strip stock lengths slightly oversize, then sand each piece to fit precisely. These strips can be adhered to the sides with medium CyA.
Glue vertical tail doublers to the rear of both fuselage sides—not just one, as the instructions recommend. A single tail doubler works fine, but results in a slightly narrow tail width when sanded to match the angle of the fuselage sides. Installing dual doublers will permit the tail to better blend into the rudder shape and allow more room for the rudder hinge tab to anchor into the rear of the fuselage.
Laminating the firewall parts and constructing the primary and rearward bulkheads requires no special explanation or procedure. Construct the parts as indicated, then glue the two wing-saddle bulkheads in place over one fuselage side with medium CyA. Use a 90° triangle to ensure the correct bulkhead alignment.
When the CyA has cured, trial-fit the second side over the fore and aft wing saddle bulkheads, checking and double-checking for square alignment. If you followed the previous steps, the two sides should line up nicely, so glue the second side over the bulkheads.
Depending on your choice of engine and mount, the Spitfire's firewall will be anything from effortless to time-consuming to install. Naturally, I chose the latter. If you use the beam mounts and plywood braces that the kit provides, you can install the firewall between the fuselage sides, aligning it with the notches in the fuselage doublers. My Spitfire will carry the new Enya R155-4C four-stroke (more on this new engine next month), which fits very nicely into an older R120 aluminum Tatone mount that I've had laying around for several years.
After bolting the gleaming R155 to the mount, I positioned the mount over the firewall and marked the positions for the 8-32 x 1-inch mounting bolts. Drill the holes and install the mount with blind nuts on the rear of the firewall.
Seating the R155 on the factory-drilled arms of the Tatone mount required the firewall to be repositioned about a half-inch to the rear of its intended location. If you use a mount such as the Tatone or the optional Great Planes adjustable mount (GPMQ1091) recommended in the manual, follow these steps:
- With the spinner backplate slid over the end of the crankshaft, the engine still on the mount, and the mount still bolted to the firewall, locate the firewall so that the spinner backplate is approximately 1/16-inch ahead of the foremost portion of the cowl.
When the firewall is dry, draw the fuselage sides together at the nose, gluing the multi-split nose area of the sides, one at a time, to the plywood nose ring. You can leave the engine in place for now, but I suggest that you wrap it tightly in a plastic bag to protect it from adhesives and balsa dust. Hollow the two upper nose blocks to clear the engine, glue them together, then glue them to the fuselage. If you've repositioned the firewall, the blocks will require the addition or removal of material to make them fit between the firewall and the nose ring.
Draw the fuselage sides together at the rear, then razor-plane and sand the two vertical doublers to match the angle of the sides. Don't glue the rears together yet; just rubber-band them together while fitting and gluing each of the rear bulkheads in place, one at a time, from front to rear. When the last bulkhead is installed and the glue has cured, apply quick-setting epoxy to the sanded doublers, draw them together, and hold them in place with tape until the epoxy has cured.
Install the turtledeck formers and the 1/4" die-cut turtledeck top piece over the rearward section of the fuselage, then install the three 1/4" stringers and the instrument panel former over the forward section. Fit and glue the cockpit deck between the two sections, keeping a clean, glue-free edge for the upper sheeting.
In the next Spitfire installment you will complete the engine installation, cowl sheeting, and shaping the fuselage. I'll also have more for you on Enya's new powerhouse with the five-year warranty and one-year crash damage protection — the R-155-4C.
Manufacturers' News: This year's
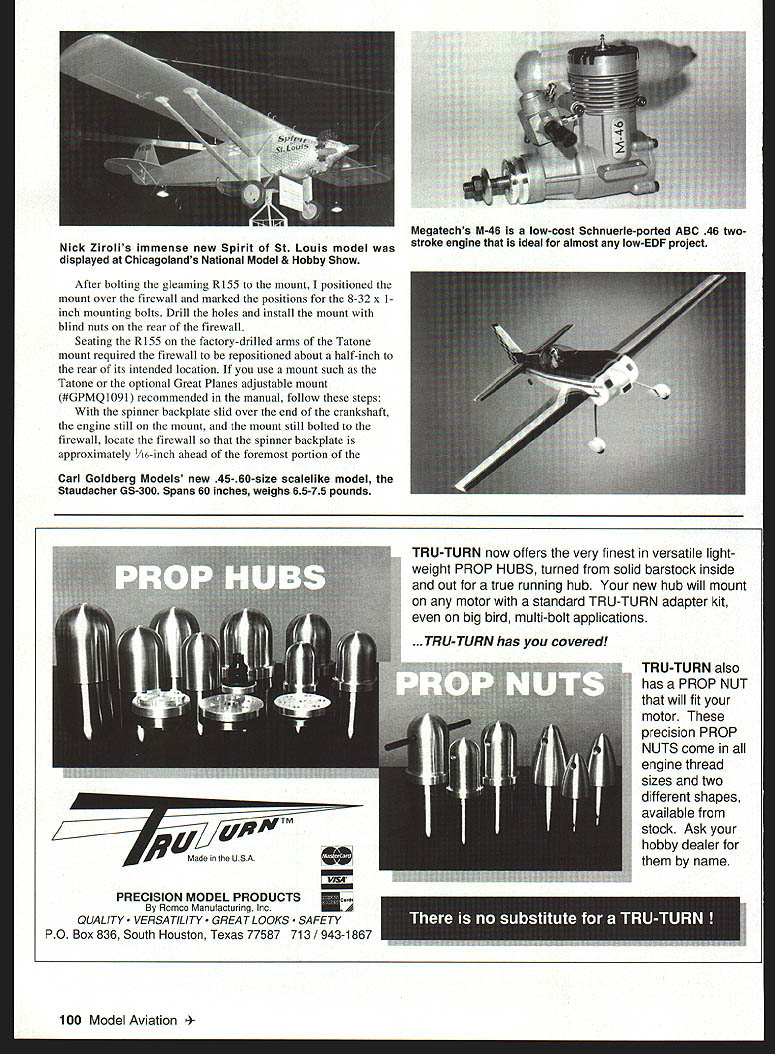
This year's National Model & Hobby Show in Rosemont, a Chicago suburb, offered a wealth of new treats from the industry, not the least of which was Nick Zirolis's quarter-scale Spirit of St. Louis. This great silver behemoth rode atop the Robart Manufacturing/Pacer Technologies exhibit.
Nick said that the Spirit will be an excellent choice for Giant Scale wannabes with moderate flight skills. The airplane flies similar to an entry-level trainer; it just looks better. Write to Nick Zirolis at 29 Edgar Drive, Smithtown, NY 11787.
In late September, K&B Manufacturing announced the release of its new Ultrapoxy paint — the long-awaited two-part successor to K&B's outstanding Super Poxy. I haven't had the chance to use Ultrapoxy, but the word from K&B's Don Weitz is that its surface quality and opacity are superior to Super Poxy. Gloss and satin catalysts are available, and Super Poxy thinner is compatible (and still being produced, to be used with the new paint). Curing time is 24 hours (as was Super Poxy's), and the familiar 30- to 60-minute induction period (let stand after mixing) is still a good idea for maximum efficiency. A benefit is that Ultrapoxy is available in colors that match popular film coverings — a plus to sport fliers and the scale-for-fun crowd.
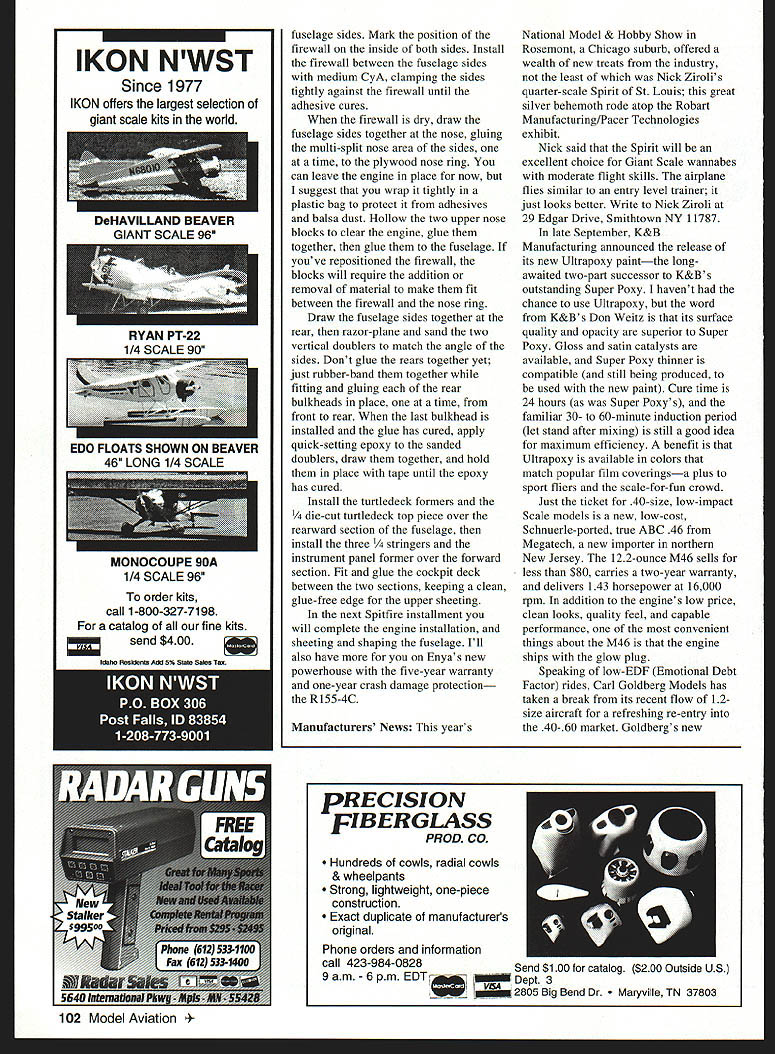
Just the ticket for .40-size, low-impact scale models is a new, low-cost, Schnuerle-ported, true ABC .46 from Megatech, a new importer in northern New Jersey. The 12.2-ounce M46 sells for less than $80, carries a two-year warranty, and delivers 1.43 horsepower at 16,000 rpm. In addition to its low price, clean looks, quality feel, and capable performance, one of the most convenient aspects about the M46 is that the engine ships with the glow plug.
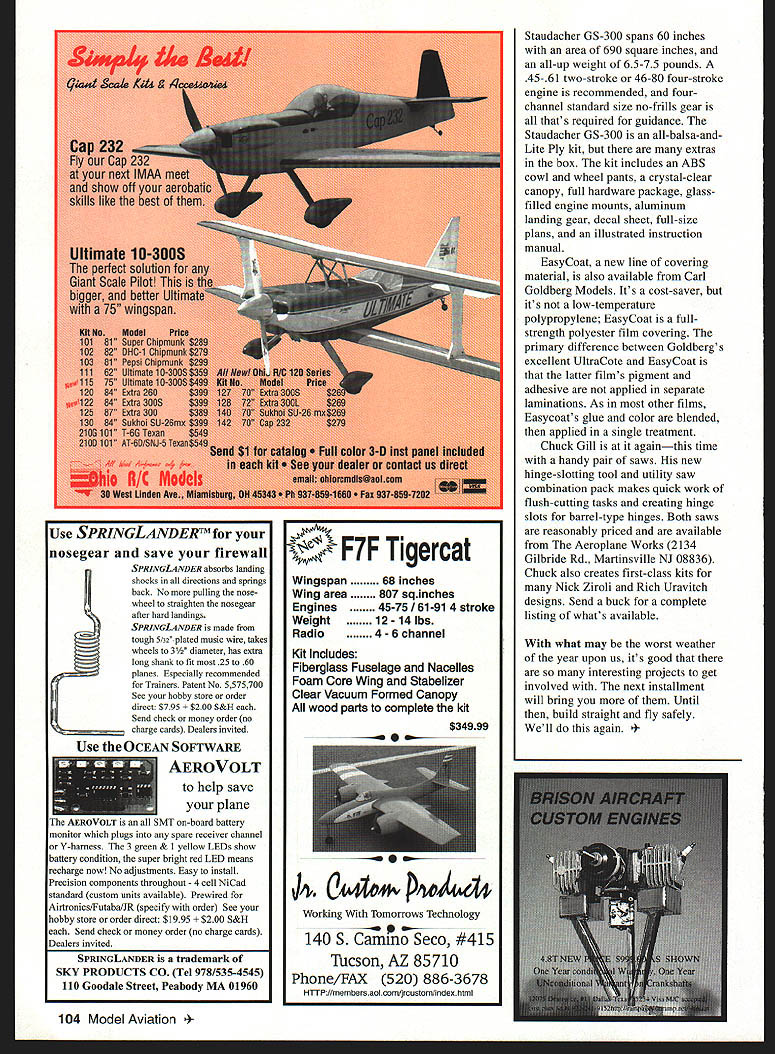
Speaking of low-EDF (Emotional Debt Factor) rides, Carl Goldberg Models has taken a break from its recent flow of 1.2-size aircraft for a refreshing re-entry into the .40-.60 market. Goldberg's new 45-60-size scale-like model, the Staudacher GS-300, spans 60 inches and weighs about 6.5–7.5 pounds. A .45-.61 two-stroke or .46-.80 four-stroke engine is recommended, and four-channel standard-size no-frills gear is all that's required for guidance. The Staudacher GS-300 is an all-balsa-and-liteply kit, but there are many extras in the box.
The kit includes:
- ABS cowl and wheel pants
- crystal-clear canopy
- full hardware package
- glass-filled engine mounts
- aluminum landing gear
- decal sheet
- full-size plans
- illustrated instruction manual
EasyCoat, a new line of covering material, is also available from Carl Goldberg Models. It's a cost-saver, but it's not a low-temperature polypropylene; EasyCoat is a full-strength polyester film covering. The primary difference between Goldberg's excellent UltraCoat and EasyCoat is that the latter film's pigment and adhesive are not applied in separate laminations. As in most other films, EasyCoat's glue and color are blended, then applied in a single treatment.
Chuck Gill is at it again — this time with a handy pair of saws. His new hinge-slotting and nut-and-rivet utility-saw combination pack makes quick work of flush-cutting tasks and creating hinge slots for barrel-type hinges. Both saws are reasonably priced and are available from The Aeroplane Works, 2134 Gilbride Rd., Martinsville, NJ 08836.
Chuck also creates first-class kits for many Nick Zirolis and Rich Uravitch designs. Send a buck for a complete listing of what's available.
With what may be the worst weather of the year upon us, it's good that there are so many interesting projects to get involved with. The next installment will bring you more of them. Until then, build straight and fly safely.
We'll do this again.
Transcribed from original scans by AI. Minor OCR errors may remain.

