
Radio Control: SCALE
Bob & Dolly Wischer
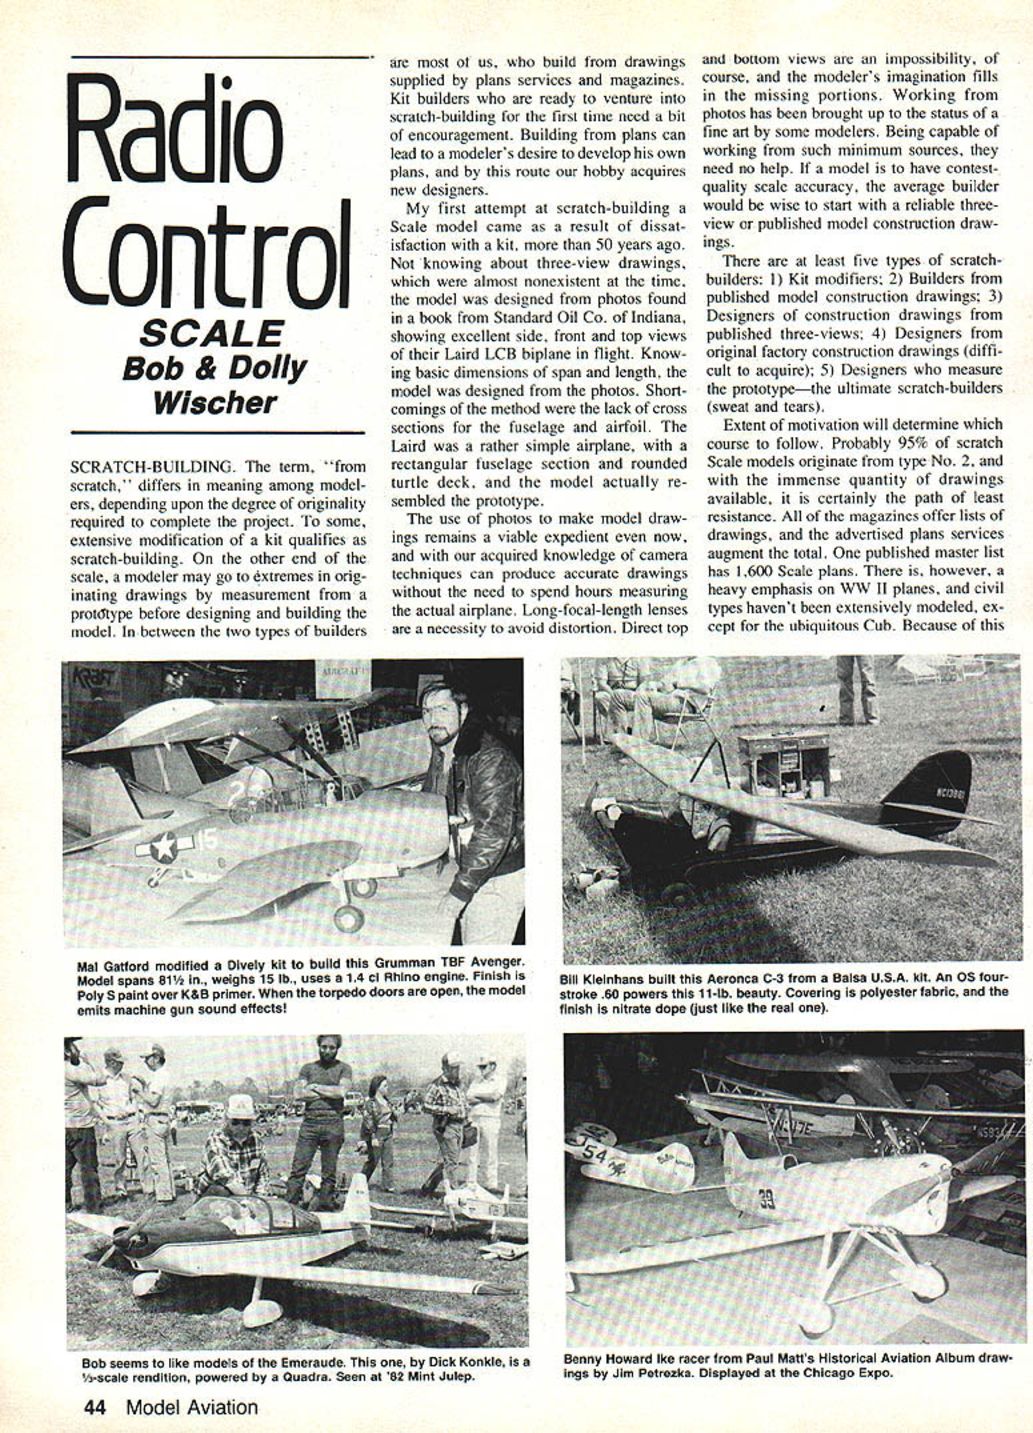
Scratch-Building
The term "scratch-building" differs in meaning among modelers depending upon the degree of originality required. To some, extensive modification of a kit qualifies as scratch-building. At the other end of the scale, a modeler may originate drawings and measurements from the prototype before designing and building the model. Between those extremes are most builders who work from drawings supplied by plans services and magazines.
Kit builders who are not yet ready to venture into scratch-building need encouragement. Building from plans can lead modelers to develop their own plans, and by this route the hobby acquires new designers.
My first attempt at scratch-building a scale model resulted from dissatisfaction with a kit more than 50 years ago. Three-view drawings were almost nonexistent then, so the model was designed from photographs found in a book published by Standard Oil Co. of Indiana, which showed excellent side, front, and top views of the Laird LCB biplane in flight. Knowing basic dimensions (span and length), the model was designed from the photos. Shortcomings of that method were the lack of cross sections for fuselage and airfoil. The Laird was a relatively simple airplane, with a rectangular fuselage section and a rounded turtledeck, so the model actually resembled the prototype.
Using photos to make model drawings remains a viable expedient. With modern camera techniques—long-focal-length lenses to avoid distortion—accurate drawings can be produced without measuring the actual airplane. Direct top and bottom views remain impossible, so the modeler’s imagination fills in the missing portions. Some modelers have elevated photo-based design to an art and need no additional reference. However, for contest-quality scale accuracy the average builder should start with a reliable three-view or published construction drawing.
Types of scratch-builders
There are at least five types of scratch-builders:
- Kit modifiers.
- Builders from published model-construction drawings.
- Designers who create construction drawings from published three-views.
- Designers using original factory construction drawings (difficult to acquire).
- Designers who measure the prototype—the ultimate scratch-builders (sweat and tears).
Extent of motivation will determine which course to follow. Probably 95% of scratch scale models originate from type No. 2; with the immense quantity of drawings available, this is the path of least resistance. Magazines and advertised plan services list and sell drawings; one published master list contains about 1,600 scale plans. There is a heavy emphasis on WWII aircraft, and civil types have not been extensively modeled except for the ubiquitous Cub. Because of this imbalance, scratch-builders looking for unusual aircraft often choose civil types.
Scratch-building usually takes additional time. Be certain the chosen subject will continue to engender enthusiasm over a long building period—this is not like buying a kit on impulse that can be assembled quickly. We often hear that the scratch-builder spends more time making decisions than doing the actual labor; from experience, this is too true. Don’t start a scratch project unless you’re willing to commit extra time. Above all, don’t choose an airplane you dislike just because it is different or hasn’t been modeled extensively.
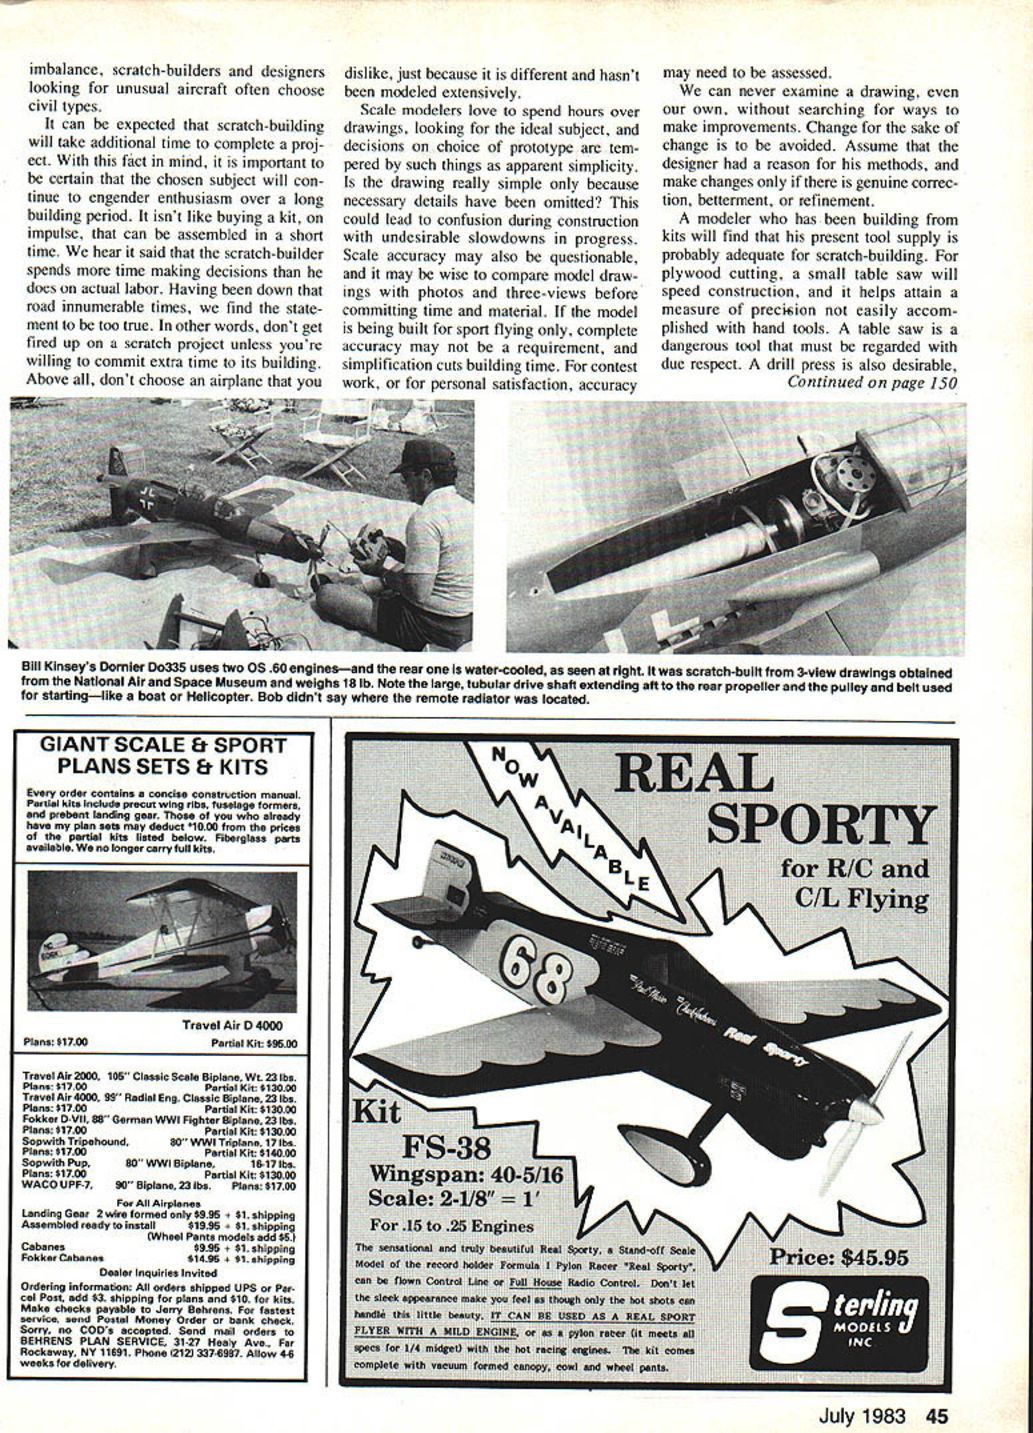
Scale modelers love to spend hours over drawings in search of the ideal subject. Decisions on choice of prototype may be tempered by apparent simplicity—beware a drawing that looks simple because necessary details have been omitted, which can lead to confusion and slow progress. Compare model drawings with photos and three-views before committing time and materials. If building for sport flying only, simplification and less-than-perfect accuracy may be acceptable; for contest work or personal satisfaction, assess and pursue higher accuracy.
We can never examine a drawing without looking for improvements, but change for the sake of change should be avoided. Assume the designer had a reason for the methods used; make changes only when they genuinely correct, better, or refine the design.
Tools and techniques
A modeler accustomed to kits will find most of his tool supply adequate for scratch-building. Helpful additions include:
- A small table saw for plywood cutting and precision (use with due respect; it is dangerous).
- A drill press (desirable but not necessary).
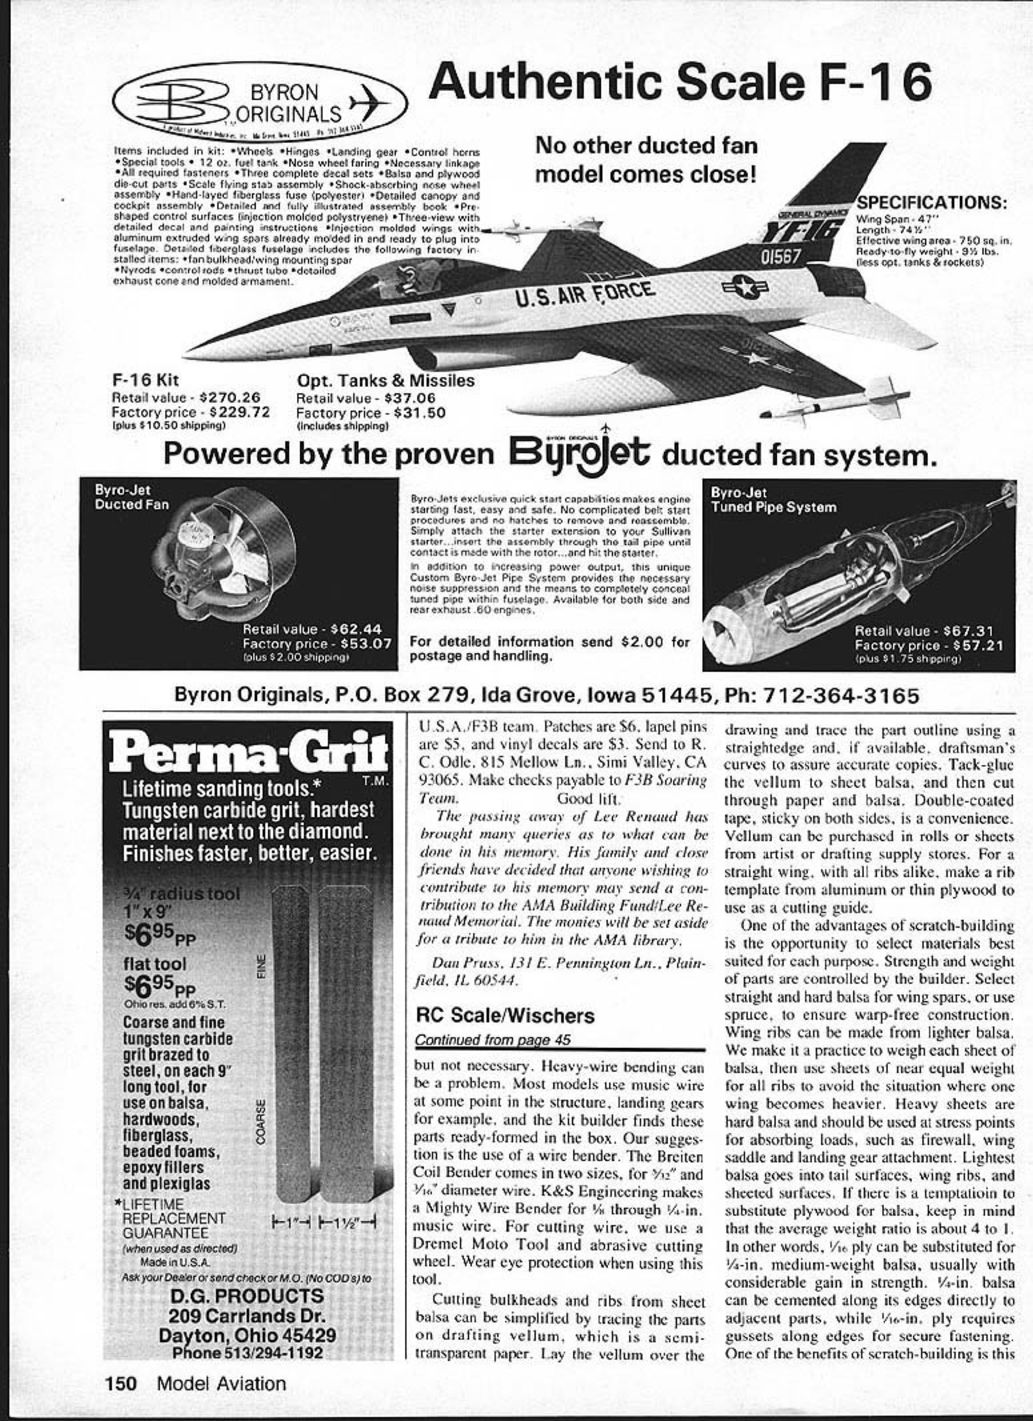
- A wire bender for heavy-wire forming: examples include the Breiten Coil Bender (sizes for 3/32" and 1/8") and the K & S Mighty Wire Bender (1/8"–3/16").
- A Dremel Moto-Tool with an abrasive cutting wheel for cutting wire—wear eye protection.
Cutting bulkheads and ribs from sheet balsa can be simplified by tracing parts on drafting vellum (semi-transparent paper). Lay the vellum over the drawing and trace outlines using a straightedge and draftsman’s curves for accuracy. Tack-glue the vellum to sheet balsa and cut through the paper and balsa. Double-coated tape (sticky both sides) is convenient. Vellum is available from artist or drafting supply stores. For straight wings where all ribs are identical, make a rib template from aluminum or thin plywood to use as a cutting guide.
Materials and construction tips
Scratch-building lets you choose materials suited for each purpose, controlling strength and weight:
- Use straight, hard balsa or spruce for wing spars to minimize warping.
- Use lighter balsa for wing ribs.
- Weigh each sheet of balsa and use sheets of similar weight for all ribs to avoid one wing becoming heavier than the other.
- Use heavy sheets at stress points (firewall, wing saddle, landing-gear attachment) and the lightest sheets for tail surfaces, ribs, and sheeting.
If substituting plywood for balsa, remember that average weight ratios are about 4:1—1/16" ply roughly equals 1/4" medium-weight balsa in strength (with proper construction). Note that 1/4" balsa can be cemented along its edges to adjacent parts, while 1/16" ply generally requires gussets along edges for secure fastening. Use discretion when substituting materials.
The art of scratch-building and designing from three-views could occupy a full column; we covered it thoroughly in our October 1981 column.
Military Colors (Hobbypoxy formulas)
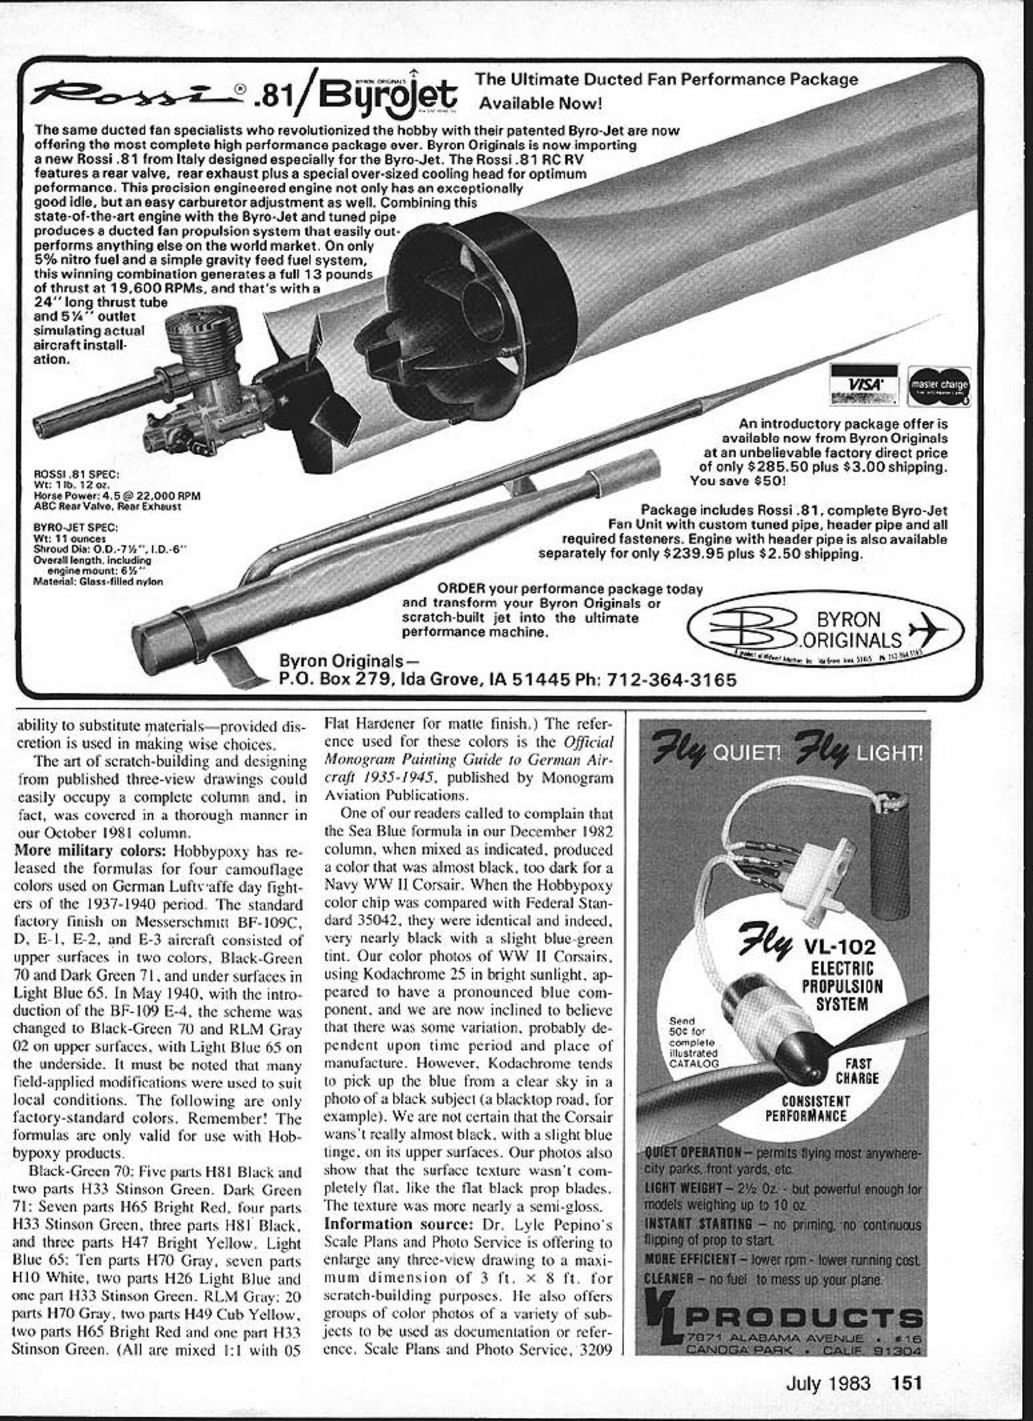
Hobbypoxy has released formulas for four camouflage colors used on German Luftwaffe day fighters of the 1937–1940 period (factory-standard colors). These formulas are valid only with Hobbypoxy products and are mixed 1:1 with 05 Flat Hardener for a matte finish. Reference: Official Monogram Painting Guide to German Aircraft 1935–1945 (Monogram Aviation Publications).
- Black-Green 70:
- Five parts H81 Black
- Two parts H33 Stinson Green
- Dark Green 71:
- Seven parts H65 Bright Red
- Four parts H33 Stinson Green
- Three parts H81 Black
- Light Blue 65:
- Ten parts H70 Gray
- Seven parts H10 White
- Two parts H26 Light Blue
- One part H33 Stinson Green
- RLM Gray 02:
- Two parts H70 Gray
- Two parts H49 Cub Yellow
- Two parts H65 Bright Red
- One part H33 Stinson Green
Note: Many field-applied modifications were used to suit local conditions; the above are factory standards. Mix 1:1 with 05 Flat Hardener for matte finish.
One reader complained that the Sea Blue formula in our December 1982 column produced a color almost black—too dark for a Navy WWII Corsair. When the Hobbypoxy chip was compared with Federal Standard 595a/2, they were identical and nearly black with a slight blue-green tint. Our Kodachrome 25 photos in bright sunlight showed a pronounced blue component, possibly due to period or manufacturer variation or the film’s tendency to pick up blue from a clear sky. The Corsair upper surfaces may indeed have been nearly black with a slight blue tinge, and the surface texture appeared more semi-gloss than perfectly flat.
Information Sources
Dr. Lyle Pepino’s Scale Plans and Photo Service offers to enlarge any three-view drawing to a maximum dimension of 3 ft. x 8 ft. for scratch-building purposes. He also offers groups of color photos of various subjects for documentation or reference.
Scale Team Trials
Trials to be conducted at Louisville, KY in August require pre-registration. Official entry forms are available from AMA headquarters. Entry fee is $50 ($25 for the 1984 FAI Scale Team Fund). A $10 FAI stamp is required to be affixed to the entrant’s AMA license.
Bob and Dolly Wischer S-221 Lapham Peak Rd. Delafield, WI 53018
Transcribed from original scans by AI. Minor OCR errors may remain.

