

Radio Control: Sport Aerobatics
By Ron Van Putte
Included in the recent bundle of RC-oriented newsletters which the AMA received and forwarded to me was one called Propwash, from the Mercer County (New Jersey) Radio Control Club. You can imagine my surprise to discover an article in it which I wrote almost 12 years ago! Back in 1968, I was the editor of the Worksheet, newsletter of the Western Ohio Radio Kontrol Society (Dayton, OH), and published an article I wrote about repairing airplanes. Like most newsletter editors I sent copies to AMA and the major magazines. The article was reprinted by R/C Modeler magazine in the December 1969 issue under the title, "Don't burn it, REPAIR IT!" After rereading my article, I decided that the material was still pertinent and should be seen again. Since R/C Modeler never paid me for the original article and I didn't waive my rights to it, I decided that it would be perfectly acceptable to reprint it. However, I have slightly edited it to bring it up to date.
How often have you observed the following scene? A modeler's airplane crashes, the pieces are carried back to the pit area, the verdict of "unrepairable" is reached, reusable parts are removed from the wreckage and the model is burned on the spot. This happens far too often. Many of those "unrepairable" airplanes can be made to fly as good as new.
I won't try to argue with those who will say, "You can't get the thing back together the way it was and besides a repair job always looks lousy." I will say that NONE of my airplanes has experienced less than one crash, and it takes a good search to discover where they suffered damage. If my airplanes don't fly perfectly, most of the time it's me and not the airplane.
I can't tell you how to make every conceivable repair, but I can give you some guidelines to follow in making a good-looking repair job after almost any crash. The important thing to have in doing such a job is patience. I imagine that some people who started reading this article have already gone on to something else because they don't have the patience to learn and also because they just "can't" repair an airplane.
The first thing that should be done following a crash is to clean the remains. Even the small pieces can be fitted together like a jigsaw puzzle if you save them, so clean them, too. Do the best job you can right at the flying field because the oil can go a long way into raw wood during a trip home. I always clean my airplanes after normal flying with Dow Bathroom Cleaner, and after a crash, I also use it. Each piece should be cleaned as well as possible since the major enemy of a good repair job is oil. If there is a trace left on any surface, I guarantee that the paint will bubble up or not dry properly. If you use enamel or one of the epoxy paints, the oil will hinder their proper adhesion and drying. When you get the airplane home, clean it thoroughly again with alcohol. I use ordinary rubbing alcohol. After the two cleanings, the surfaces should be dry and oil-free.
Trim back the silk or tissue in the vicinity of a break so that a good joint can be made. Where there are breaks with lots of little jagged edges, trim off the ends of the edges because they will tend to bend when the two pieces are joined together and leave a gap between the pieces. If there are some fuel-soaked edges of raw wood, cut these out or use K2R Spot Remover to lift out the oil because the adhesive won't do any good on an oily surface. If the damage is extensive, think of the order in which you must replace the pieces; it's embarrassing to discover that you left out the firewall bulkhead or another such piece after the fuselage is back together.
Glue the pieces back together using makeshift jigs to keep parts in line, if necessary. I use a lot of C-clamps, pins, rubber bands and scraps of wood to do this. Since most repair jobs do require some jigging, I use a slow-drying or slow-curing adhesive. The "five minute" adhesives are great for field repairs, but they don't give you sufficient time to align pieces when you're making an extensive repair. After the adhesive is dry, observe the job that's ahead of you. Invariably there will be pieces missing. You must decide whether to replace them with pieces of balsa, plywood, etc., or with glue. I use a lot of epoxy in this stage. Wherever there is a joint between two pieces I put on epoxy with a spatula so that I'm reasonably sure that the epoxy is higher than the original surface. When the epoxy is cured, you must sand the surface smooth. Since the length of the sanding job depends on the kind of epoxy that's used, use an epoxy that is strong but relatively easy to sand. The best epoxy glue I've found is the Dave Brown Epoxy Kit (formerly Southern R/C Products Epoxy Kit).
I tack my sandpaper to various sizes of wood and use the size that's compatible with the job. Sand with both straight and circular motions to get the surface smooth. When the surface is smooth, put on two or three coats of undercoating, with light sanding between coats, and then put on patches of silk or tissue (depending on what the original covering was). Make the patches slightly oversize and stick them down by smoothing the patch on the surface and putting on several coats of thinned paint. After a light sanding, finish the surface with the original color scheme. My airplanes have rather simple decorations which are relatively easy to replace.
After repairing the outside of the fuselage, you must decide whether it has sufficient strength. If you decide it doesn't, pieces of 1/32 in. plywood and bulkhead fillets (using epoxy) will add amazing strength without taking up much space.
Foam wings can be repaired if they aren't too badly mashed. If a wing is broken near the tip, the tip can be glued back on and the edges repaired with epoxy, since the area near the tip doesn't carry much load. If the wing is broken at the center section, you may often glue it back together and put several patches of lightweight fiberglass cloth around the center. You may consider adding a full-depth spar by cutting right through the wing for four to eight inches on either side of the center and sliding in a plywood spar (using a generous coat of epoxy on the spar and on the foam). If a piece of foam is missing you can make up a replacement piece, stick it in, and recover the area. Rebalance the wing by adding weight to one wing tip.
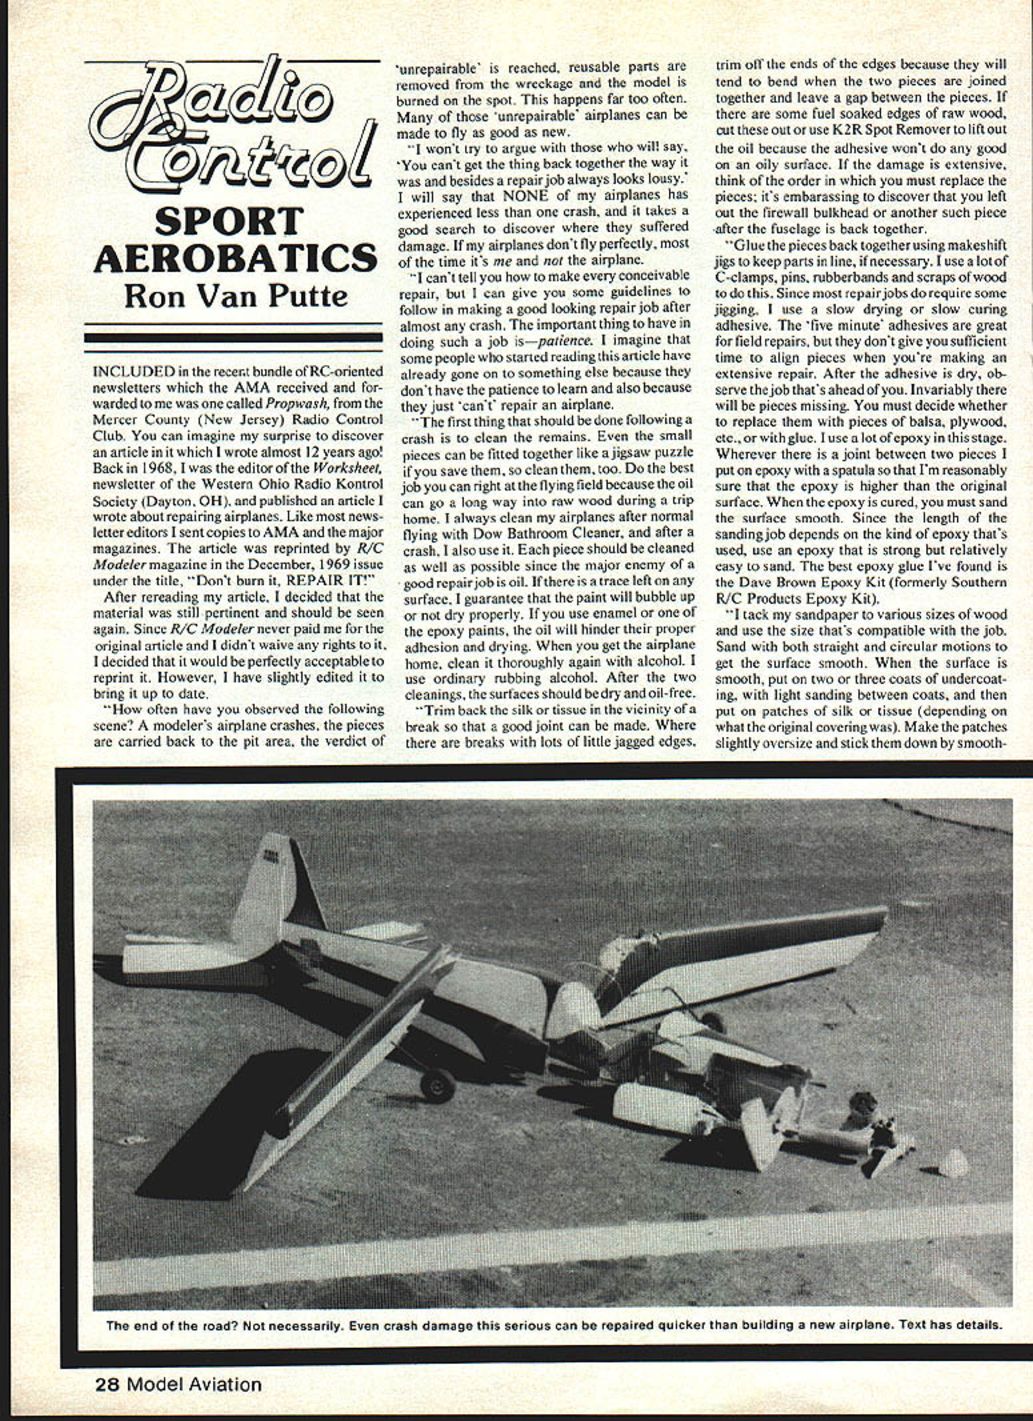
All of the above sounds like a lot of work, but I've found that I can have a repaired airplane back in the air a lot faster than building a new one from scratch. For those of you who still aren't convinced, don't chuck out your next bashed airplane, give it to me and I'll have it flying in a week or so.
Maybe I'll even sell it back to you!
Shortly after the original article appeared I received a big box from Al Signorino (creator of the RC Snoopy Dog House) who was then the editor of Carrier Wave, newsletter of the McDonnell Aircraft Company RC Club (St. Louis, MO). The box contained a very badly broken airplane; I couldn't even figure out what it was. A short time later a card from Al arrived with the message, "How are repairs on the Beachcomber coming?"
Since my reputation was at stake, I repaired that airplane! I flew it during the three years I was stationed at Andrews AFB, MD, and another year down here at Eglin AFB before it bit the dust. I won't say that I enjoyed the hours of repair, but the satisfaction of flying the airplane for four years made up for the effort. However, I do have one request: please don't send me any large boxes with broken airplanes inside.
Ron Van Putte 12 Connie Drive Shalimar, FL 32579
Transcribed from original scans by AI. Minor OCR errors may remain.

