
Radio Control Sport/Aerobatics
By Ron Van Putte
1981 Nats: New Procedures
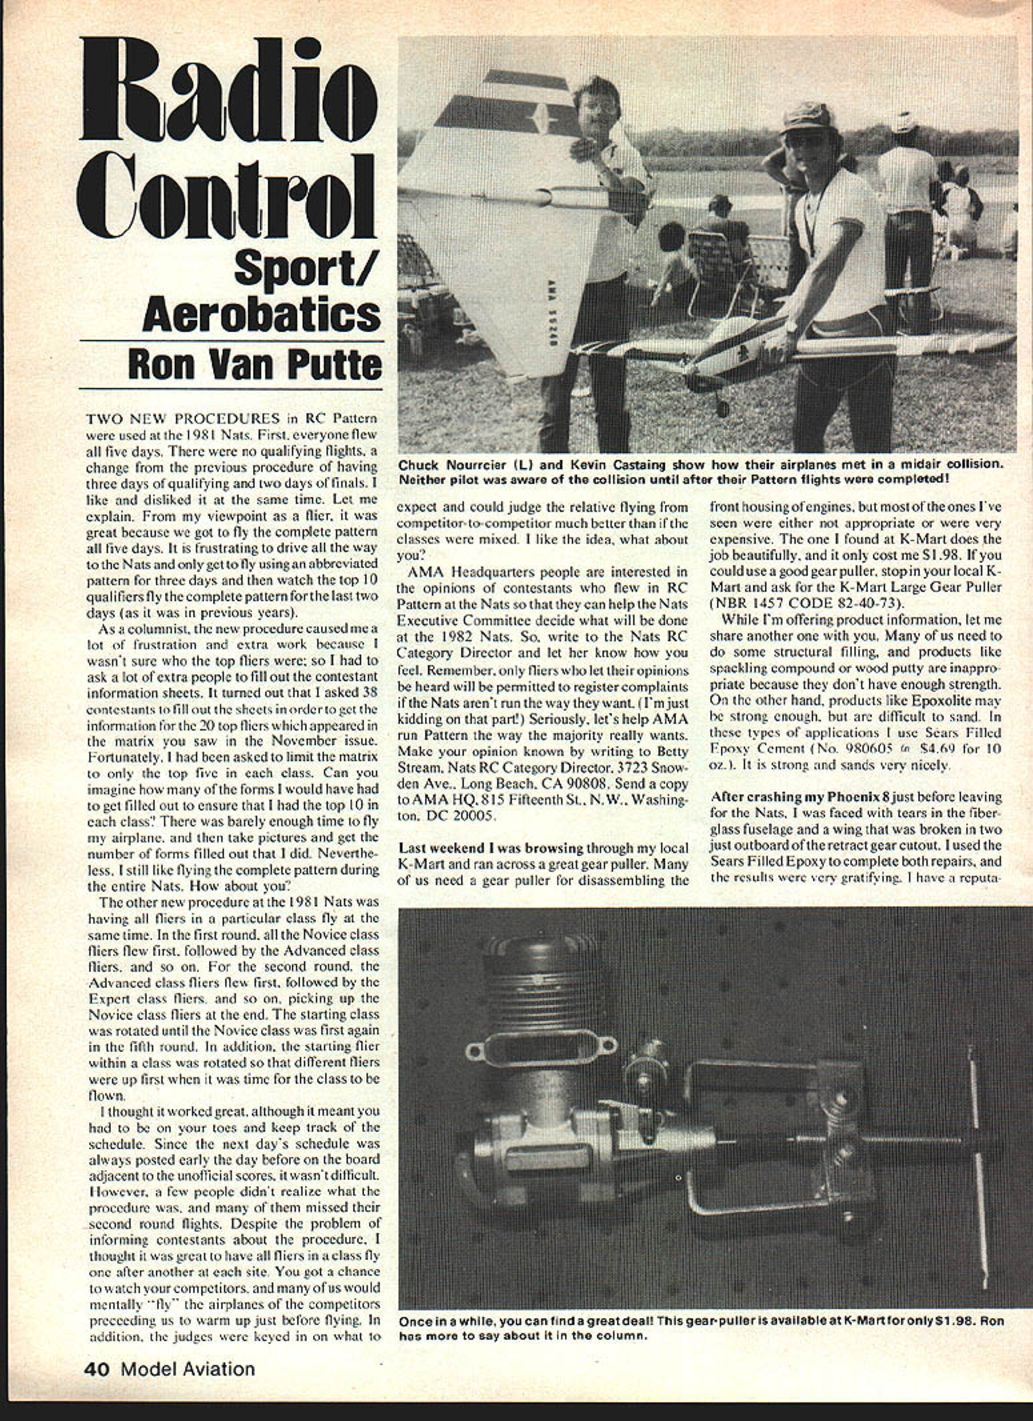
Two new procedures in RC Pattern were used at the 1981 Nats.
The first change was that everyone flew all five days. There were no qualifying flights, a change from the previous procedure of having three days of qualifying and two days of finals. As a flier, I liked it because we got to fly the complete pattern all five days. It is frustrating to drive all the way to the Nats and only get to fly an abbreviated pattern for three days and then watch the top qualifiers fly the complete pattern for the last two days, as in previous years.
As a columnist, the new procedure caused extra work because I wasn't sure who the top fliers were; I had to ask many people to fill out contestant information sheets. I asked 38 contestants to get the information for the 20 top fliers which appeared in the matrix in the November issue. Fortunately, I had been asked to limit the matrix to the top five in each class. There was barely enough time to fly my airplane, take pictures, and get the number of forms I did. Nevertheless, I still prefer flying the complete pattern during the entire Nats. How about you?
The second change was having all fliers in a particular class fly at the same time. In round one, all Novice class fliers flew first, followed by Advanced, and so on. In round two the Advanced class flew first, followed by Expert, picking up Novice at the end. The starting class rotated until Novice was first again in the fifth round. In addition, the starting flier within a class was rotated so different fliers were up first when the class was flown.
I thought it worked great, although it meant you had to be on your toes and keep track of the schedule. Since the next day's schedule was always posted early on the board adjacent to the unofficial scores, it wasn't difficult. However, a few people didn't realize what the procedure was and many missed their second-round flights. Despite the problem of informing contestants, I liked having all fliers in a class fly one after another at each site. You got a chance to watch your competitors and many of us would mentally "fly" the airplanes of the competitors preceding us to warm up. Judges were also keyed in on what to expect and could judge relative flying from competitor to competitor much better than if the classes were mixed. I like the idea — what about you?
Feedback to AMA
AMA Headquarters is interested in opinions from contestants who flew RC Pattern at the Nats to help the Nats Executive Committee decide what will be done at the 1982 Nats. Make your opinion known by writing to:
- Betty Stream, Nats RC Category Director
3723 Snowden Ave., Long Beach, CA 90808
- Send a copy to AMA HQ:
Academy of Model Aeronautics, 815 Fifteenth St., N.W., Washington, DC 20005
Product tips
- Gear puller: I found a great, inexpensive gear puller at K-Mart — K-Mart Large Gear Puller (NBR 1457 CODE 82-40-73). Many of the gear pullers I've seen are inappropriate or expensive; this one does the job and cost $1.98.
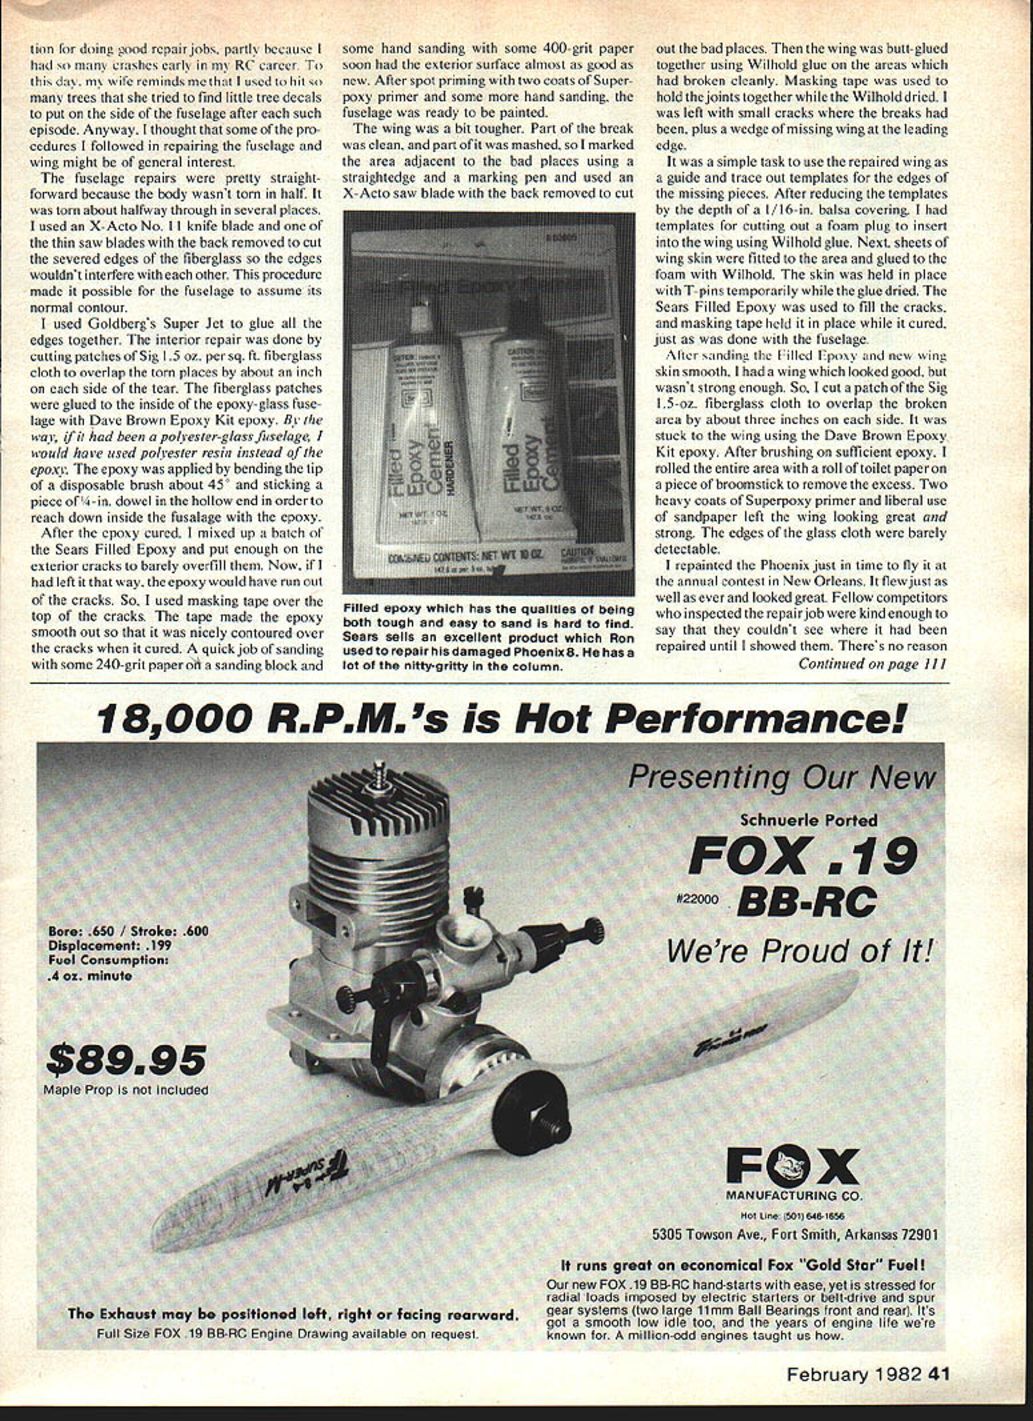
- Structural filler: For structural filling where spackling or wood putty aren't strong enough and Epoxolite is hard to sand, I use Sears Filled Epoxy Cement (No. 980605), $4.69 for 10 oz. It is strong and sands nicely.
Crash repairs — Fuselage
I crashed my Phoenix 8 just before leaving for the Nats. The fiberglass fuselage had tears and the wing was broken in two just outboard of the retract gear cutout. I used Sears Filled Epoxy to complete both repairs with gratifying results.
Fuselage repairs:
- Trim the torn edges. Use an X-Acto No. 11 knife blade and a thin saw blade with the back removed to cut the severed edges of the fiberglass so the edges won't interfere with each other. This allows the fuselage to assume its normal contour.
- Glue edges. Use Goldberg's Super Jet to glue all the edges together.
- Interior patching. Cut patches of Sig 1.5-oz per sq. ft. fiberglass cloth to overlap the torn places by about 1 inch on each side. Glue the patches to the inside of the epoxy-glass fuselage with Dave Brown Epoxy Kit epoxy. (If it had been a polyester-glass fuselage, use polyester resin instead of epoxy.)
- Applying interior epoxy. Bend the tip of a disposable brush about 45° and insert a 1/4-in. dowel in the hollow end to reach down inside the fuselage with the epoxy.
- Exterior filling. After the epoxy cured, mix Sears Filled Epoxy and put enough on the exterior cracks to barely overfill them. To prevent the epoxy from running out, cover the top of the cracks with masking tape. The tape helps the epoxy smooth out and cure contoured to the fuselage.
- Sanding and priming. Sand with 240-grit on a sanding block, then hand sand with 400-grit. Spot-prime with two coats of Superpoxy primer and do final hand sanding. The fuselage is then ready to paint.
Crash repairs — Wing
The wing was tougher: part of the break was clean and part was mashed.
- Remove bad sections. Mark the damaged area with a straightedge and pen and use an X-Acto saw blade with the back removed to cut out the bad sections.
- Glue clean breaks. Butt-glue the areas that broke cleanly using Wilhold glue. Hold joints with masking tape while Wilhold dries.
- Fill missing sections. Trace templates from the repaired wing to size the missing pieces. Reduce templates to the depth of a 1/16-in. balsa covering, then cut a foam plug to insert into the wing using Wilhold glue.
- Fit skin. Fit sheets of wing skin to the area and glue them to the foam with Wilhold. Hold the skin in place with T-pins until the glue dries.
- Fill and tape. Use Sears Filled Epoxy to fill cracks and hold it in place with masking tape while it cures.
- Strengthen with fiberglass. After sanding the Filled Epoxy and new wing skin smooth, reinforce the repair by cutting a patch of Sig 1.5-oz fiberglass cloth to overlap the broken area by about 3 inches on each side. Glue it in place with Dave Brown Epoxy Kit epoxy. After brushing on sufficient epoxy, roll the entire area with a roll of toilet paper on a broomstick to remove excess epoxy.
- Final finishing. Apply two heavy coats of Superpoxy primer and sand. The edges of the glass cloth should be barely detectable and the wing will be both strong and attractive.
Results and encouragement
I repainted the Phoenix just in time to fly it at the annual contest in New Orleans. It flew as well as ever and looked great. Fellow competitors said they couldn't see where it had been repaired until I showed them. There's no reason many other crashed airplanes can't be repaired just as well, so give it a try — it certainly beats starting from scratch.
By the way, the annual New Orleans contest has sometimes had sparse attendance despite high quality and a traditional Saturday night supper. This year the secret is out: 43 Pattern and 12 Sport Scale contestants enjoyed a boiled shrimp and steamed crab supper with the Crescent City Radio Control Club members.
Ron Van Putte 111 Sleepy Oaks Rd., Ft. Walton Beach, FL 32548
Transcribed from original scans by AI. Minor OCR errors may remain.

