
Radio Control: SPORT/AEROBATICS
Ron Van Putte
Construction Tips
This has been a heavy building period for me, and a few suggestions came out of my experiences which should be of general interest.
Tail Wheel / Rudder Installation (Spickler Quickie 500)
A club decision required a steerable tail wheel on all airplanes to improve ground handling and safety. My Radio Models Spickler Quickie 500 did not have a tail wheel and installation on the unmodified airplane would have put the tail-wheel axis through the horizontal tail.
Solution I used:
- Slide the vertical fin back so the rudder hinge line lines up with the end of the fuselage.
- Install two Du-Bro No. 124 horn wire bearings in the end of the fuselage with just enough space between them to accept a 3/32-in. wheel collar.
- Insert another 3/32-in. wheel collar below the lower horn wire bearing.
- Pass a piece of 3/32-in. music wire through the collars and bearings, continue it through a small notch in the leading edge of the elevator and up into the rudder.
- Secure the wheel collars to the music wire by filing small notches in the wire and pressing the collars against the horn wire bearings.
Vertical loads from the tail wheel are transferred into the aft fuselage by the wheel collars pressing against the horn wire bearings; the rudder is protected by this arrangement.
Connecting the Rudder/Tail Wheel to Controls
To connect the rudder/tail-wheel assembly to the existing control system:
- Drill another hole in the upper wheel collar to mount a control arm. Remove the set screw in the wheel collar and use that hole as a guide to drill through the opposite wall (I used a 2-in. drill).
- Thread the new hole with a 4-40 tap (same thread as the existing set-screw hole).
- Remove the head from a 4-40 screw, solder the screw into the newly threaded hole, and twist a Du-Bro No. 103 strip aileron horn onto the screw.
- Use that aileron horn as a control arm to attach the rudder pushrod.
Alternatively, a 90° bend in the music wire could be used for the pushrod attachment.
Removable Tail Wheel Assembly (Ed Moorman’s suggestion)
To make the tail-wheel assembly removable without disturbing the rudder:
- Drill a 2-in. hole through the fiberglass cloth and temporarily attach a 2-in. wheel collar to the existing wing with small pieces of masking tape.
- Use the set-screw hole as a guide and solder a short piece of 3/32-in. music wire into the wheel collar.
- With the music-wire stub in place, use a permanent marker to trace the desired lines on the fiberglass cloth so the wheel-collar trace remains visible after the rudder is installed.
- Glue the rudder-mounted wheel collar/wire stub in place, push the 3/32-in. music wire tail wheel up through the rudder-mounted collar, tighten the set screw and file the notch in the music wire.
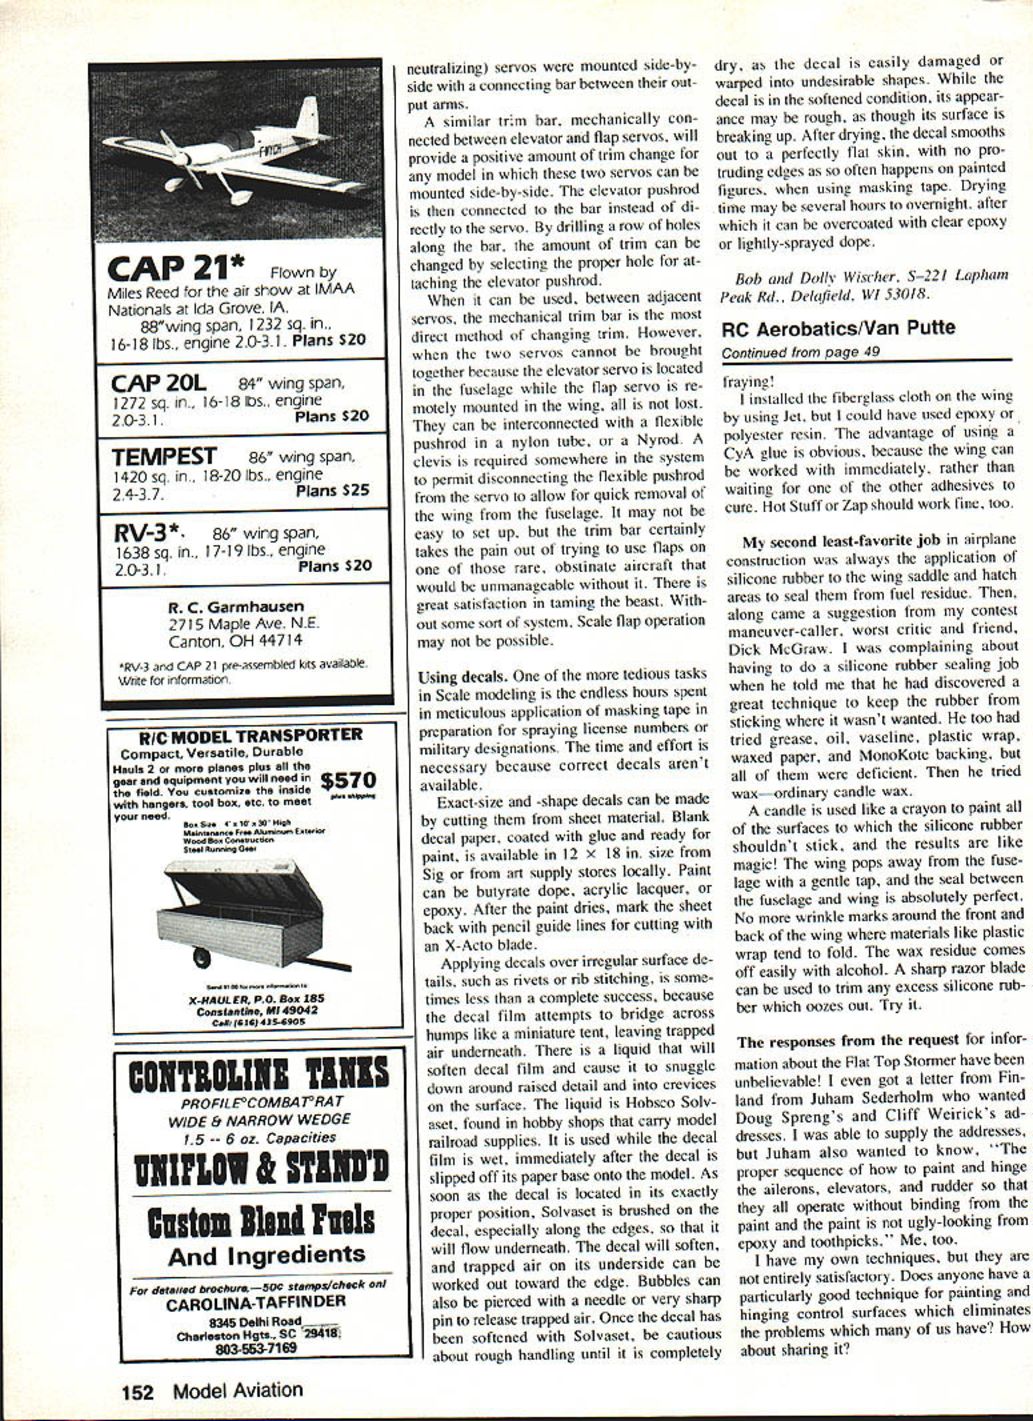
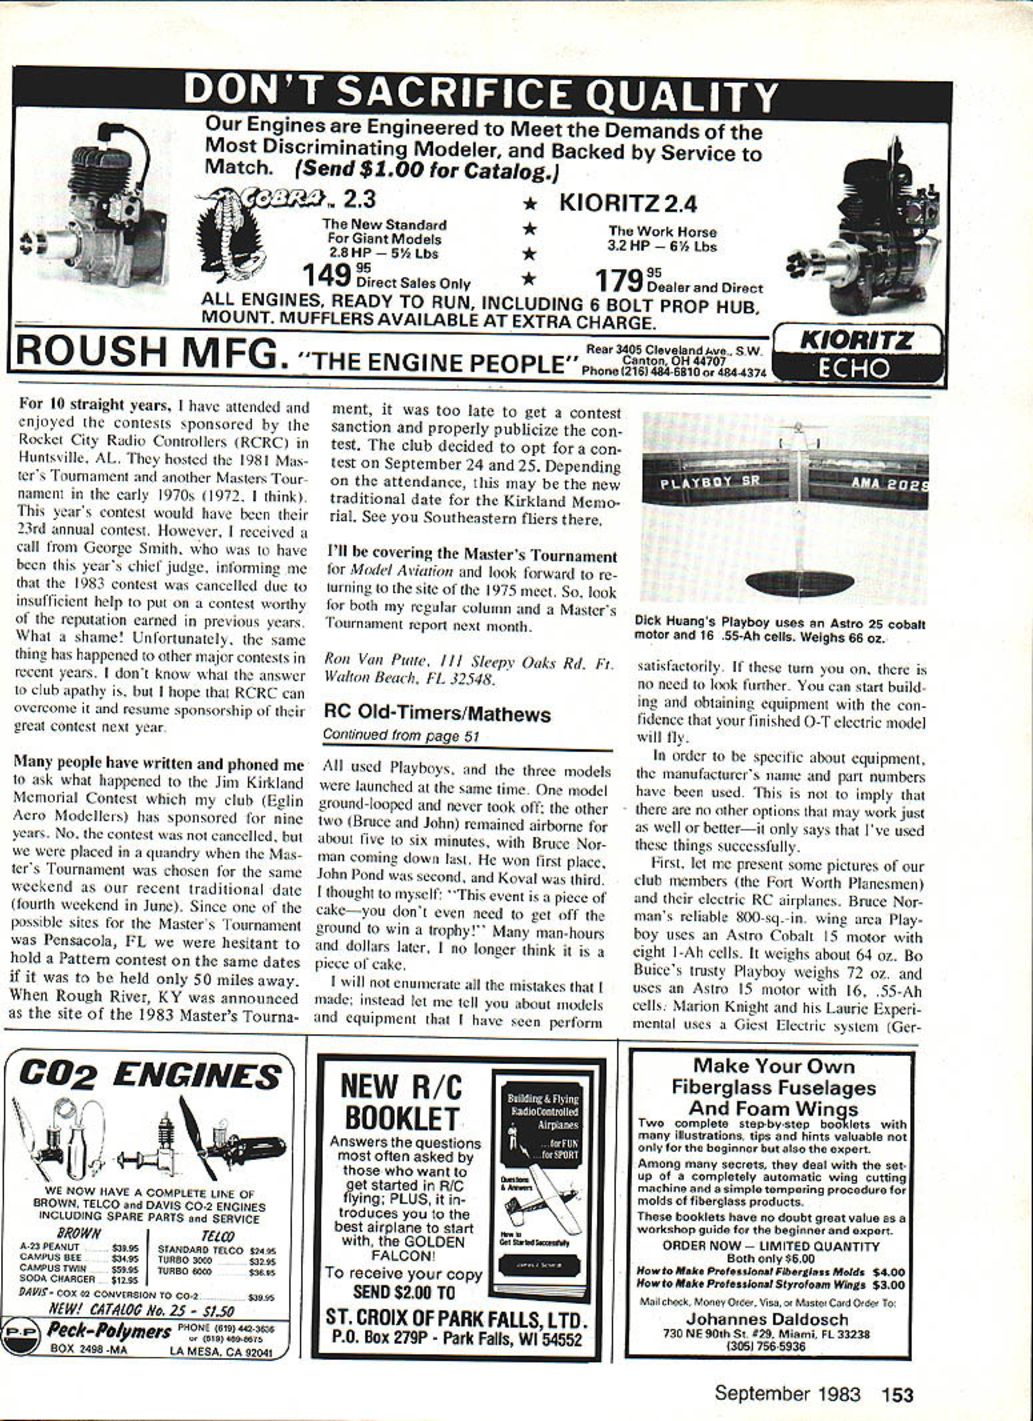
When you want to remove the tail-wheel assembly, simply loosen the set screws in the wheel collars and pull the assembly out without disturbing the rudder. Neat, simple, and strong. Refer to the picture to help clear up any confusion.
Fiberglass Cloth — Clean Cutting Trick
Applying fiberglass cloth to a wing center section is always a chore because I usually work with raw widths (fuselage sizes vary), which means cutting the cloth and often ending up with frayed edges. A method that worked well:
- Put the wing on the fuselage so you can see the lines through the heaviest fiberglass cloth.
- With the cloth in place, remove the wing and smooth the cloth out over waxed paper.
- Use a Goldberg Jet (or similar CA adhesive) and lay along the traced lines on the fiberglass cloth.
- When the Jet cures, cut the fiberglass cloth along the traced lines with scissors—the edges come out beautifully clean, no fraying.
You can also use epoxy or polyester resin, but CA glue (Jet, Hot Stuff, Zap) has the advantage of allowing immediate work on the wing rather than waiting for cure.
Silicone Sealing — Wax Trick
I used to dislike applying silicone rubber to wing saddles and hatch areas to seal them from fuel residue. Dick McGraw suggested an excellent technique to keep silicone from sticking where it shouldn't:
- Use ordinary carnauba wax (a candle can be used like a crayon) to paint all surfaces where you do not want the silicone to adhere.
- Apply the silicone rubber as usual. The wing will pop away from the fuselage with a gentle tap, and the seal is perfect—no wrinkled marks where materials like plastic wrap tend to fold.
- Remove wax residue easily with alcohol.
- Trim excess silicone that oozes out with a sharp razor blade.
Try it.
Painting and Hinging Control Surfaces
Responses to my request for information about the Flat Top Stormer have been unbelievable. A reader from Finland asked for addresses and also wanted to know the proper sequence of how to paint and hinge ailerons, elevators, and rudder so they operate without binding from paint and so the finish looks good (no epoxy/toothpick ugly spots).
I have my own techniques, but they are not entirely satisfactory. If anyone has a particularly good technique for painting and hinging control surfaces that eliminates binding and ugly-looking seams, please share it.
Other Notes
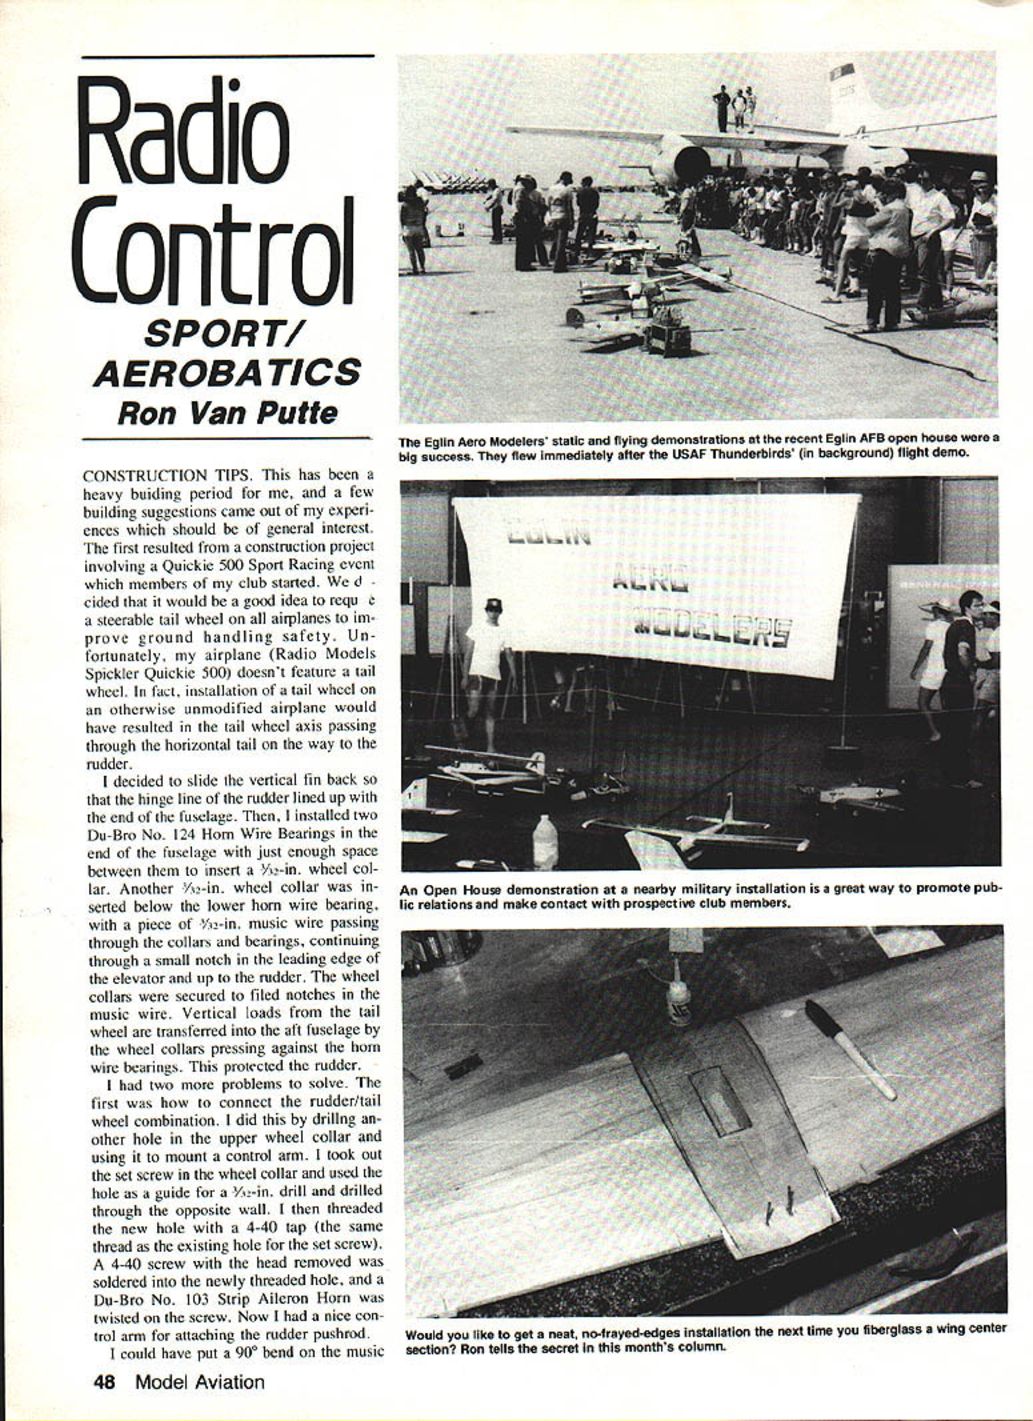
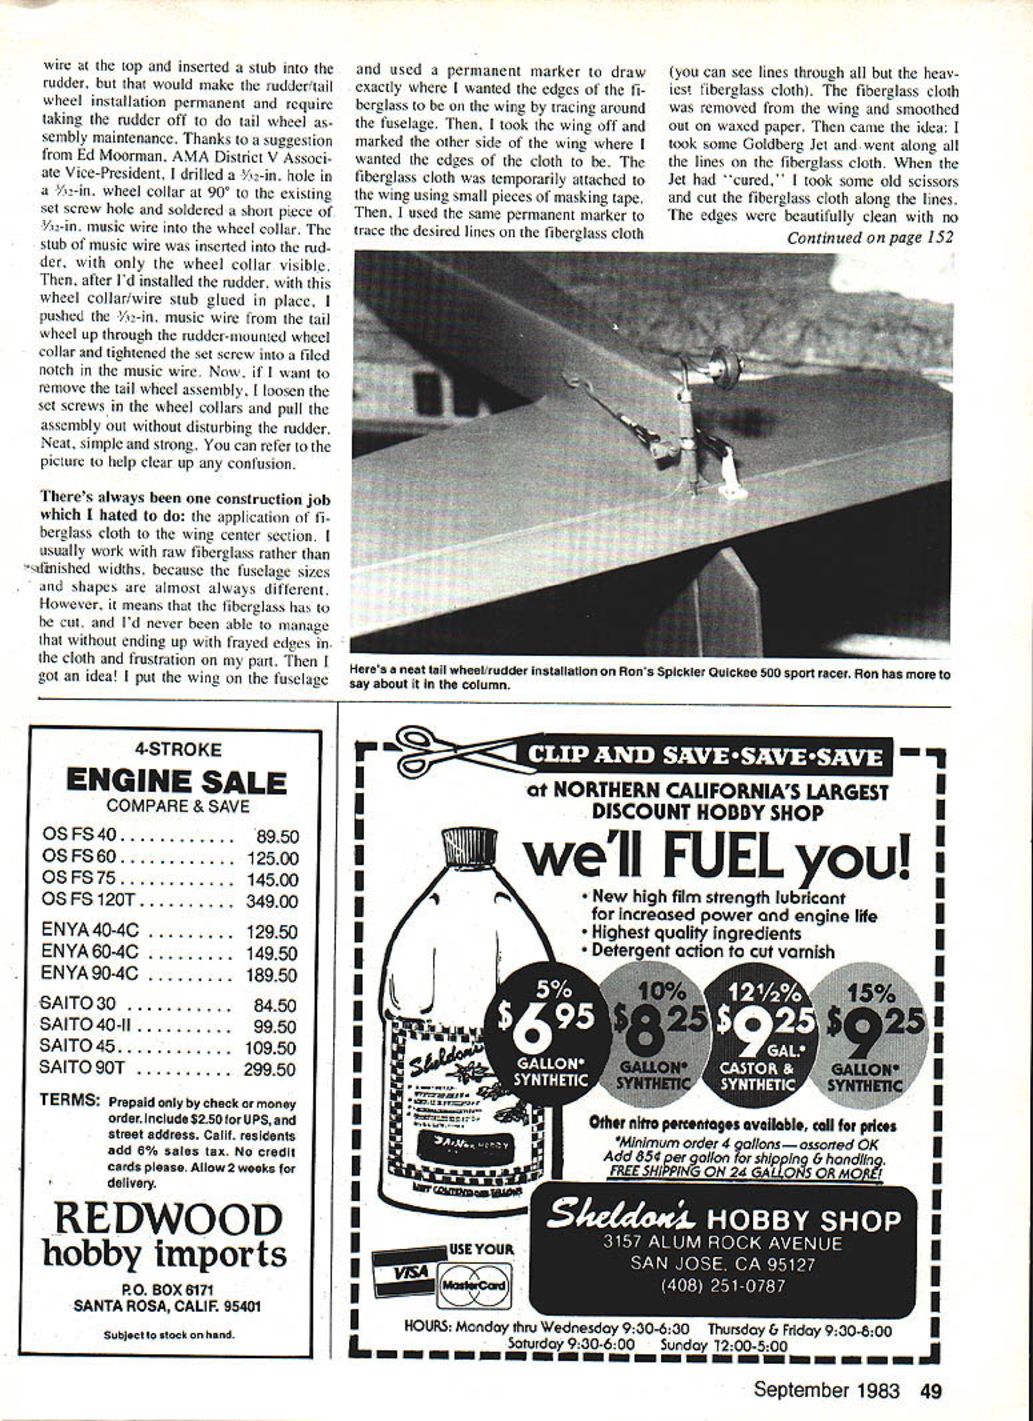
- Eglin Aero Modellers' static flying demonstrations at the recent Eglin AFB open house were a big success. We flew immediately after the USAF Thunderbirds' background flight demo. An open-house demonstration at a nearby military installation is a great way to promote public relations and make contact with prospective club members.
Transcribed from original scans by AI. Minor OCR errors may remain.

