
RC Electric
Early morning at the lake
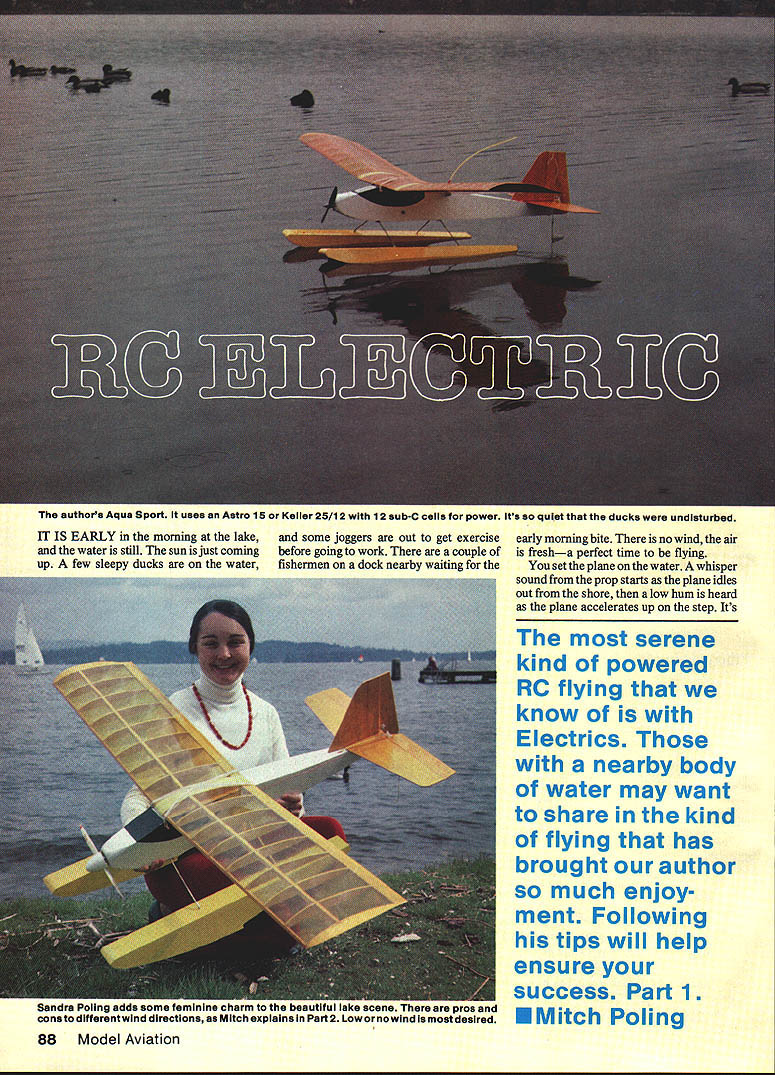
It is early in the morning at the lake, and the water is still. The sun is just coming up. A few sleepy ducks are on the water, and some joggers are out to get exercise before going to work. There are a couple of fishermen on a dock nearby waiting for the early morning bite. There is no wind, the air is fresh—a perfect time to be flying.
You set the plane on the water. A whisper from the prop starts as the plane idles off the shore, then a low hum is heard as the plane accelerates up on the step. It's the most serene kind of powered RC flying that we know of—with electrics. Those with a nearby body of water may want to share in the kind of flying that has brought the author so much enjoyment. The following practical tips will help ensure your success.
Part 1 — Mitch Poling: a typical flight
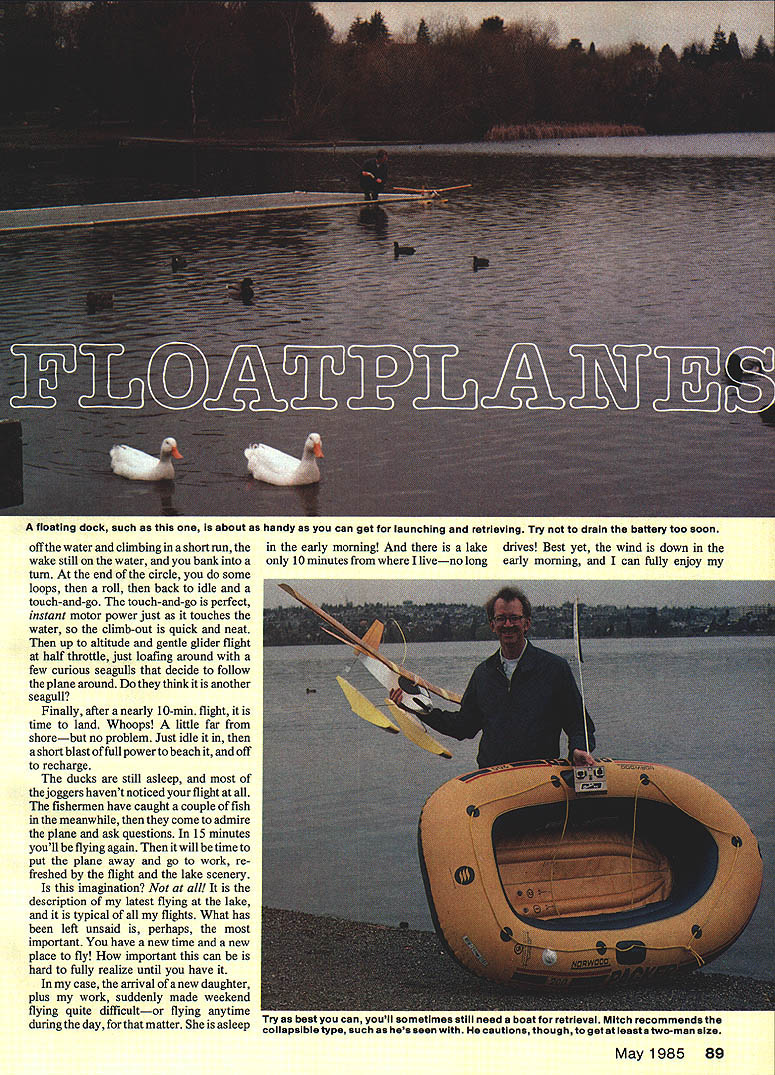
Off the water and climbing in a short run, the wake still on the water, you bank into a turn. At the end of the circle you do some loops, then a roll, then back to idle and a touch-and-go. The touch-and-go is perfect: instant motor power just as it touches the water, so the climb-out is quick and neat. Then up to altitude and gentle glider flight at half throttle, loafing around with a few curious seagulls that decide to follow the plane. After a nearly 10-minute flight it is time to land. A little far from shore—but no problem: idle in, then a short blast of full power to beach it, and off to recharge.
The ducks are still asleep; most joggers haven't noticed your flight. The fishermen have caught a couple of fish and come over to admire the plane and ask questions. In 15 minutes you'll be flying again. Then it is time to put the plane away and go to work, refreshed by the flight and the lake scenery.
Advantages of electric floatplanes
Electric floatplanes open up a whole new dimension. They literally give you a new time and place to fly that may not have been possible before:
- Quiet, instant starts and reliable running on water
- Minimal cleanup compared with glow engines
- Ability to fly early mornings when wind is down
- Short drives to nearby lakes enable quick flights between obligations
With a newborn and a busy schedule, the author found electric float flying allowed short early-morning flights close to home—priceless.
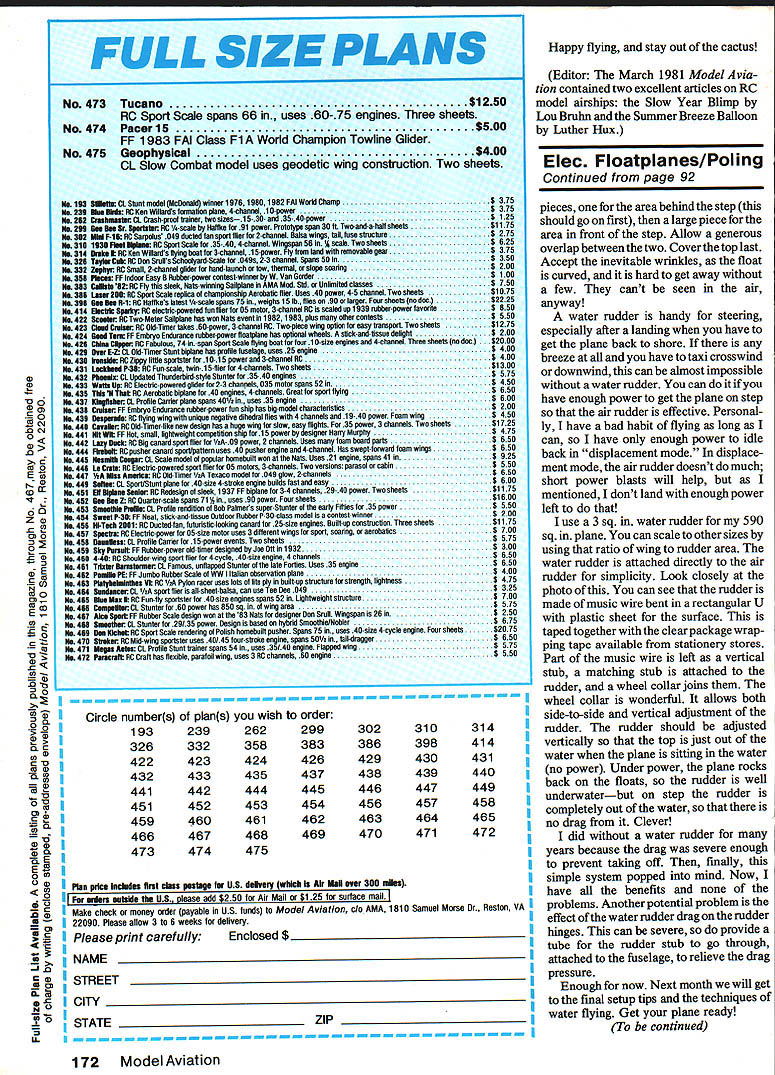
Getting started — recommended reading
Start with these two articles for basics and plans:
- March 1982 issue of Flying Models: plans CF-592 ($3) for floats for .05 electric-powered planes.
- March 1984 issue of RC Modeler: construction article on the Aqua Sport (1/5-size electric plane including floats). Plans $4.75, #908.
These will give you the basics to put together a plane that will perform on the lake. Nothing replaces experience, and this article provides practical guidance so you’re better prepared before you get wet.
Plane selection and wing loading
There are no special requirements if you are a competent pilot, though the author prefers high-wing sport-type planes. Wing loading matters a lot for water operations:
- Lower wing loading is more forgiving on takeoff and landing.
- With low wing loading you can climb out at half throttle and cruise at half throttle for gentle flight and longer duration (about 10 minutes).
- High wing loading can lead to snap-rolls during an early pull-up on takeoff and may result in a dunking.
Aim for about 18 oz per sq. ft. for an easy, "glider-like" electric floater. The author has flown in the 16–22 oz/sq. ft. range but finds ~18.5 oz/sq. ft. suits a relaxed flying style.
Building light vs. larger wing area
There are two ways to lower wing loading:
- Build light — careful construction and light materials.
- Build larger — increase wing area or span.
A philosophy of careful, purposeful building yields a model that is both strong and light. Overbuilding creates stress points; building to the guidelines will typically save several ounces to a pound while increasing strength.
The author extended the Aqua Sport’s wingspan from 50 to 62 in., transforming it from a fast, touchy plane into a slow, very friendly flier. The Aqua Sport example:
- Flying weight: 4 lb 12 oz
- Power: Keller 25/12 on 12 sub-C cells
- Wing area: 600 sq. in. (loading ≈ 18.5 oz/sq. ft.)
Result: flies like a glider.
For smaller planes, the Flying Models article showed floats on the Astro Sport kit (Astro Flight). That combination will fly at 37–42 oz, but the original wing area is only 308 sq. in. (≈20 oz/sq. ft.), which is a bit high. The author recommends extending the wing by about 8 in. to increase wing area to roughly 370 sq. in. and reduce loading to about 16 oz/sq. ft.
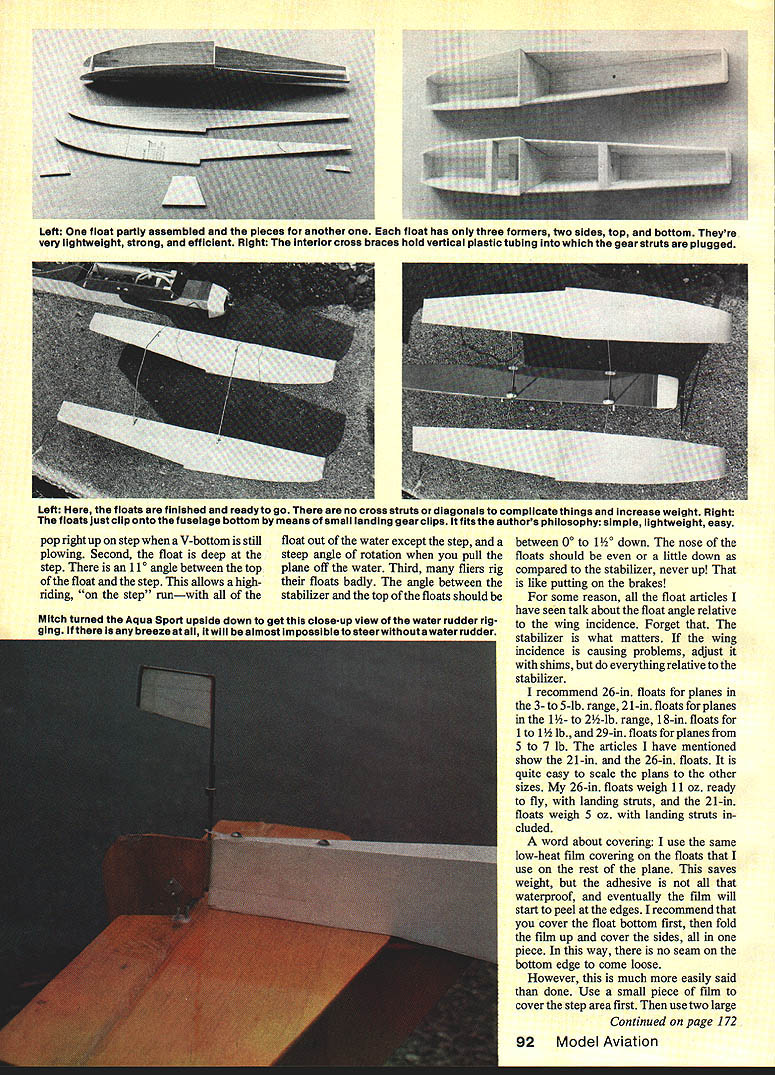
Float design — what works and why
The author’s floats were developed over years of trial and error for electric planes. Key float design features:
- Flat-bottomed: acts like a water ski and pops on the step more readily than a V-bottom, which can plow.
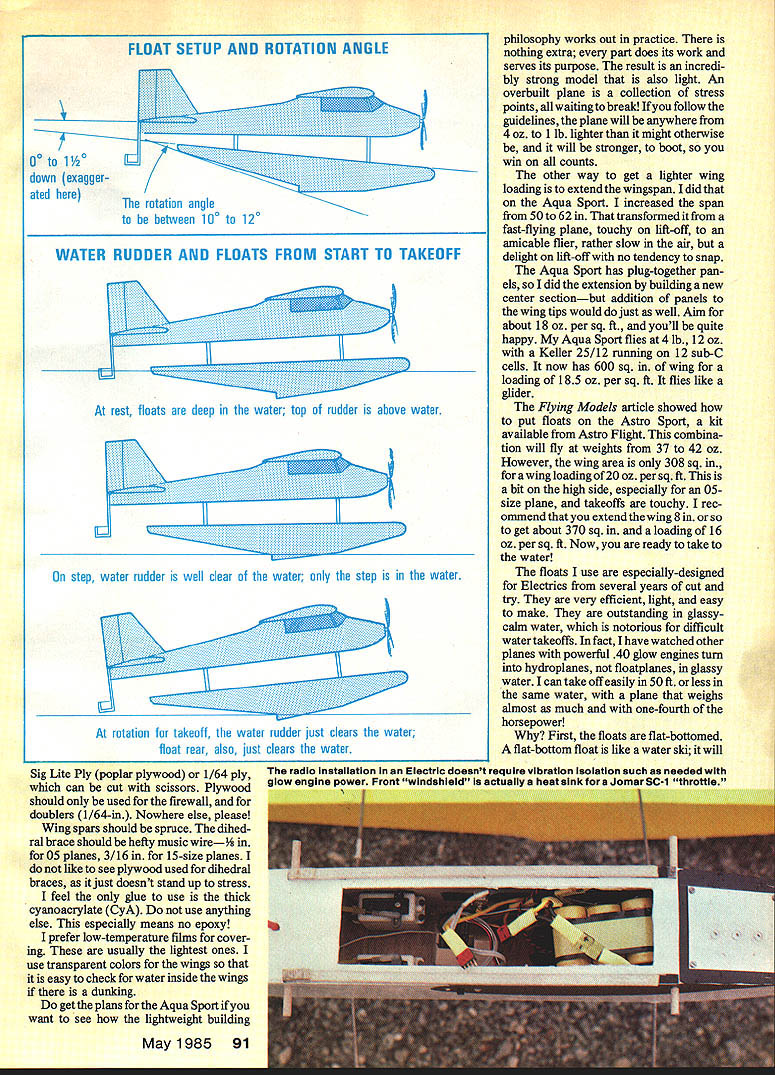
- Deep at the step: the float should be deep where the step is so the plane rides high on the step. The author uses an 11° angle between the top of the float and the step to enable a high-riding "on the step" run and a steep rotation angle for lift-off.
- Correct float-to-stabilizer angle: the stabilizer-to-float angle should be between 0° and 1½° down. The nose of the floats should be even with or slightly down relative to the stabilizer—never up, which acts like a brake.
- Reference everything to the stabilizer, not wing incidence. If wing incidence causes trimming issues, adjust with shims, but float geometry should be measured relative to the stabilizer.
Float-size recommendations (author’s guideline):
- 18 in. floats for 1 to 1½ lb planes
- 21 in. floats for 1½ to 2½ lb planes
- 26 in. floats for 3 to 5 lb planes
- 29 in. floats for 5 to 7 lb planes
The author’s 26-in. floats weigh 11 oz ready-to-fly (including landing struts); the 21-in. floats weigh about 5 oz with struts.
The author’s floats are efficient, light, and particularly good on glassy water, where many conventional floatplanes and powerful glow-powered models tend to hydroplane.
Materials and construction tips
Recommended materials and practices:
- Use Sig Lite-Ply (poplar plywood) or 1/64" plywood for small doublers and the firewall. 1/64" ply can be cut with scissors.
- Do not use plywood for primary structural members where possible; wing spars should be spruce.
- Use hefty music wire for the dihedral brace: 1/8" for .05-size planes, 3/16" for 15-size planes. Avoid plywood dihedral braces.
- Glue: the author prefers thick cyanoacrylate (CA). He advises against epoxy for these models.
- Covering: use low-temperature film coverings (lightweight). Transparent colors are helpful to spot water inside wings after a dunking.
A hobby scale is highly valuable for building light. Check balsa sheet weights before use to avoid unexpectedly heavy stock.
Covering the floats
To minimize seam failures and peeling:
- Cover the float bottom first, then fold the film up and cover the sides with the same piece so there’s no seam at the bottom edge.
- For the step area: use a small piece for the step itself, then two large pieces—one for the area behind the step (apply first) and one for the area in front of the step—allow generous overlap between the two. Cover the top last.
- Expect a few inevitable wrinkles due to curvature; they are not visible in flight.
Note: the adhesive in low-heat film coverings is not entirely waterproof and may peel at edges over time; covering in the single-piece manner described helps reduce this.
Water rudder — design and use
A water rudder is handy for steering after landing, especially when taxiing crosswind or downwind. Key points:
- If you land with little power left you may be in “displacement mode” where the air rudder is ineffective; a water rudder helps greatly.
- The author uses a 3 sq. in. water rudder for a 590 sq. in. wing—scale the rudder area roughly by that ratio to suit other planes.
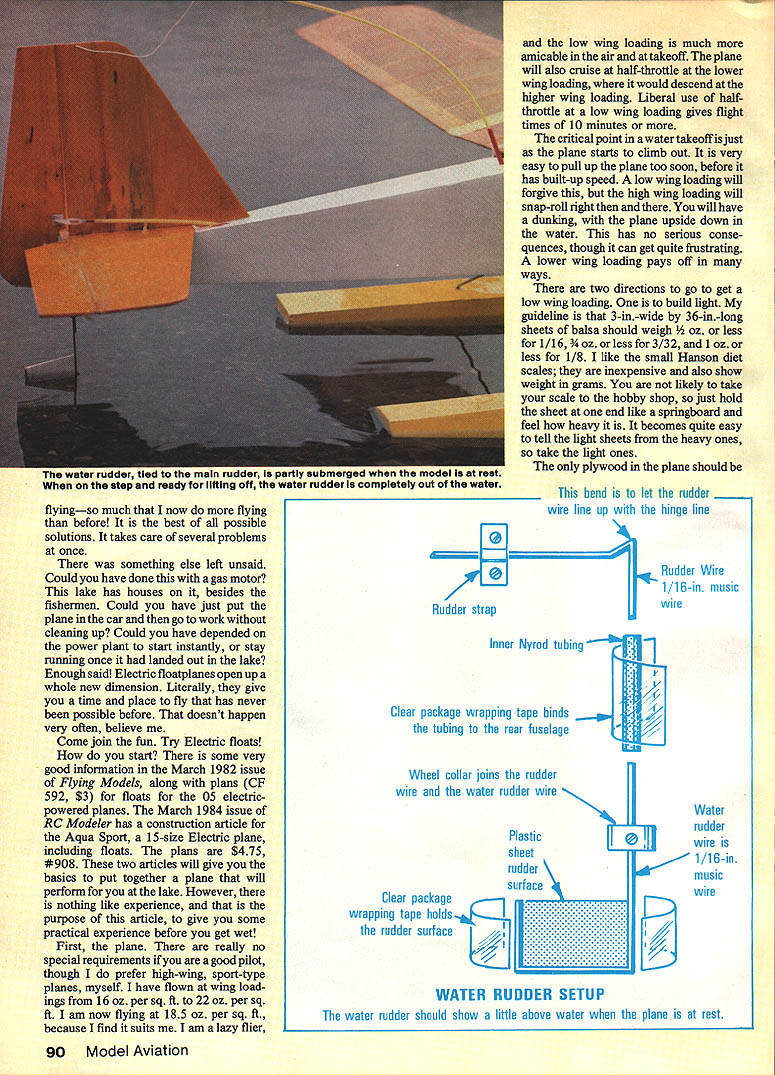
- Mount the water rudder directly to the air rudder for simplicity. The author’s build uses music wire bent in a rectangular U with a plastic-sheet surface, taped together with clear package-wrapping tape.
- Leave part of the music wire as a vertical stud; a matching stub on the rudder joins with a wheel collar. The wheel collar allows side-to-side and vertical adjustment.
- Adjust the rudder vertically so its top is just out of the water when the plane is sitting still. Under power the plane rocks back and the rudder is submerged; once on the step the rudder should be completely out of the water to avoid drag.
- Provide a tube for the rudder stub to pass through the fuselage to relieve hinge loads from water drag.
Final notes
This covers the foundational setup and construction tips for electric floatplanes. Next month will cover final setup tips and water-flying techniques. Get your plane and floats ready!
(To be continued)
Transcribed from original scans by AI. Minor OCR errors may remain.

