
Safety Comes First
Gary A. Shaw Box 4520, Milton FL 32572-4520
Short Antenna
While I lived in Tennessee several years ago, I spent many Saturday afternoons flying with a group of guys at the Millington Barnstormers R/C Flying Club. It was an active club with many members who loved to fly, and several who liked to build (but not fly) some of the oddest creations you could ever imagine.
We loved to get involved (heckle and cajole) whenever a new model was brought out to the field for its first flight. Being the good modelers that we were, it was fun to gather around, lend a few "constructive" comments, take a few pictures, offer to check trim, etc., then stand back to watch the aircraft's first flight. It was a time of great fun and many good memories.
A letter from Jim Prillaman reminded me of one safety issue we sometimes overlook: receiver antennas snapping off where they exit the fuselage. Jim reported that an airplane or two had been lost (destroyed) because the antenna vibrates or whips as the airplane flies, eventually being cut in two and causing the model to go out of control.
Jim's fix: drill a hole in the fuselage where you want the antenna to exit, sized to accommodate a two-inch piece of fuel tubing or retract tubing. Insert the tubing in the hole, run the antenna through the tubing, and secure it to the tail with a rubber band. To Jim's knowledge, no one he knows has damaged an antenna or lost an airplane using this configuration. Better safe than sorry.
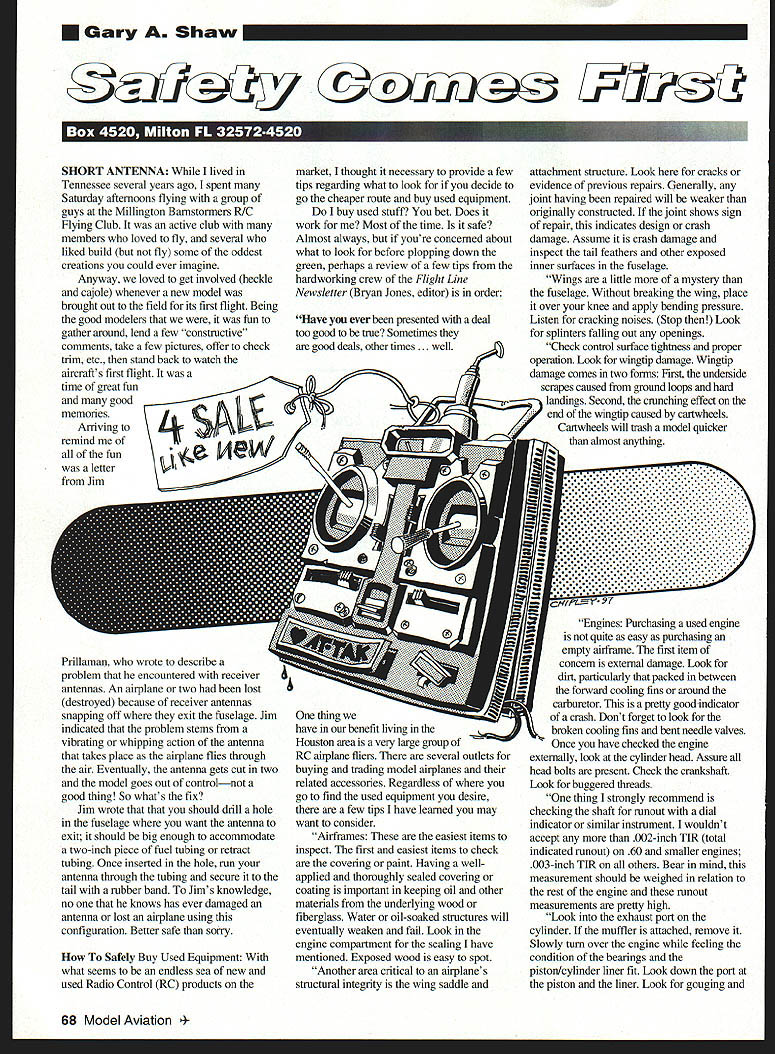
How To Safely Buy Used Equipment
With what seems to be an endless sea of new and used radio control (R/C) products on the market, here are a few tips on what to look for if you decide to buy used equipment. Do I buy used stuff? You bet. Does it work for me? Most of the time. Is it safe? Almost always, but inspect carefully before you hand over your money.
These tips are adapted from the Flight Line Newsletter (Bryan Jones, editor).
Airframes
Airframes are the easiest items to inspect.
- Covering and paint: A well-applied, thoroughly sealed covering or coating is important to keep oil and other contaminants from the underlying wood or fiberglass. Water- or oil-soaked structures will eventually weaken and fail. Look in the engine compartment for proper sealing; exposed wood is easy to spot.
- Wing saddle and attachment structure: Check for cracks or evidence of previous repairs. Any repaired joint is generally weaker than originally constructed. If you see repairs, assume there was crash damage and inspect the tail feathers and other exposed inner surfaces.
- Wings: Place the wing over your knee and apply bending pressure (without breaking it). Listen for cracking noises and stop if you hear any. Look for splinters or openings. Check control surface tightness and proper operation.
- Wingtips: Look for two common damage types:
- Underside scrapes from ground loops and hard landings.
- Crunching damage from cartwheels, which can trash a model quicker than almost anything.
Engines
Buying a used engine requires more thorough inspection.
- External damage: Look for dirt, especially packed between the forward cooling fins or around the carburetor—this can indicate a crash. Check for broken cooling fins and bent needle valves.
- Cylinder head and crankshaft: Ensure all head bolts are present. Check the crankshaft for burrs or damaged threads.
- Shaft runout: I strongly recommend checking shaft runout with a dial indicator or similar instrument. Acceptable total indicated runout (TIR):
- .60 and smaller engines: no more than .002-inch TIR.
- Larger engines: up to .003-inch TIR.
These measurements should be weighed relative to the rest of the engine; they are relatively high tolerances.
- Internal inspection: Remove the muffler and look into the exhaust port. Slowly turn the engine over while feeling the bearings and piston/cylinder liner fit. Look for gouging or scratches. If the engine turns over with a gritty feel, the bearings may be shot. Find out if the engine has ball bearings—engines with good bearings are more valuable.
- Shaft looseness: Use the dial indicator to check shaft looseness by pulling the shaft opposite the direction used to set the indicator. Reasonable looseness:
- Engines .60 or smaller: .001 to .002 inches.
- Larger engines: .003 to .005 inches.
- Thrust on the shaft: While holding the engine, push and pull the shaft while turning it. Note any noises or unusual sensations, such as metal-on-metal rubbing or a gritty feel. Issues in the active (normal) thrust direction are particularly concerning.
Note: Four-stroke engines require more space and detail than available here, and deserve separate treatment.
Radio Gear
Radio gear is the most critical area—consequences of a complete radio failure are severe.
- External appearance: Check transmitter, receiver, and servos for dirt, glue, or fuel residue. These are bad signs.
- Switches: Inspect switch harnesses; a failed switch or switch lead can ruin the system. I recommend using switches you purchase new when possible.
- Transmitter checks:
- Inspect the bottom and back of the case for excessive scratches—this indicates heavy use.
- Check gimbal feel: they should be smooth and tight.
- Check trim and auxiliary switches for proper operation.
- Extend the antenna and inspect for bends or damage.
- Power on and check the output/power indicator (batteries may be dead or undercharged).
- Receiver:
- Inspect the receiver antenna for kinks or stress; this indicates rough use.
- Look for cracks in the case and check for required certifications (e.g., narrowband).
- Check for bent pins in open sockets.
- Servos:
- Visual inspection of the case and leads. Look for wire damage where they attach to the plug and for plug damage.
- Carefully rotate the servo head to feel for broken gear teeth (only do this if you know what you're doing; you can strip a servo).
- Flight battery pack:
- Be careful. I wouldn't recommend using a flight pack unless you can verify capacity and health with a charger/cycle tester.
- Inspect battery leads and the battery switch; they are as important as the battery itself.
- System-level checks:
- Connect components and operate with the transmitter.
- Check each channel individually, dual rates, programmability (if applicable), and servo response (noise, chatter, slow movement, dragging, speed).
- If possible, perform a range check: collapsed antenna at 200 feet minimum while fully operational.
These checks reduce—but do not eliminate—the risk of buying a problematic item. Even if everything appears fine, the equipment could be near failure or someone could be selling a hidden problem.
Until next month, play safe! +
Transcribed from original scans by AI. Minor OCR errors may remain.

