
Safety Comes First
Gary A. Shaw Box 4520, Milton FL 32572-4520
Short Antenna
Several years ago I was fortunate enough to spend many of my Sunday afternoons flying with good friends at the Millington Barnstormers R/C flying field in Millington, TN. It was fun to open a lawn chair, check out what others brought to fly, watch what flew well, and share comments about what didn't.
An abundance of the club's members brought out steady streams of the oddest configurations I've ever seen—gyro copters, flying disks, lawn mowers, witches, stop signs, etc. It seemed someone in the club thought of something, someone else would build it and bring it to the field. It's odd that almost everything brought out flew—sometimes exceptionally well. Strap about 1,000 horsepower on that "Round Tuit" and watch it go.
After a few trim adjustments (tabs full left, rudder full left, fly what's left of aileron), most things can fly well; however, a letter from longtime Barnstormer Jim Prilliman arrived to describe what didn't fly well. He warned those who have aircraft with antenna protruding from the fuselage and attached to the vertical stabilizer: vibration and rubbing on the antenna at the point where it exits the fuselage can cause the receiver antenna to separate.
The problem can be fixed with three inches of air retract tubing, a hole in the fuselage drilled to fit the tubing, and some R/C-56 glue. Run the antenna through the hole in the fuselage, feed the antenna through the tubing, and slide the tubing down until at least half of it fits into the hole drilled in the fuselage. Once in place, apply a drop of R/C-56 around the hole to seal it, and you're finished. You have reduced vibration, there's no more rubbing, and it looks good! Have fun!
It Would Never Happen To Me
Throughout the years I've passed on stories sent in by people who have been seriously chewed up by propellers. The intent is to keep readers aware that propellers can be dangerous; provide information that helps prevent an injury; and keep you aware that pain and suffering is just around the corner if you get careless. Following is a story sent in by a modeler whose unrestrained model got away from him as he started it at the field:
"I was on the flightline adjusting the mixture on my unrestrained Sig LT-40 with a Pro .46. I was in front of the airplane holding it with one hand while making carburetor adjustments with the other. After much tweaking, I hit the sweet spot and got the Thunder Tiger so that it would idle smoothly and accelerate from idle to full power in about two nanoseconds.
"Being happy with the engine, I pulled it back to idle, let go of the now completely unrestrained model, and bent over to pick up the transmitter with my castor-oil–soaked left hand. You guessed it—my oily hand slipped and hit the throttle lever full up. Having just received a thorough tuneup, the engine instantly went to full power (remember the two nanoseconds) and lurched into my leg.
"The emergency room doctor said it looked like someone hit me with a hatchet. The cut was so deep he had to use two layers of stitches. After God-knows-how-many stitches and $1,200 worth of medical bills, I now have three nice scars on my left leg.
"I still can't believe I did such an incredibly stupid thing. There are plenty of simple and easy-to-make restraint devices available, but I thought it would never happen to me. It did!! All that damage from just a little ol' .46. I hate to think what a big engine would have done."
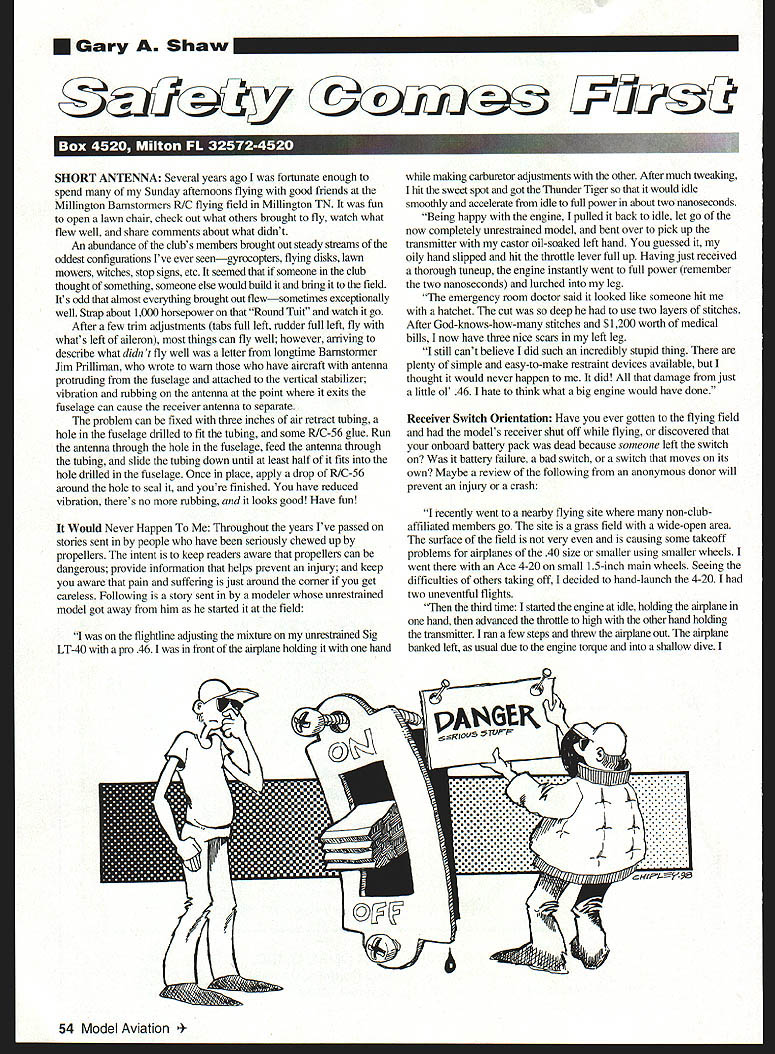
Receiver Switch Orientation
Have you ever gotten to the flying field and had the model's receiver shut off while flying, or discovered that your onboard battery pack was dead because someone left the switch off? Was it battery failure, a bad switch, or a switch that moves on its own? Maybe a review of the following from an anonymous donor will prevent an injury or a crash:
"I recently went to a nearby flying site where many non-club-affiliated members go. The site is a grass field with a wide-open area. The surface of the field is not very even and is causing some takeoff problems for airplanes of the .40 size or smaller using smaller wheels. I went there with an Ace 4-20 on small 1.5-inch main wheels. Seeing the difficulties of others taking off, I decided to hand-launch the 4-20. I had two uneventful flights.
"Then the third time I started the engine at idle, holding the airplane in one hand, then advanced the throttle to high with the other hand holding the transmitter. I ran a few steps and threw the airplane out. The airplane banked left, as usual due to the engine torque, and into a shallow dive. I tried to pull the plane up but got no response—no control over the Ace 4-20. Fortunately, the airplane crashed a few seconds later with minor damage.
"I picked up the airplane and found the on-off switch in the off position. Due to the small radio compartment on the setting airplane I had mounted the switch in a vertical position (top down = off). Although I'm sure I had turned the switch on before launch, since I advanced the throttle before the run, I believe what happened was inertia pulled the switch to the off position the moment I tossed the airplane.
"I learned the right way to toss airplanes earlier in my flying days. Throw the airplane forward with a very slight up angle. This was the first time I've experienced this type of switch problem. Several weeks ago I finished an electric motor glider with the same vertical switch-mounting scheme. Similar to my recent incident, the switch shut itself off after the toss. Fortunately, the motor's onboard electric power switch shut the motor off when the radio signal was cut, preventing the glider from flying away. I rotated the radio switch 180° since then but have yet to fly the glider again.
"Both the Ace 4-20 and the glider have the same type of microswitch. The switch on the glider was purchased recently. They do have a good, solid feel, though not particularly strong while moving between the on and off positions. Like all other switches I know of, the fact that the plates have the off and on letters printed vertically suggests the top position is on and the bottom position is off.
"I don't know how many other modelers have had the same experience; however, based on what I've encountered, I'd suggest that the face of the plate letters be printed horizontally. (Maybe just an X, so they can be mounted in any orientation—left or right side of the fuselage.) Better yet, a small external locking insert can be provided to prevent accidental shutoff."
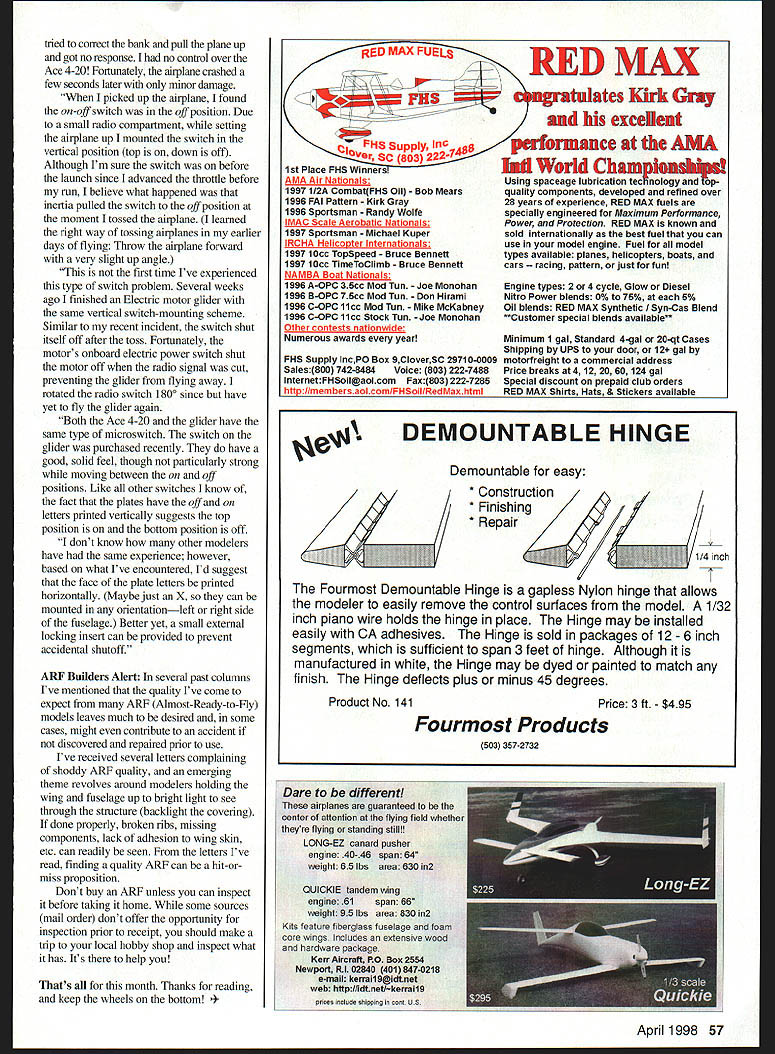
ARF Builders Alert
In several past columns I've mentioned that the quality I've come to expect from many ARF (Almost-Ready-to-Fly) models leaves much to be desired and, in some cases, might even contribute to an accident if not discovered and repaired prior to use.
I've received several letters complaining of shoddy ARF quality, and an emerging theme revolves around modelers holding the wing and fuselage up to bright light to see through the structure (backlighting the covering). If done properly, broken ribs, missing components, lack of adhesion to wing skin, etc., can readily be seen. From the letters I've read, finding a quality ARF can be a hit-or-miss proposition.
Don't buy an ARF unless you can inspect it before taking it home. While some sources (mail order) don't offer the opportunity for inspection prior to receipt, you should make a trip to your local hobby shop and inspect what it has. It's there to help you!
That's all for this month. Thanks for reading, and keep the wheels on the bottom!
Transcribed from original scans by AI. Minor OCR errors may remain.

