
Safety Comes First!
By John Preston
You can save yourself a lot of grief if you’ll take a few minutes to make a pre-flight check of your plane before each flying session.
We doubt that there are many of our readers who would fail to perform a pre-flight check before taking off in a full-scale aircraft. But how many of these same readers routinely do this before flying a model aircraft?
We recently read a story in a club newsletter written by a friend who is a retired Air Force pilot and a well-known model builder. He had been in a hurry when reinstalling the radio in a model which had not been flown in a while. In his haste, he failed to realize that the aileron servo was not the one that had previously been used for this function and (unfortunately) had the reverse rotation of its predecessor. A routine check of all controls might have caught this error, but the model was taken off without his knowing that the aileron function was reversed. End of one model.
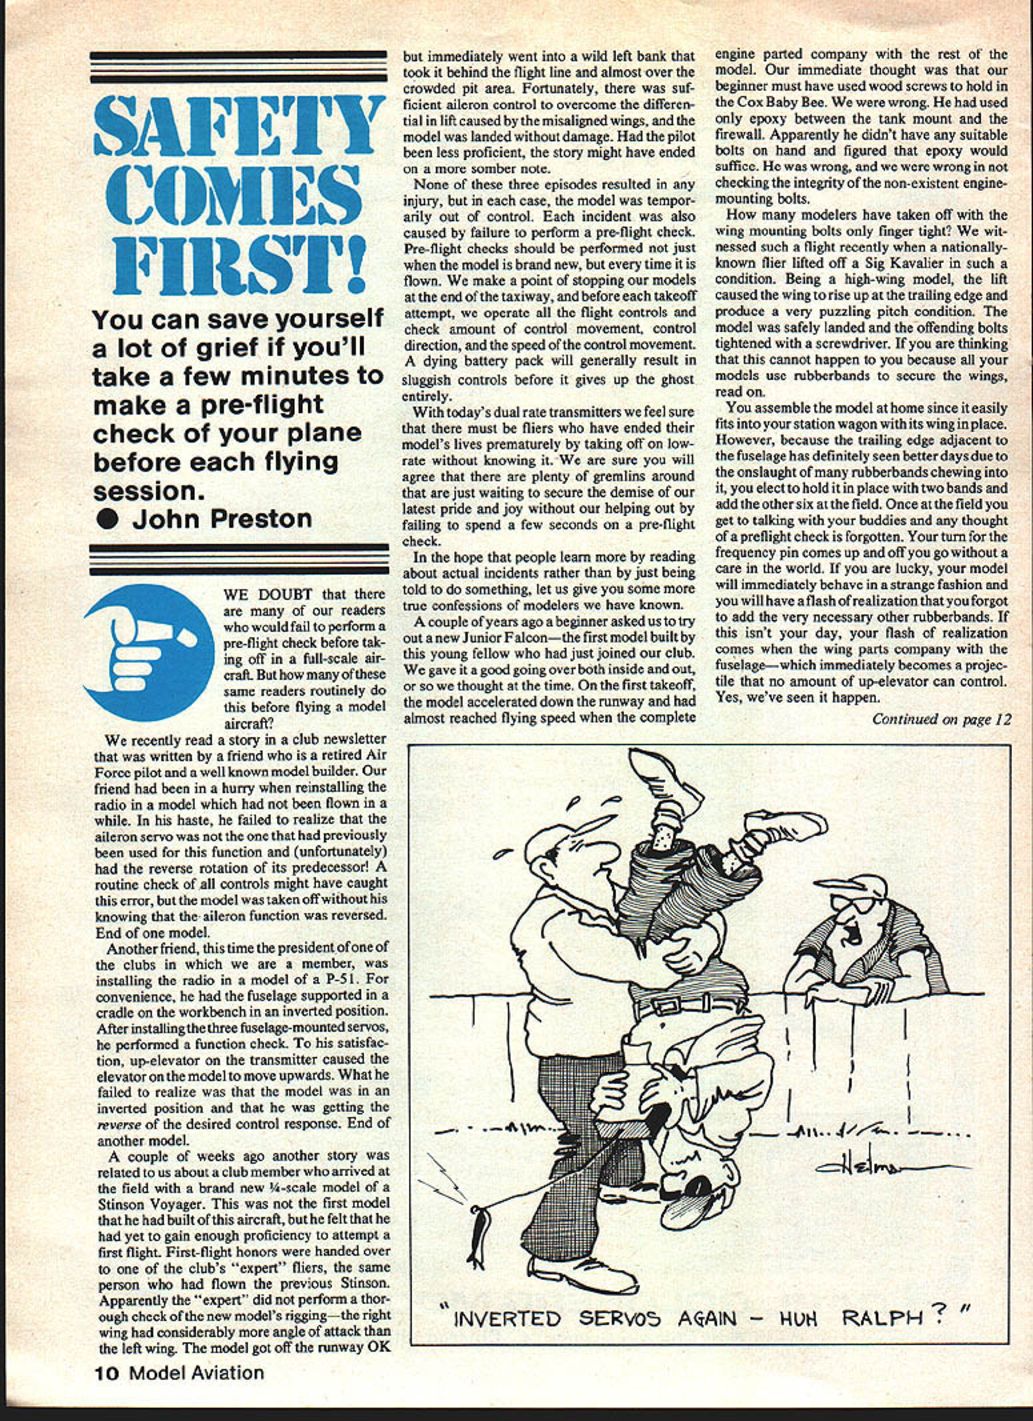
Another friend, the president of one of the clubs of which we are a member, was installing the radio in a model of a P-51. For convenience, he had the fuselage supported in a cradle on the workbench in an inverted position. After installing the three fuselage-mounted servos, he performed a function check. To his satisfaction, up elevator on the transmitter caused the elevator on the model to move upwards. What he failed to realize was that the model was in an inverted position and that he was getting the reverse of the desired control response. End of another model.
A couple of weeks ago a club member arrived at the field with a brand new 1/4-scale model of a Stinson Voyager. This was not the first model he had built of this aircraft, but he felt that he had yet to gain enough proficiency to attempt a first flight. First-flight honors were handed over to one of the club’s “expert” fliers, the same person who had flown the previous Stinson. Apparently the expert did not perform a thorough check of the new model’s rigging—the right wing had considerably more angle of attack than the left wing. The model got off the runway OK but immediately went into a wild left bank that took it behind the flight line and almost over the crowded pit area. Fortunately, there was sufficient aileron control to overcome the differential in lift caused by the misaligned wings, and the model was landed without damage. Had the pilot been less proficient, the story might have ended on a more somber note.
None of these three episodes resulted in any injury, but in each case the model was temporarily out of control. Each incident was also caused by failure to perform a pre-flight check. Pre-flight checks should be performed not just when the model is brand new, but every time it is flown. We make a point of stopping our models at the end of the taxiway, and before each takeoff attempt we operate all the flight controls and check the amount of control movement, control direction, and the speed of the control movement. A dying battery pack will generally result in sluggish controls before it gives up the ghost entirely.
With today’s dual-rate transmitters we feel sure that there must be fliers who have ended their model’s life prematurely by taking off on low rate without knowing it. There are plenty of gremlins around that are just waiting to secure the demise of our latest pride and joy without our helping out by failing to spend a few seconds on a pre-flight check.
In the hope that people learn more by reading about actual incidents rather than by just being told to do something, let us give you some more true confessions of modelers we have known.
A couple of years ago a beginner asked us to try out a new Junior Falcon—the first model built by this young fellow who had just joined our club. We gave it a good going over both inside and out, or so we thought at the time. On the first takeoff, the model accelerated down the runway and had almost reached flying speed when the complete engine parted company with the rest of the model. Our immediate thought was that our beginner must have used wood screws to hold in the Cox Baby Bee. We were wrong. He had used only epoxy between the tank mount and the firewall. Apparently he didn’t have any suitable bolts on hand and figured that epoxy would suffice. He was wrong, and we were wrong in not checking the integrity of the non-existent engine-mounting bolts.
How many modelers have taken off with the wing mounting bolts only finger tight? We witnessed such a flight recently when a nationally known flier lifted off a Sig Kavalier in such a condition. Being a high-wing model, the lift caused the wing to rise up at the trailing edge and produce a very puzzling pitch condition. The model was safely landed and the offending bolts tightened with a screwdriver.
If you are thinking that this cannot happen to you because all your models use rubber bands to secure the wings, read on.
You assemble the model at home since it easily fits into your station wagon with its wing in place. However, because the trailing edge adjacent to the fuselage has definitely seen better days due to the onslaught of many rubber bands chewing into it, you elect to hold it in place with two bands and add the other six at the field. Once at the field you get to talking with your buddies and any thought of a pre-flight check is forgotten. Your turn for the frequency pin comes up and off you go without a care in the world. If you are lucky, your model will immediately behave in a strange fashion and you will have a flash of realization that you forgot to add the very necessary other rubber bands. If this isn’t your day, your flash of realization comes when the wing parts company with the fuselage—which immediately becomes a projectile that no amount of up elevator can control. Yes, we’ve seen it happen.
If you must reuse your rubber bands, always do a pull test on them before you let your wing do it for you. We now throw away the old bands after each day’s flying is ended. They are cheap compared to the cost of a new model and perhaps somebody’s life.
Scale fliers are always faced with the problem of how to hide the unsightly receiver antenna. Since the scale rules permit static judging with the antenna removed, many will do just this and add the ugly (but very necessary) piece of wire to the model after judging but prior to flight. Or should we say they try to remember to do this? Perhaps scale contest fliers are more meticulous than sport fliers?
To date we have not learned of any contest crashes caused by the omission of the receiver antenna, but we have personal knowledge of such an incident at the local flying field. A well-known scale builder and friend had asked us to photograph a new model prior to flight. For the photography session we had coiled up the receiver antenna and stuffed it between the servos in the fuselage. Wonderful, except we flew it in the same condition! It flew great till it got about 400 feet out from the transmitter. Fortunately, the pictures came out great, too.
This column wouldn’t be complete if we didn’t give you our thoughts on what to include in a pre-flight checklist. Some things are better checked before you leave home. They could even save you a needless trip to the flying field.
Before you leave home
- Make sure your radio was really on charge last night. We know of modelers who plugged it all together and presumed it was charging overnight, only to find that, in turning off the basement light, they also cut the power to the charger which had been plugged into a switched receptacle.
- If possible, check both the transmitter and receiver battery voltages before you leave home.
- Don’t forget to put the transmitter in your flight box. We’ve seen many a modeler arrive at the field after a 20-mile drive only to find that the transmitter is still at home.
- Inspect hinges on the control surfaces. Pull on them to make sure they are still secure and make sure no hinge pins have worked loose.
- Examine the fuel tank and tubing. Leaks or loose tubing can flood the radio compartment and drown servos.
- Take a close look at the engine. Are all the screws that are supposed to be there still there? A missing idle air-bleed screw could ruin your day. And don’t forget those mounting bolts.
- Check the prop for nicks and cracks. Did you balance your spare props and remember to bore out the mounting holes to fit your crankshaft? That’s not an easy job at the field unless you have a proper reamer.
- Finally, look over the entire model. Last weekend’s minor crash may have done structural damage you didn’t notice. A close scrutiny might reveal stress cracks that indicate more serious internal damage.
At the field (before first flight)
- Make sure you have the frequency pin (or whatever method your club uses to control frequencies).
- Perform a radio range check. Just because the batteries were OK doesn’t mean the complete radio is going to work today just like it did last week. A range check might have saved our friend’s scale model that had the receiver antenna coiled up inside the fuselage.
- Wiggle and operate those control surfaces one last time before takeoff. Check control direction, throws, and speed.
- Stop at the end of the taxiway and check everything again if you have any doubt.
If anyone has a checklist with additional items that we missed, let’s hear from you. Have a safe month.
John Preston 7012 Elvira Court, Falls Church, VA 22042.
Transcribed from original scans by AI. Minor OCR errors may remain.

