
Santos-Dumont Peanut
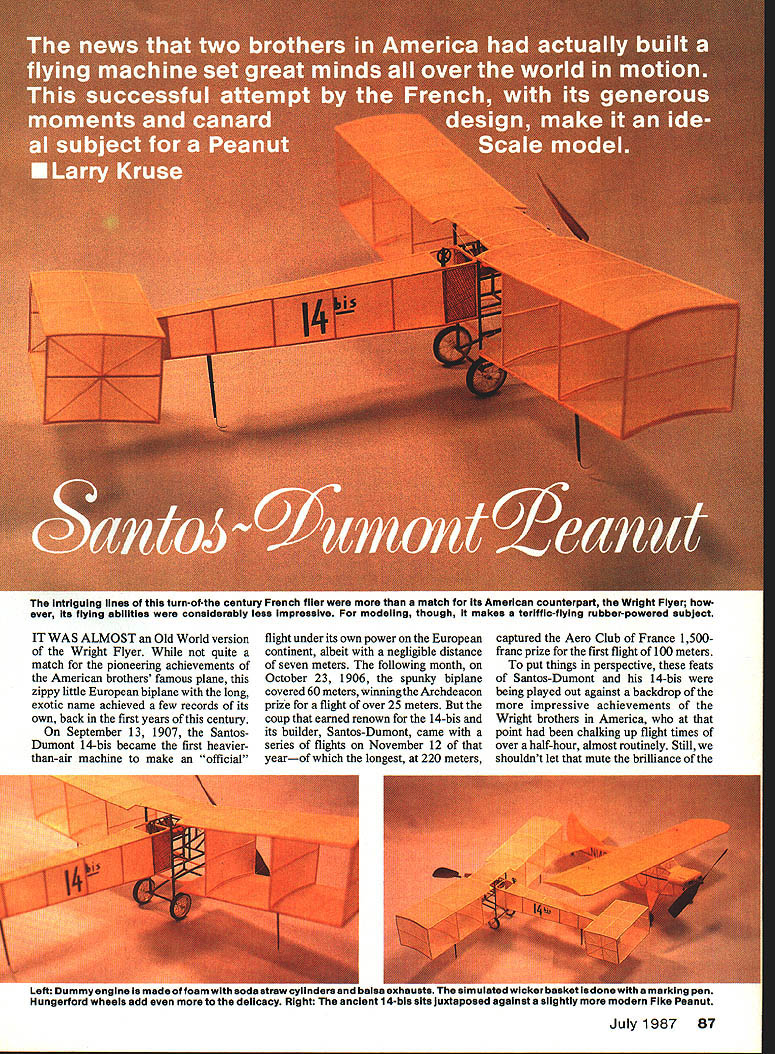
The news that two brothers in America had actually built a flying machine set great minds all over the world in motion. The successful French effort, with its generous moments and canard design, makes an ideal subject for a Peanut Scale model. — Larry Kruse
The intriguing lines of this turn-of-the-century French flier were more than a match for its American counterpart, the Wright Flyer; however, its flying abilities were considerably less impressive. For modeling, though, it makes a terrific rubber-powered Free Flight subject.
IT WAS almost an Old World version of the Wright Flyer. While not quite a match for the pioneering achievements of the American brothers' famous plane, this zippy little European biplane with the long, exotic name achieved a few records of its own in the first years of the century.
On September 13, 1906, the Santos-Dumont 14‑bis made a short officially observed flight; the following month, on October 23, 1906, the biplane covered 60 meters, winning the Archdeacon prize for a flight over 25 meters. A series of flights on November 12, 1906 — the longest at 220 meters — captured the Aero Club of France 1,500-franc prize for the first flight of 100 meters.
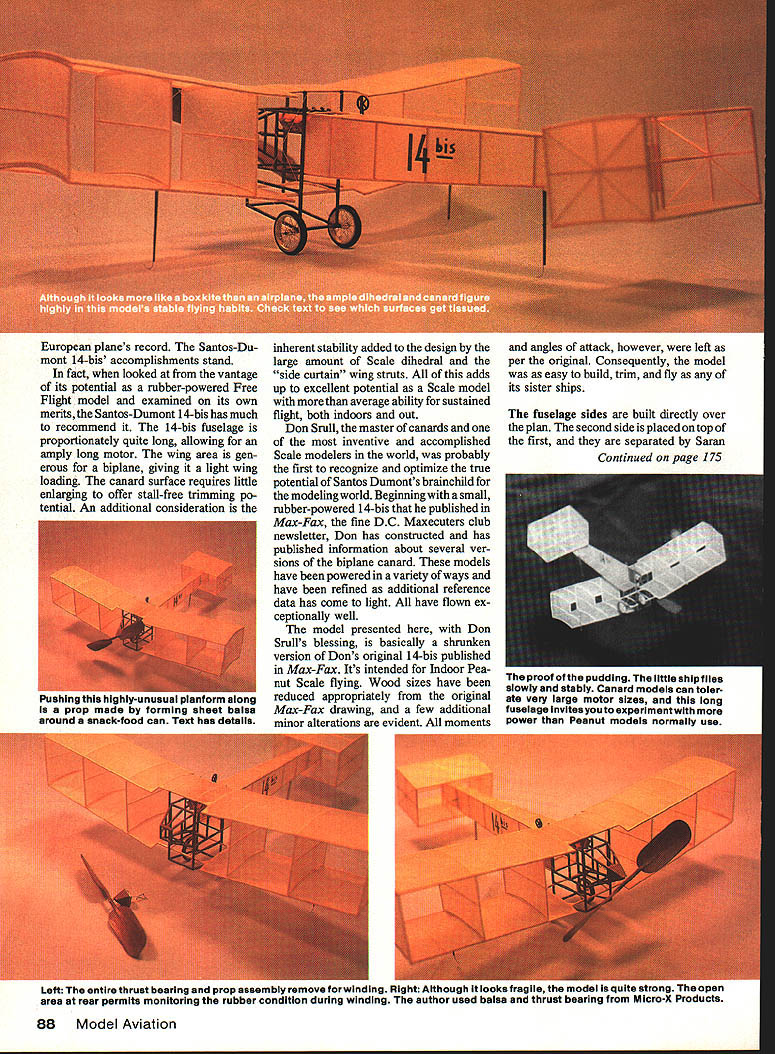
Viewed against the Wrights' more routine long-duration flights in America, Santos-Dumont's achievements may appear modest. Still, for rubber-powered modeling the 14‑bis has much to recommend: a proportionately long fuselage allowing an ample motor, generous biplane wing area giving light wing loading, and a canard surface that needs little enlargement to provide stall-free trimming. The large scale dihedral, side curtains and abundant wing struts add inherent stability and excellent potential for indoor and outdoor sustained flight.
Don Srull, a master of canard design and an inventive, accomplished scale modeler, was probably the first to recognize and optimize the 14‑bis's potential for modeling. He published a small rubber-powered 14‑bis in Max‑Fax, the D.C. Maxecuters club newsletter, and built and published information on several versions. These biplane-canard models have been powered in a variety of ways and refined as additional reference data came to light; many have flown exceptionally well.
The model presented here, with Don Srull's blessing, is essentially a shrunken version of his original Max‑Fax 14‑bis. It's intended for Indoor Peanut Scale flying. Wood sizes have been reduced appropriately from the original drawing; a few minor alterations are evident, but the moments and angles of attack follow the original. Consequently, the model is easy to build, trim and fly.
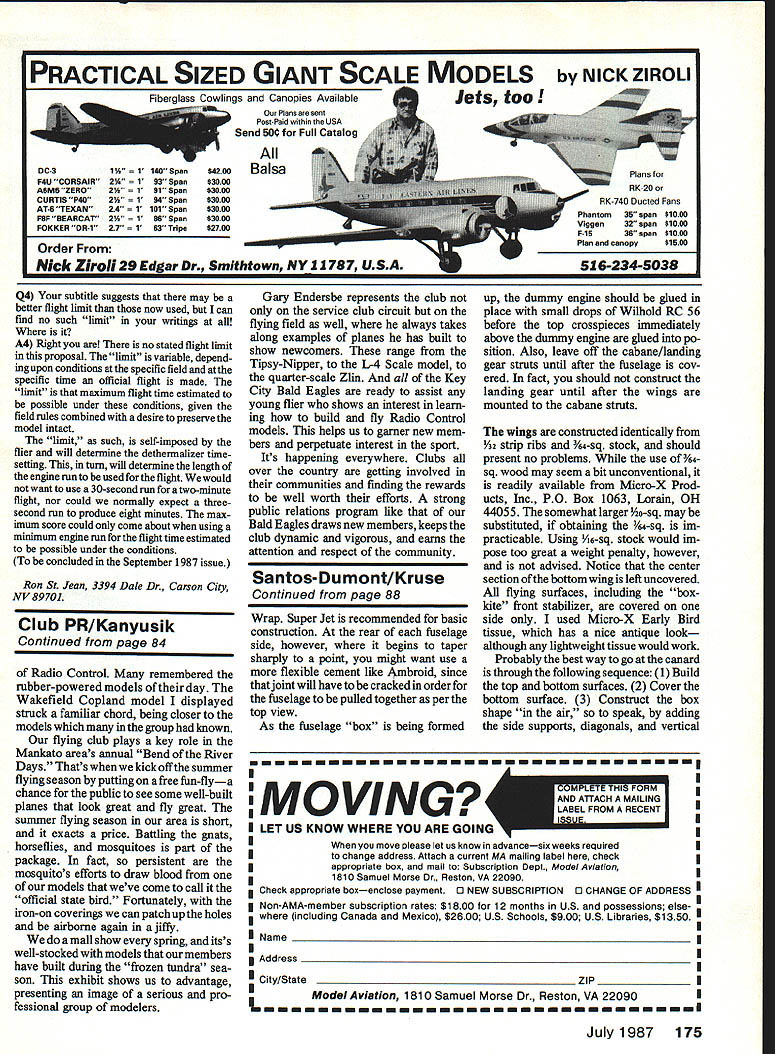
The fuselage sides are built directly over the plan. The second side is placed on top of the first, separated by Saran wrap, and the entire thrust-bearing/prop assembly can be removed for winding. Although the structure may look fragile, it is quite strong; an open area in the rear permits monitoring the rubber during winding. The author used balsa and thrust bearings from Micro‑X Products.
Construction and Materials
- Use a flexible general-purpose cement (Super Jet is recommended) for basic construction.
- At the rear of each fuselage side, where it tapers sharply to a point, consider a more flexible cement such as Ambroid; that joint will have to be cracked when the fuselage is pulled together.
- As the fuselage "box" is formed, glue the dummy engine in place with small drops of glue (apply before installing the top crosspieces immediately above the dummy engine).
- Leave off the cabane/landing gear struts until after the fuselage is covered. Do not construct the landing gear until after the wings are mounted to the cabane struts.
Wings:
- Construct identical top and bottom wings from 1/32" strip ribs and 3/64"‑sq. stock.
- If 3/64"‑sq. stock is unobtainable, 1/16"‑sq. may be substituted, though it will add weight and is not advised unless necessary.
- Note that the center section of the bottom wing is left uncovered. All flying surfaces, including the "box‑kite" front stabilizer, are covered on the top surface only.
- Use Micro‑X Early Bird tissue for an antique look, or any lightweight tissue. Do not over-shrink the tissue—pull it reasonably tight; some covering sag is normal for this old-bird style.
- One very thin coat of nitrate dope is sufficient protection against moisture for an indoor craft.
Canard assembly:
- Build the top and bottom canard surfaces.
- Cover the bottom surface.
- Construct the box shape "in the air" by adding side supports, diagonals and vertical spars, then glue the top surface in place.
- This sequence makes the job easier and reduces inaccuracies.
Finish covering the unit after assembly. Attach mounting strips as shown on the plan.
Propeller and Thrust Bearing
- Mold prop blades on a 4‑in. diameter cylinder (an old Fritos can works well).
- Soak the blades about 20 minutes in hot tap water, tilt them 15° to the right along the can's vertical axis, and bind them into position with a narrow cloth strip (an Ace bandage works).
- Assemble the prop on the jig fixture included on the plan and give both sides of each blade a coat of Super Jet to toughen them: place four or five drops, smear quickly, and wipe off excess with a tissue or paper towel.
- Use a 5/32‑in. aluminum tube as the thrust bearing and a Teflon washer as a bushing surface (Micro‑X supplies suitable washers).
Assembly
- Mount the top wing onto the cabane struts, then install two inboard "side curtain" wing struts. These two struts act as a jig to set the bottom wing's angle of attack.
- Glue the bottom wing in place, then install the remaining struts.
- Construct and install the landing gear after the wings are mounted. Fulton‑Hungerford wheels dress up the model but are not essential.
- Tack-glue the front "box‑kite" canard in place offset 3° to the left with Testors or Ambroid so it can be adjusted during flight trimming if needed.
Ancillary items:
- Add 14‑bis lettering, steering wheel, wire skids and rigging to bring the model to life.
- Do not omit the rigging; it gives immense strength to the little plane.
- Use "invisible" sewing thread from fabric shops for rigging. The small front view on the plan indicates rigging locations.
Flight Adjustment
- Balance the model as shown on the plan by adding clay to the light end.
- All-up weight of the original (without rubber) was about seven grams — a workable weight for a Peanut.
- Begin test flights with a 10‑ to 12‑in. loop of .055 rubber wound 150–200 turns. Trim the plane to fly to the left (against torque) in about a 40‑ft. diameter circle.
- Turn adjustments are made with shims between the thrust block and the fuselage.
- A canard design tolerates a lot of power. Flights of 50–60 seconds under a 30‑ft. ceiling are common with a 15‑ to 18‑in. loop of .070 rubber.
- If your indoor facility permits, experiment with larger motors for higher climbs.
With careful building, patient trimming and a little luck, Santos‑Dumont's vintage creation can be a very capable Peanut Scale performer — and might even give Fikes and Laceys a run for their money.
Transcribed from original scans by AI. Minor OCR errors may remain.

