
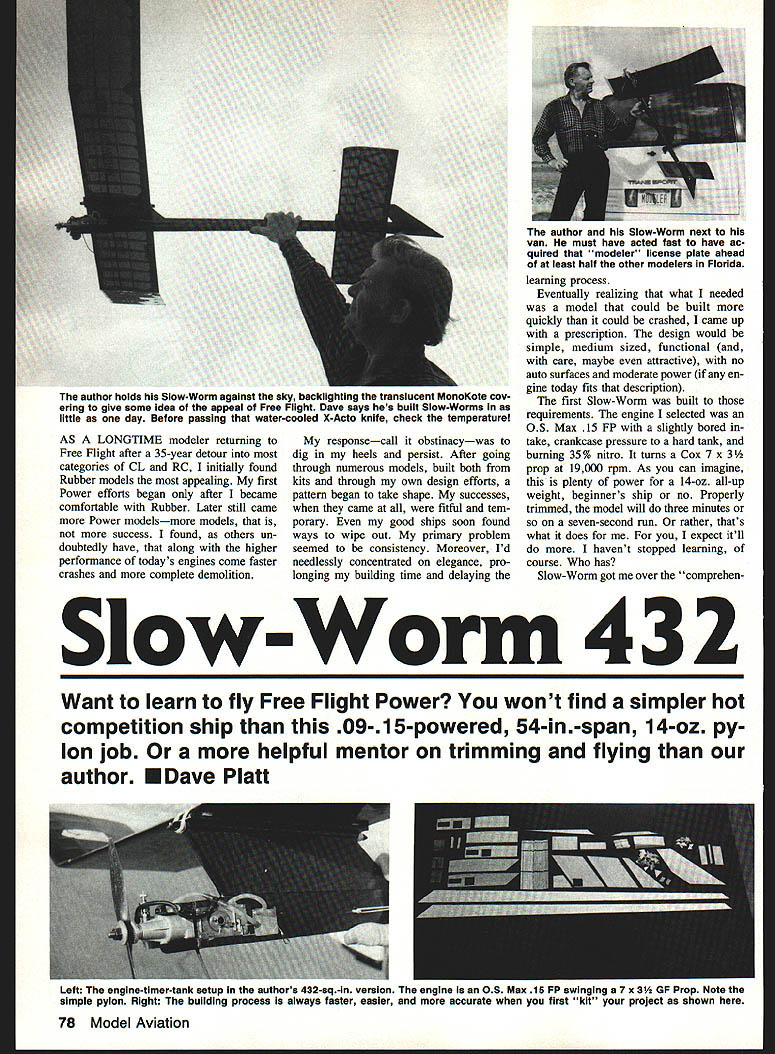
Slow-Worm 432
As a longtime modeler returning to Free Flight after a 35‑year detour into CL and RC, I initially found rubber models most appealing. My first power efforts began only after I became comfortable with rubber; later still I moved into more power models. Along with higher engine performance came faster crashes and more complete demolition. My response—call it obstinacy—was to persist.
After building numerous models (kits and my own designs) a pattern emerged: successes were fitful and temporary, and consistency was the chief deficit. I had also concentrated needlessly on elegance, prolonging build time and delaying the learning process. I realized I needed a model that could be built more quickly than it could be crashed. The prescription: a simple, medium-sized, functional (and possibly attractive) design with no auto surfaces and moderate power.
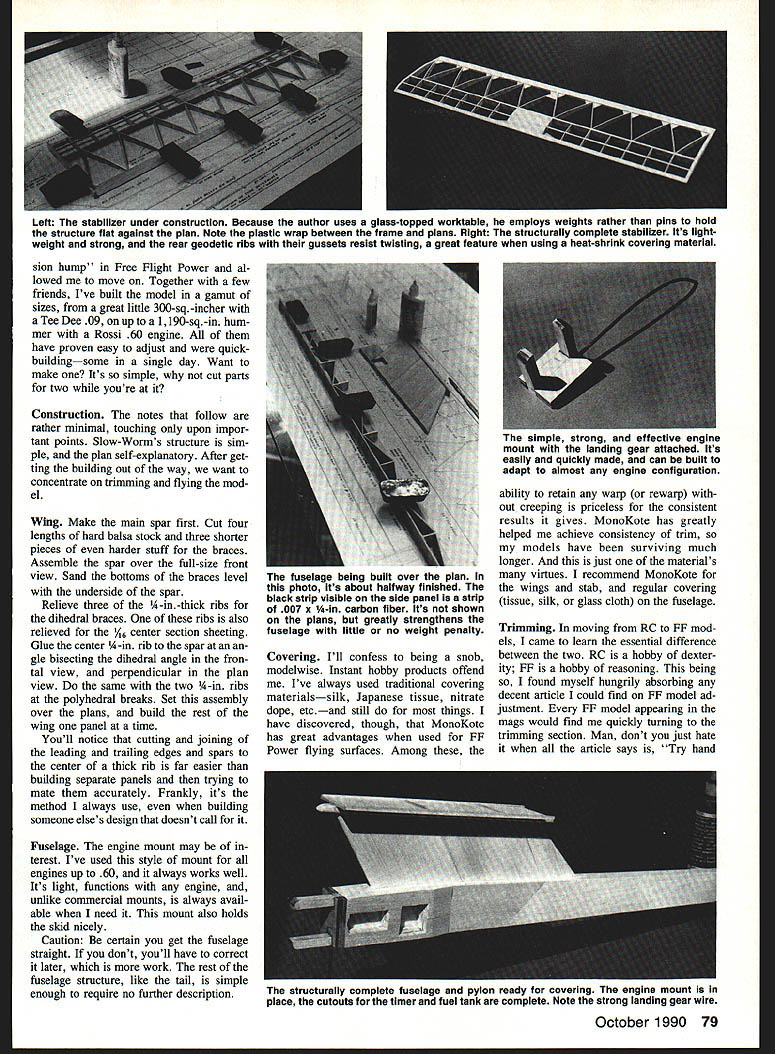
The first Slow‑Worm was built to those requirements. The engine chosen was an O.S. Max .15 FP, slightly bored, running on a hard tank with 35% nitro and turning a Cox 7 x 3½ prop at about 19,000 rpm. That’s plenty of power for a roughly 14‑oz all‑up weight. Properly trimmed, the model will do three‑minute flights on seven‑second runs. I and friends have built Slow‑Worms in a gamut of sizes—from a small 300‑sq‑incher with a Tee Dee .09 to a 1,190‑sq‑in. ship with a Rossi .60. All have proven easy to adjust and quick to build—some in a single day.
Construction
The structure is simple and the plan largely self‑explanatory. The notes below touch only important points; once the building is done, concentrate on trimming and flying.
Wing
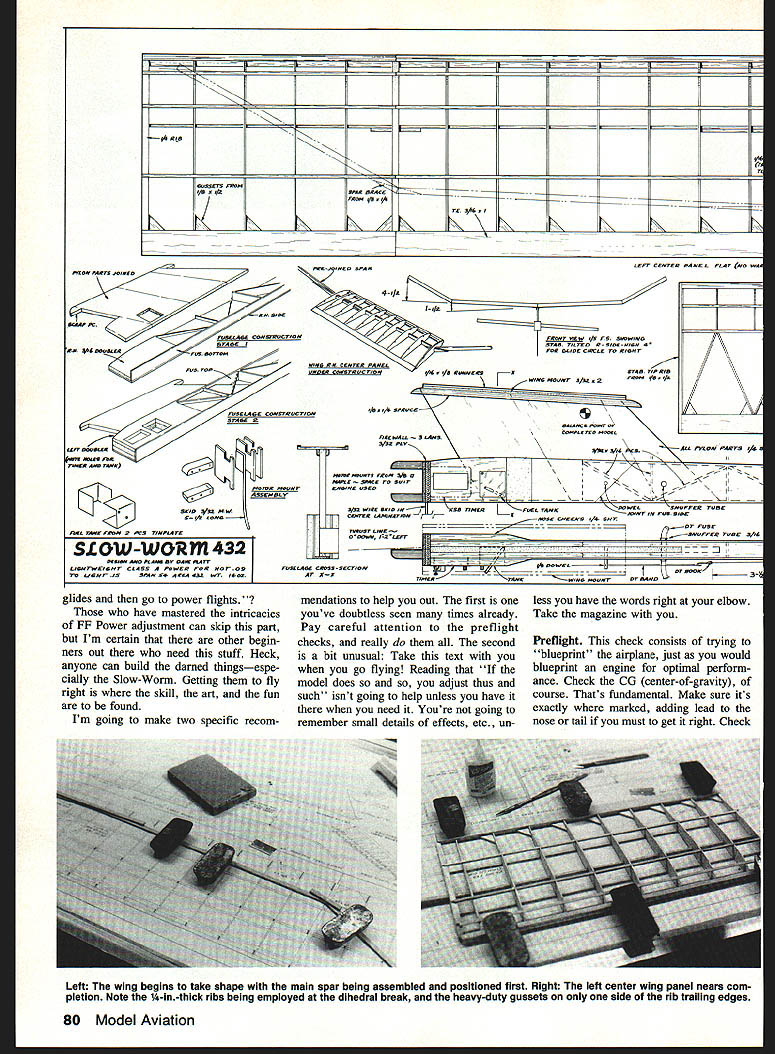
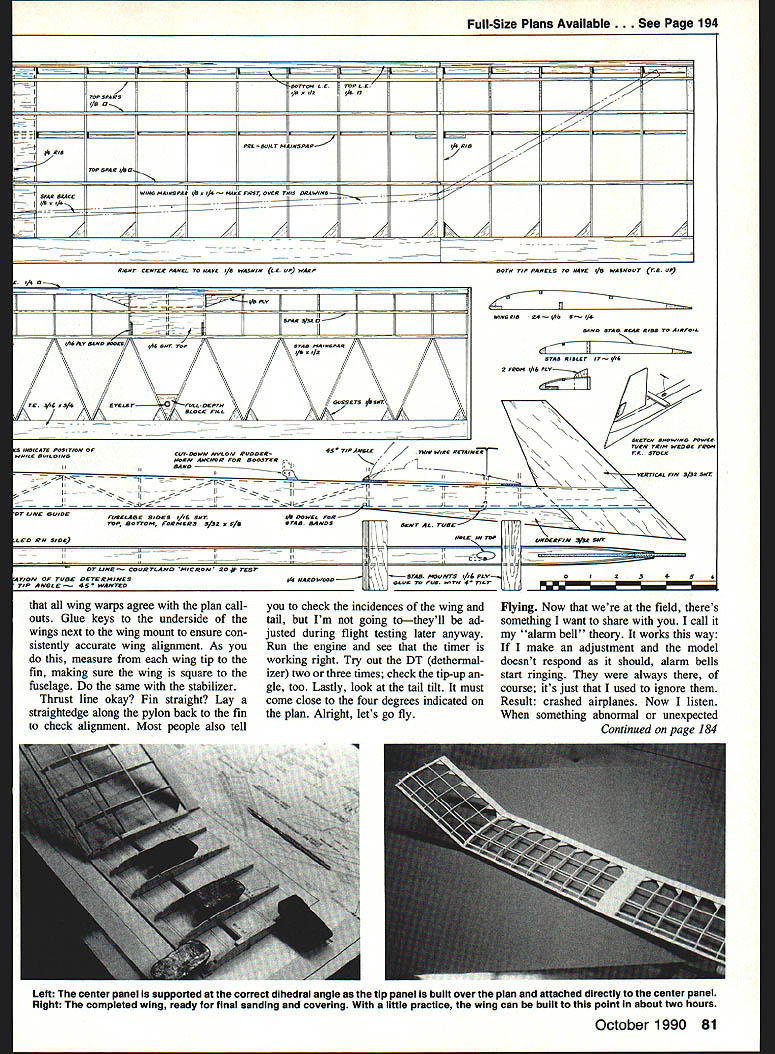
- Make the main spar first. Cut four lengths from hard balsa stock and three shorter pieces of even harder stock for the braces.
- Assemble the spar over the full‑size front view. Sand the bottoms of the braces level with the underside of the spar.
- Relieve three of the 1/4‑in.‑thick ribs for the dihedral braces. One of these ribs is also relieved for 1/16‑in. center‑section sheeting.
- Glue the center 1/4‑in. rib to the spar with the rib angle bisecting the dihedral angle in the front view and perpendicular in the plan view. Do the same with the two 1/4‑in. ribs at the polyhedral breaks.
- Set this assembly over the plans and build the rest of the wing one panel at a time.
- Note: cutting and joining the leading and trailing edges and spars to a center thick rib is far easier and more accurate than building separate panels and trying to mate them later. It’s a reliable method even when a plan doesn’t explicitly call for it.
- Glue keys to the underside of the wing next to the wing mount to ensure consistently accurate alignment. Measure from each wingtip to the fin to confirm the wing is square to the fuselage. Do the same with the stabilizer.
Fuselage
- The engine‑mount style used here has performed well for engines up to .60: it’s light, works with any engine, and is always available to build. The mount also holds the skid nicely.
- Caution: make sure the fuselage is straight during assembly. Correcting a crooked fuselage later is more work.
- The rest of the fuselage and tail structure is straightforward.
Covering
- I prefer traditional coverings (silk, Japanese tissue, nitrate dope) for many models, but I recommend MonoKote for wings and stabilizer on Free Flight ships.
- MonoKote’s ability to retain or hold a rewarp without creeping is valuable for consistent trim and longer model life. Use traditional materials (tissue, silk, or glass cloth) for the fuselage if preferred.
Trimming
Free Flight is a hobby of reasoning more than dexterity. Be systematic:
- Get the model to fly straight at about half power.
- Alter thrust line, incidence, and side thrust in small increments until the model flies a steady, reasonably circling pattern.
- Reduce power and check the glide; ensure there is no tendency to spiral or to drop a wing.
- Once basic safety and stability are achieved, optimize for duration by adjusting rudder turns, thrust, and stab incidence to slow the circling and tighten the pattern without inducing instability.
Additional tips:
- If you have a clinometer, use it to check and repeat dihedral and polyhedral angles—precision here saves trimming time.
- Keep a careful log of changes and their effects. Small adjustments can have surprising results.
- Be patient: think through changes and make small, deliberate steps.
Preflight
Do a full preflight "blueprint" before every attempt:
- Check the center of gravity and adjust weight as needed.
- Verify wing incidence and stabilizer incidence on both sides.
- Check wing, stab, and fin mounting for security and alignment.
- Check thrust line alignment with a straightedge from pylon back to fin.
- Check clevises, tank and tubing, and engine (look for leaks).
- Check prop‑nut security; spin the prop a few turns.
- Manhandle the model: tip, rattle, waggle control surfaces to find looseness or binding.
- Run the engine briefly on the starter and check for vibration, binding, leaks, or unusual behavior.
- Check the timer setting and DT operation (try the DT 2–3 times).
- Inspect covering and surfaces for warps, loose covering, or damage.
- Confirm tail tilt is close to the plan value (about four degrees on the plan).
Take your trim notes or the article with you to the field—having reference details on hand is very helpful.
Flying
I use an "alarm bell" theory: if an adjustment doesn’t produce the expected response, listen to the alarm bells—find out why immediately.
Initial tosses (DT short—about 2–3 seconds):
- Aim for a nice, flat glide on hand tosses, not too close to stall.
- Expect a slight tendency to turn right on the glide (a modest right tendency is normal).
- If glide is too slow (stally), add a shim under the stab leading edge.
- If glide is too fast (dives), add a shim under the stab trailing edge.
- Adjust nose weight to achieve the desired glide.
- For power trimming, set the engine timer to about three seconds for early tests and enrich the engine slightly for the first runs.
- Launch: hold behind the pylon, aim a little left of the wind about 80° up, trip the timer, and release.
Desired power pattern:
- A steep upward spiral to the right while under power (think of a nearly straight, tight spring).
If the model deviates, make small, targeted changes. Never alter too much at once.
Effects of Adjustments
- Rudder:
- Most effective during the latter half of the power run as speed increases.
- Small wedges used for power adjustment have little or no influence on glide.
- Wing warp:
- Effectiveness increases with speed; produces a roll couple rather than yaw.
- Small effect on glide; typical pylon warp makes the model glide toward the wash‑in (usually right).
- Side thrust / downthrust:
- Corrects direction during the first two or three seconds of the power run; effectiveness diminishes as speed increases.
- On Power ships, thrust‑line adjustments are less effective than on rubber models.
- Many Slow‑Worms need a degree or two of left thrust; avoid downthrust if it produces an undesirable nose‑up jump at motor cut.
- Tail incidence (stabilizer incidence):
- Influences both power and glide; effect peaks at higher speeds during the power run.
- Tail tilt:
- Controls circle diameter—the more tilt, the smaller the circle.
- The model turns toward the high side of the stab.
- Little effect under power because the stab’s lift is minimal during the power run.
- Center of gravity (CG):
- Critical for both power and glide. Change only when necessary.
- Forward CG tends toward looping; aft CG can cause poor recovery from a dive at motor cut or during the glide.
Example corrections:
- If, after engine stops, the airplane veers into a left roll: add a small wedge of right rudder (effectiveness increases with speed).
- If the model climbs, levels, and then races into a right turn (a loop): try a small positive stabilizer incidence (slight up elevator) to help recover.
Final recommendations:
- Make one small change at a time, fly again, and observe carefully.
- Keep DT short (2–3 seconds) for trimming flights; once trim is satisfactory, increase to competition times.
- Persistence and small steps win. Slow‑Worm is forgiving and teaches well—enjoy the learning process.
Transcribed from original scans by AI. Minor OCR errors may remain.

