
SNOWBIRD
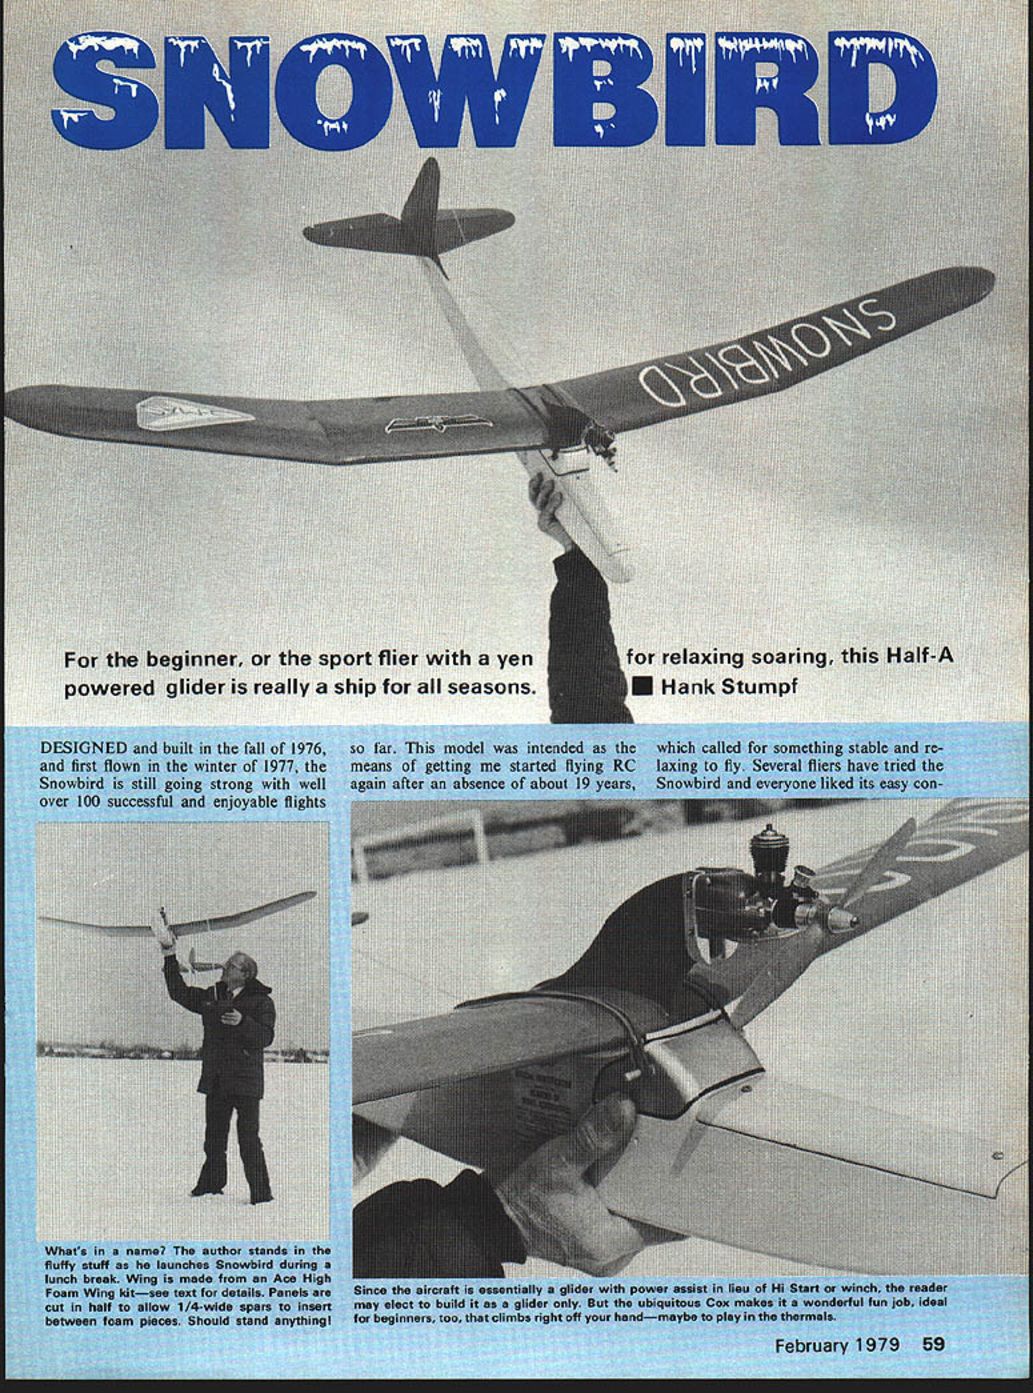
For the beginner, or the sport flier with a yen for relaxing soaring, this Half-A powered glider is really a ship for all seasons. — Hank Stumpf
Designed and built in the fall of 1976, and first flown in the winter of 1977, the Snowbird is still going strong with well over 100 successful and enjoyable flights so far. This model was intended as the means of getting me started flying RC again after an absence of about 19 years, which called for something stable and relaxing to fly. Several fliers have tried the Snowbird and everyone liked its easy control and pleasant handling.
Since the aircraft is essentially a glider with power assist in lieu of a Hi-Start or winch, the reader may elect to build it as a glider only. But the ubiquitous Cox makes it a wonderful fun job, ideal for beginners too, that climbs right off your hand—maybe to play in the thermals. It has good control and good flight characteristics, so if you are starting in RC, or just want something peaceful to fly, you won't go wrong with a Snowbird.
The model features a clean appearance and a ruggedized Ace foam wing. Loops and spins can be performed, and if you make a mistake flying and pull high G's to recover, the wings will not fold! The engine-assist launch was chosen because it is convenient and requires no setup, such as a Hi-Start or a winch. However, if you prefer, the Snowbird can be built as a pure glider; just leave off the pylon and engine and add the tow hook as shown on the plans. All components are arranged to minimize the necessity of adding extra weight to balance the model. It is easy to build and fly, and durable enough to take lots of hard use.
Wing
To build the wing you will need a Part No. 13L204 Ace High Foam Wing Kit. Get it at your local hobby shop or by mail from Ace R/C, Box 511, Higginsville, MO 64037. You will also need the use of a jigsaw or a table saw to cut the foam wing panels. If you don't have your own saw, try your school shop or a neighbor. The author used a Dremel jigsaw and had no problem.
- Start by sanding the molding flash from all four foam wing panels.
- Set the bed of the saw 5 degrees from the horizontal and cut 1/8 in. from the ends of all the panels. This will give the wing accurate dihedral joints.
- Next, set the saw back to 0 degrees and cut all four panels in half spanwise, 1 7/8 in. back from the leading edge.
- Finally, cut 1/4 in. from the leading edge of all four forward panels.
This completes all the saw work on the wing and should take no more than half an hour.
Cutting the foam wing panels in half spanwise allows the 1/4-in.-wide spars to be installed between the foam pieces. This has a twofold benefit: it provides the strength necessary for the wing to take high air loads, and it also adds 20 sq. in. to the wing area by increasing the chord.
Start assembly of the wing by gluing the 1/4 x 1/2 balsa leading edge to the four forward foam pieces. Be sure to use a glue, such as Weldwood or Securit, that will not attack foam. Glue the 1/8-in.-diameter dowel to the trailing edge of the four aft foam pieces. Trim the balsa leading edge pieces and the dowels even with the ends of the foam panels.
Take the four aft foam panels and glue the 1/2 x 1/4 spruce spars to their forward face. When the glue is dry, trim the spars even with the ends of the panels and join each set of inboard and outboard aft panels using the 1/4 plywood dihedral braces. Finally, glue the four forward foam panels to the aft wing sections and you will have two wing halves which are ready to be joined at the center, using the third 1/4 plywood dihedral brace. Be sure to install the engine-mount pylon P1 & P2 at this time unless you want to construct your Snowbird as a nonpowered glider.
Add the 3/4-in. soft balsa wingtips and the 1/16-in. sheet balsa covering over the center section. Sand the completed wing with #120 sandpaper to shape both the leading edge and the tips, being careful to avoid the foam. Now finish sand with #200 sandpaper and cover the wing with a low-temperature iron-on covering like Solarfilm. Do not use MonoKote or Coverite as the heat required to shrink them will melt the foam wing cores.
Fuselage and Tail
Cut the fuselage sides from straight-grained medium-hard 3/32-in. sheet balsa and glue on the 1/8 x 1/4 balsa longerons, being careful to make one left and one right side. While the sides are drying, cut formers F1 through F6 from 3/32-in. balsa with the grain vertical, and glue 1/8 x 1/4 cross braces to the top and bottom of each former.
Assemble the fuselage sides and formers, taking care to align the sides evenly. Add the 3/16-in. sheet balsa wing saddles and cover the bottom of the fuselage with cross-grained 1/16-in. sheet balsa. Install the Nyrod outer tubes in the fuselage as shown on the plans, using epoxy glue. Add the cabin block and nose block and cover the top of the fuselage between formers F4 and F6 with cross-grained 1/16-in. sheet balsa. Shape the cabin block and nose block and fit the 1/8-in. sheet balsa hatch. Install the two blind nuts and 4-40 hold-down screws as shown on the plans.
Tail Surfaces
These are cut from straight-grained medium-hard 3/16-in. sheet balsa. Note the lightening holes which are cut with a hole saw or a coping saw. Any weight you save in tail construction will pay off in twice the savings in nose ballast due to the difference in moment arms. Slit the surfaces to accept Goldberg Klett RK3 or similar hinges. Install the hinges with epoxy, being careful to keep it off the actual hinge leaves. Use a toothpick to scrape off the excess epoxy as the hinge is pushed into the slit.
Glue the vertical and horizontal stabilizers to the fuselage, being extra careful to align them correctly. Add 1/8-in. balsa triangle stock reinforcements to the intersection of the fuselage, horizontal stabilizer and vertical stabilizer.
After sanding with #120 sandpaper, prepare the fuselage and tail surfaces for covering by applying a coat of Balsarite, and when thoroughly dry, sand lightly with #200 sandpaper. Cover the fuselage and tail with either MonoKote, Coverite, or Solarfilm as the heat required to shrink these coverings will not affect the structure. After covering, install Goldberg control horns on the rudder and elevator as shown on the plans.
Engine
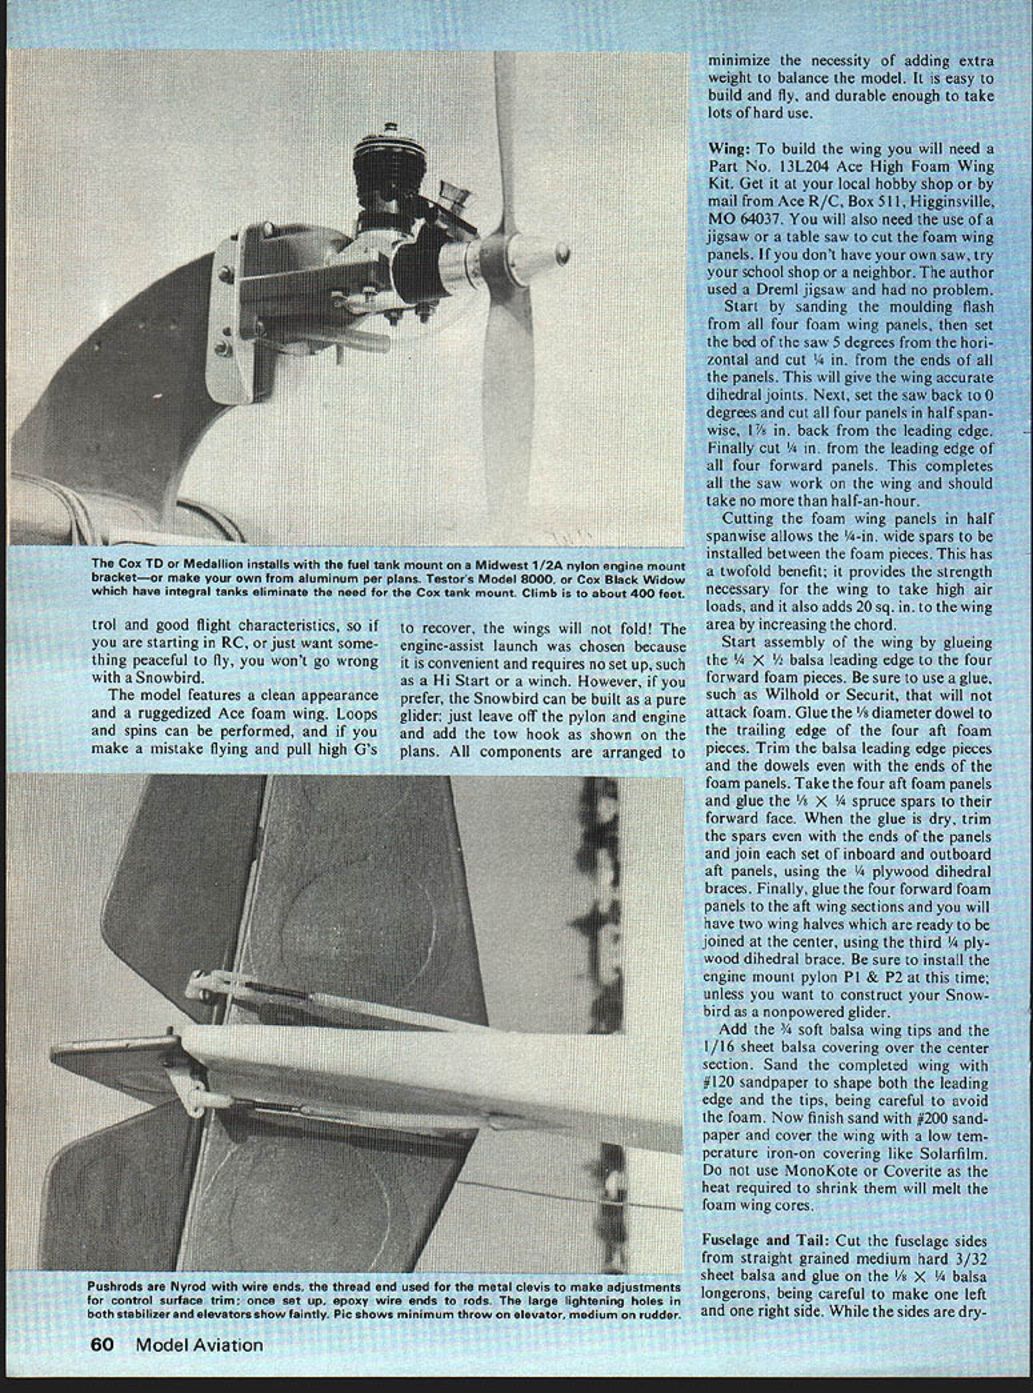
Install a Cox TD or Medallion .049/.051 engine on a Cox fuel tank mount and attach this combination to the pylon, using a Midwest 1/4A nylon engine mounting bracket. This combination powers the original Snowbird and provides adequate power and duration for a climb to about 400 feet. The new Testor Model 8000 .049 or Cox Black Widow .049, both of which have integral tanks, are also suitable and eliminate the need for the Cox tank mount. The plans also show an optional .040-in.-thick sheet aluminum engine mount bracket, which may be used instead of the Midwest bracket.
Radio
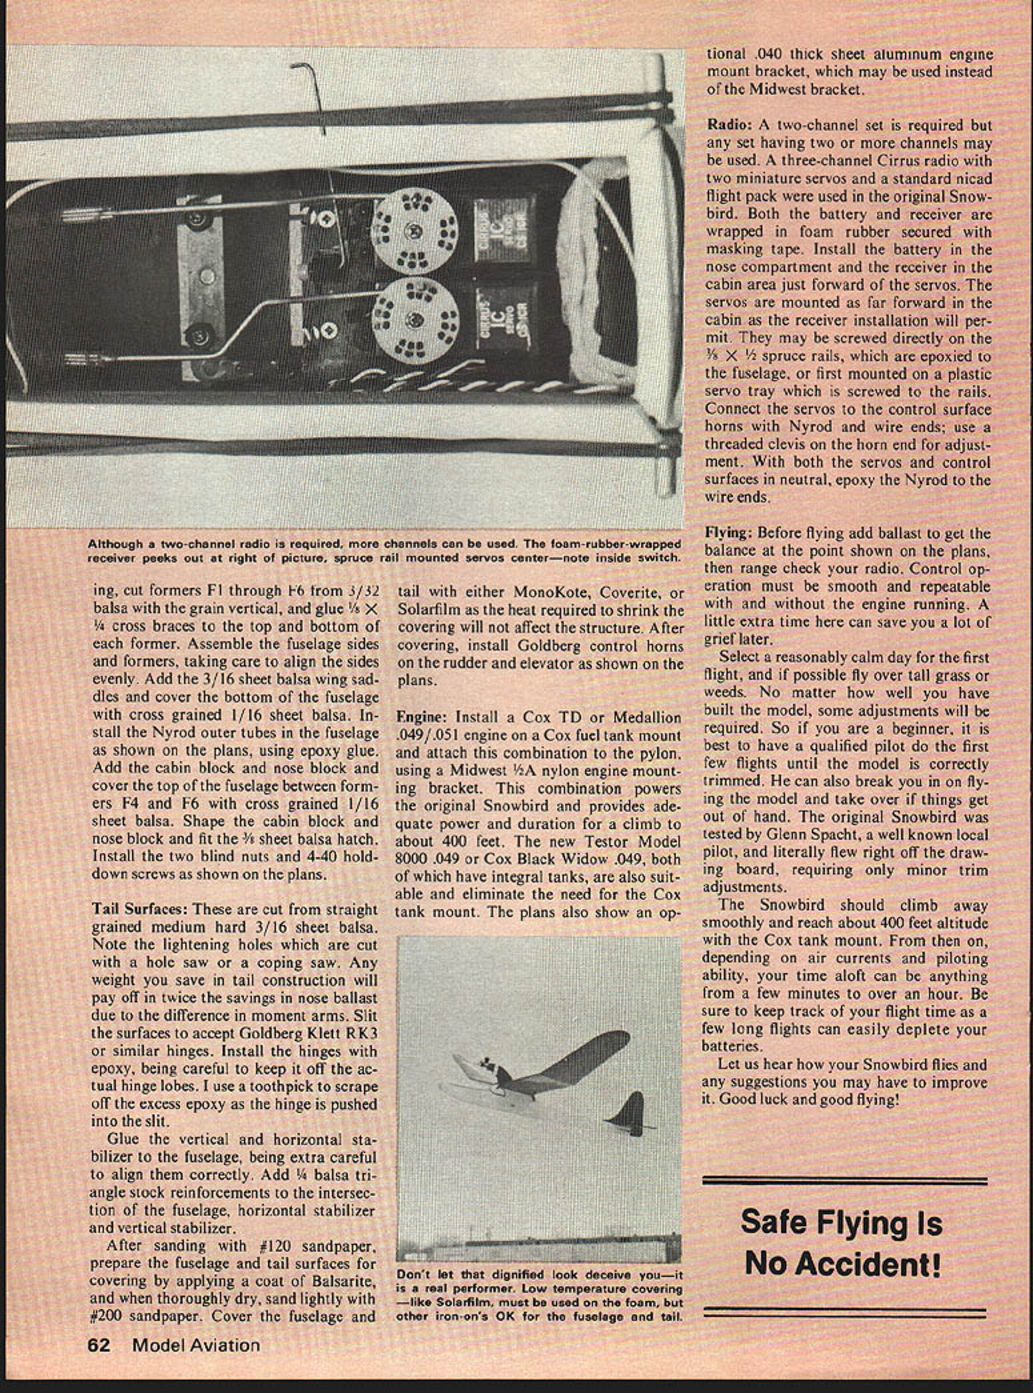
A two-channel set is required but any set having two or more channels may be used. A three-channel Cirrus radio with two miniature servos and a standard NiCad flight pack was used in the original Snowbird. Both the battery and receiver are wrapped in foam rubber secured with masking tape.
- Install the battery in the nose compartment and the receiver in the cabin area just forward of the servos.
- Mount the servos as far forward in the cabin as the receiver installation will permit. They may be screwed directly on the 1/8 x 1/2 spruce rails, which are epoxied to the fuselage, or first mounted on a plastic servo tray which is screwed to the rails.
- Connect the servos to the control surface horns with Nyrod and wire ends; use a threaded clevis on the horn end for adjustment. With both the servos and control surfaces in neutral, epoxy the Nyrod to the wire ends.
Flying
Before flying, add ballast to get the balance at the point shown on the plans, then range check your radio. Control operation must be smooth and repeatable with and without the engine running. A little extra time here can save you a lot of grief later.
Select a reasonably calm day for the first flight, and if possible fly over tall grass or weeds. No matter how well you have built the model, some adjustments will be required. So if you are a beginner, it is best to have a qualified pilot do the first few flights until the model is correctly trimmed. He can also break you in on flying the model and take over if things get out of hand. The original Snowbird was tested by Glenn Spacht, a well-known local pilot, and literally flew right off the drawing board, requiring only minor trim adjustments.
The Snowbird should climb away smoothly and reach about 400 feet altitude with the Cox tank mount. From then on, depending on air currents and piloting ability, your time aloft can be anything from a few minutes to over an hour. Be sure to keep track of your flight time as a few long flights can easily deplete your batteries.
Let us hear how your Snowbird flies and any suggestions you may have to improve it. Good luck and good flying!
Transcribed from original scans by AI. Minor OCR errors may remain.

