
Twister: A Small-Field Model That Doesn't Sacrifice Performance
Dave Richardson
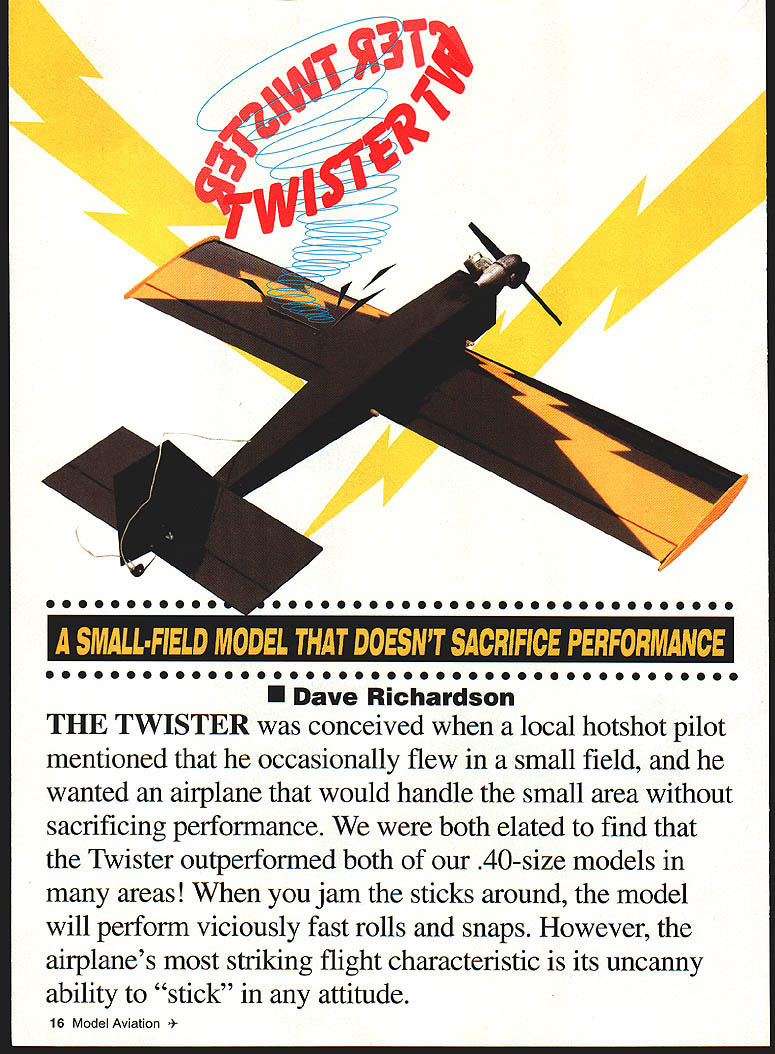
The Twister was conceived when a local hotshot pilot mentioned that he occasionally flew in a small field, and he wanted an airplane that would handle the small area without sacrificing performance. We were both elated to find that the Twister outperformed both of our .40-size models in many areas! When you jam the sticks around, the model will perform viciously fast rolls and snaps. However, the airplane's most striking flight characteristic is its uncanny ability to "stick" in any attitude.
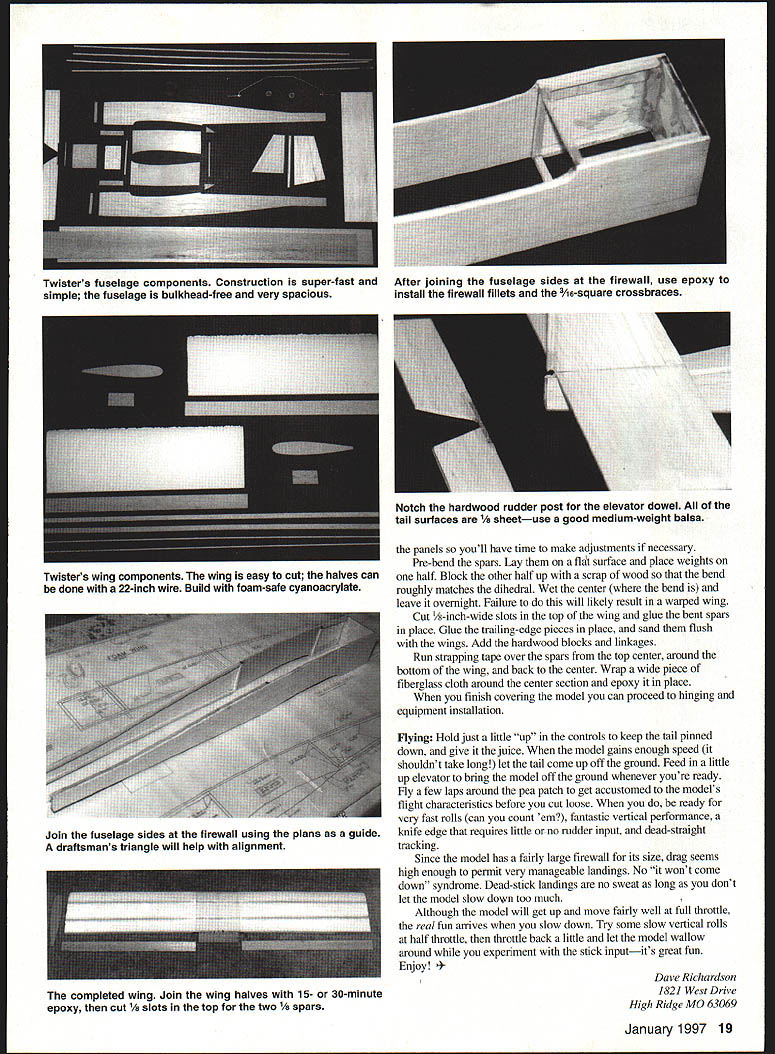
Construction is super-fast and simple. After cutting the kit, I had a little more than 20 hours in mine. There is no need to try to build light; the Twister is designed light to maximize performance on a .20- to .25-size engine. The fuselage is bulkhead-free and very spacious; it will easily hold a six-ounce tank. I used a four-ounce tank in the prototype, and it seemed almost lost in the nose.
Both of my prototypes had Fox .25 BB engines. The results were fantastic. However, it became clear that this was almost overkill, as half-throttle resulted in high speed and unlimited vertical performance. Any decent plain-bearing .20- to .25 engine should provide exceptional performance. Good performance could also be achieved with a .15 and low-weight equipment.
If you opt for low-weight equipment, I must recommend a standard-size servo for the ailerons. On a low pass, the prototype suddenly flipped over on its back and drilled itself into the ground. Inspection of the wreckage showed that the small control arm on the wing microservo had snapped. In all fairness to the equipment, I had probably flown one too many times without giving the airplane a thorough checkout, but let's be safe instead of sorry.
Study the plans and read this article thoroughly before you begin. Even with a simple design like this, not having an understanding of the design or a plan of action will surely result in a hair-pulling experience!
For photo purposes, the model was built in its entirety before covering. However, you will find it much easier to cover many of the parts before the model is assembled, so include this thought in your planning.
Construction
Materials
- Since this model is really at its outer limits with a strong .25-size engine, super-lightweight balsa is not necessary or recommended.
- Do not use the most rigid material you can find—use good medium-weight balsa throughout to handle the extreme stresses this airplane can inflict on itself.
- The foam used for the wing can be fairly lightweight as long as the recommended wing construction is used.
- If you use cyanoacrylate (CyA) glue on the wing, make sure it is the foam-safe odorless variety. Most standard CyA glues will melt through foam.
Low-heat covering material (such as TowerKote or EconoKote) must be used on the unsheeted foam wing. I used TowerKote on my first Twister and EconoKote on the second. These choices were based on availability of the materials at the time—the brands are of equal quality.
Fuselage
- Cut out all of the parts.
- Hold the fuselage sides together and sand them to shape so they match.
- Glue the 3/16" square balsa pieces and the 1/16" plywood doublers to the fuselage sides.
- Using the plans as a guide, glue the firewall to the right fuselage side at 90° using a guide such as a draftsman's triangle (epoxy is not necessary at this point).
- Glue the left fuselage side to the firewall at 90°.
- Glue the 3/16" balsa crossbraces in place.
- Using epoxy, glue the triangular 3/8" balsa fillets in place at the firewall.
Cut the 3/16" balsa longerons at the tail so that the two sides can be pulled together. Pull the tail together, sandwiching a temporary 1/8" x 1/4" hardwood spacer between the halves for proper fuselage alignment. Clamp the tail together.
Position the horizontal stabilizer and check its alignment; when you are satisfied, glue the horizontal stabilizer in place. Make sure not to get any glue on the temporary spacer. When you remove the spacer you should have a vertical slot for the rudder post. Glue the rudder post to the vertical stabilizer on a flat surface that's covered with waxed paper. Glue the vertical stabilizer in place, making sure that it's perpendicular to the fuselage.
Cover the top with a single piece of 1/16" balsa sheet (running lengthwise). Install the pushrods and drill the firewall for the engine mount, throttle, fuel supply and pressure lines. The engine must be mounted with approximately 2° right thrust and 2° downthrust.
Sheet the bottom as shown on the plans. I recommend making a hatch, and installing rudder and elevator servos behind the wing as shown on the plans. This will leave plenty of room to install the equipment needed to balance the airplane.
The 1/8" plywood sheeting under the nose can be sized by laying the forward end of the fuselage on the plywood and tracing around it. Cut out the traced piece and glue under the nose and sand to fit. Epoxy the landing gear block in place. Drill 10-32 blind nut holes and epoxy the nuts into the landing gear block. Sand the fuselage to shape, cover it, and install your wing dowels (I like to install the dowels after the covering is applied).
I fuelproofed the firewall with flat black Pacer Acrylac Aero Gloss dope—I had run out of epoxy at the time. The standard fuel-proofing method is to use epoxy thinned with alcohol.
Wing (cutting, joining and spar work)
- If you don't have foam-cutting equipment, maybe one of the other fliers at your local field does. You may get your wing cut by the template and perhaps an enthusiastic lesson in wing cutting!
- The small wing is easy to cut; the halves can be done with a wire approximately 22 inches long.
Join the wing halves by laying them on a flat surface covered with waxed paper and blocking up each wingtip 1/8". I recommend blocking at the leading and trailing edge until the thickest part of the wingtip is 3/8" from the table. This will minimize the risk of ending up with wing halves with varied incidence. Use 15- or 30-minute epoxy to join the wing halves.
Pre-bend the spars: lay them on a flat surface, place weights on one half, and block the other half up with a scrap of wood so the bend roughly matches the dihedral. Wet the center (where the bend is) and leave it overnight. Failure to do this will likely result in a warped wing.
Cut 1/8"-wide slots in the top of the wing and glue the bent spars in place. Glue the trailing-edge pieces in place, and sand them flush with the wings. Add the hardwood blocks and linkages.
Run strapping tape over the spars from the top center, around the bottom of the wing, and back to the center. Wrap a wide piece of fiberglass cloth around the center section and epoxy it in place.
When you finish covering the model you can proceed to hinging and equipment installation.
Covering and finishing
- Use low-heat coverings such as TowerKote or EconoKote on the unsheeted foam wing.
- Sheet the fuselage and finish with your preferred covering.
- Fuelproofing: standard method is epoxy thinned with alcohol; alternatively, dope can be used as described above.
Specifications
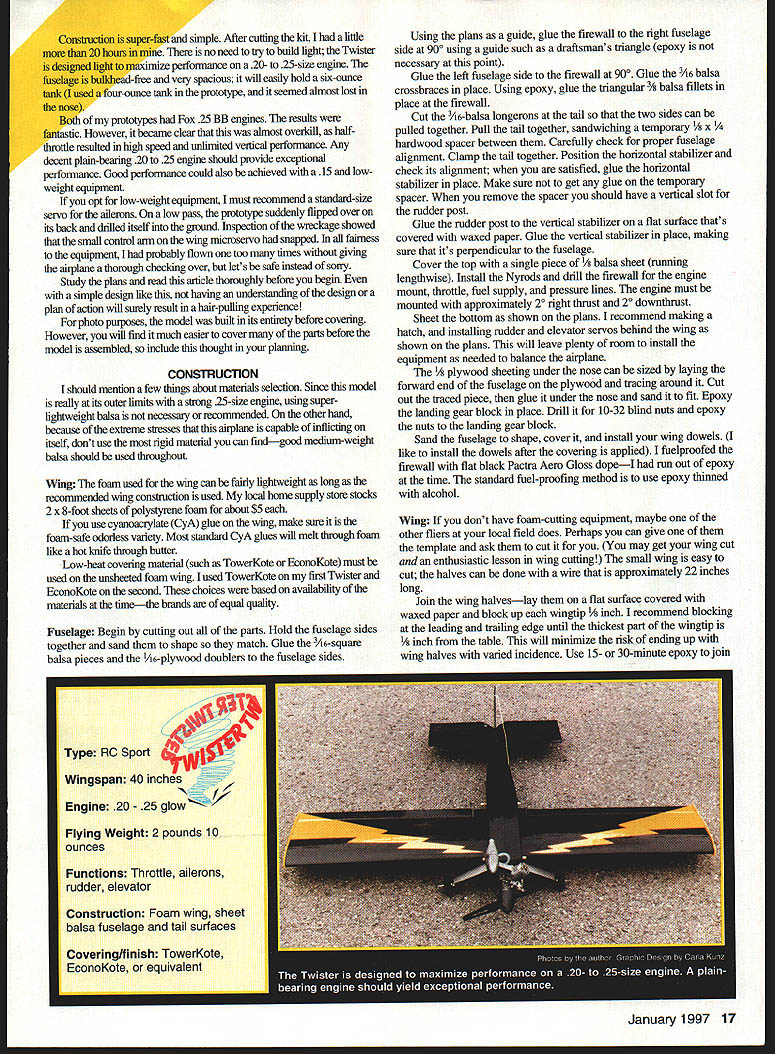
- Type: RC Sport
- Wingspan: 40 inches
- Engine: .20 - .25 glow
- Flying Weight: 2 pounds 10 ounces
- Functions: Throttle, ailerons, rudder, elevator
- Construction: Foam wing, sheet balsa fuselage and tail surfaces
- Covering/finish: TowerKote, EconoKote, or equivalent
Flying
Hold just a little "up" in the controls to keep the tail pinned down, and give it the juice. When the model gains enough speed (it shouldn't take long!) let the tail come up off the ground. Feed in a little up elevator to bring the model off the ground whenever you're ready. Fly a few laps around the pea patch to get accustomed to the model's flight characteristics before you cut loose.
When you do cut loose, be ready for:
- Very fast rolls
- Fantastic vertical performance
- A knife edge that requires little or no rudder input
- Dead-straight tracking
Since the model has a fairly large firewall for its size, drag seems high enough to permit very manageable landings. No "it won't come down" syndrome. Dead-stick landings are no sweat as long as you don't let the model slow down too much.
Although the model will get up and move fairly well at full throttle, the real fun arrives when you slow down. Try some slow vertical rolls at half throttle, then throttle back a little and let the model wallow around while you experiment with stick input—it's great fun. Enjoy!
Dave Richardson 1821 West Drive High Ridge, MO 63069
Transcribed from original scans by AI. Minor OCR errors may remain.

