
Working with Fiberglass
Here's how to apply it with no bubbles, wrinkles, or loose cloth
BILL ANDERSON
I've been building and flying models for approximately 55 years; most were balsa, and almost all of them could have used fiberglass reinforcement somewhere.
I always seemed to have trouble cutting the fiberglass material without it developing rough or frayed edges. It was also difficult to get the material to lie down and stay on a model's fuselage (especially over compound curves) while I tried to coat the fiberglass. The resin's cure time caused problems when the pieces of fiberglass moved or lifted up. I usually ended up with too much resin, bubbles to work out, and a lot of frustration.
When I was building Harley Michaelis' two-meter Jouster (from Model Aviation plans) I came to the point where I had to fiberglass the completed fuselage and vertical fin. I read Harley's directions and realized how many small pieces of fiberglass cloth I would have to cut, overlap, coat, and sand. I had to come up with a better way. If I could apply the fiberglass and have it stay in place while I coated it with resin, it would make things much easier. What I came up with has made working with fiberglass easy—and even fun!
Materials
- Two to four large grocery-type paper bags
- One can of 3M 77 Spray Adhesive (available at hobby shops or art-supply stores)
- A box of waxed paper (from the grocery store)
- The fiberglass cloth you intend to use
- A filter mask for spraying
Method
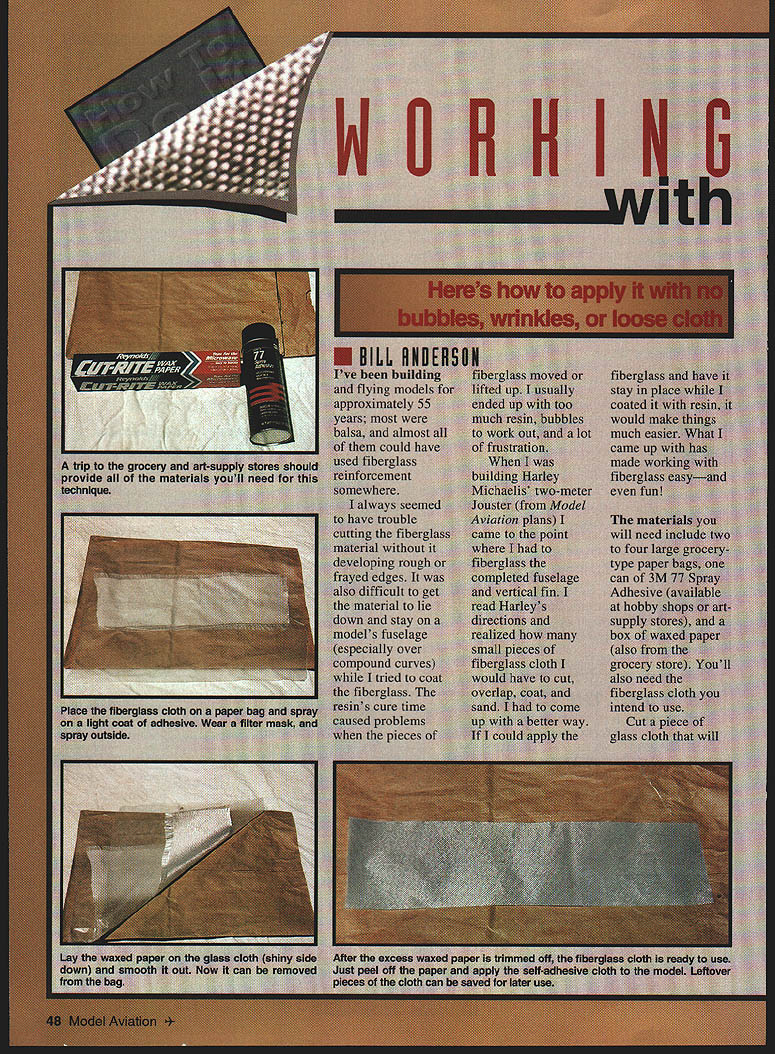
- Fit the cloth on the paper bag. Cut the cloth as large as you can, but no larger than the width of the waxed paper and no longer than the paper bag.
- Lay the cloth on the paper bag and take it outside to a location where overspray will not be a problem. Wear a filter mask during this process.
- Spray the fiberglass cloth with the 3M 77 adhesive. It's OK if the adhesive is a little heavy in places, but generally keep the coat light. It won't matter if you get spray on parts of the bag.
- Tear off a piece of waxed paper that's bigger than the piece of fiberglass cloth. Lay the waxed paper shiny side down on top of the sprayed fiberglass cloth and smooth it down with light pressure from your hands. If you get wrinkles in the waxed paper, remove it and put on a new piece.
- Turn the paper bag over and, working from a corner, carefully pull the bag away from the fiberglass. You now have self-adhesive fiberglass cloth with a paper backing.
- Cut the treated cloth with scissors or an X-Acto knife. You'll be able to cut whatever size piece you need without frayed edges or loose threads.
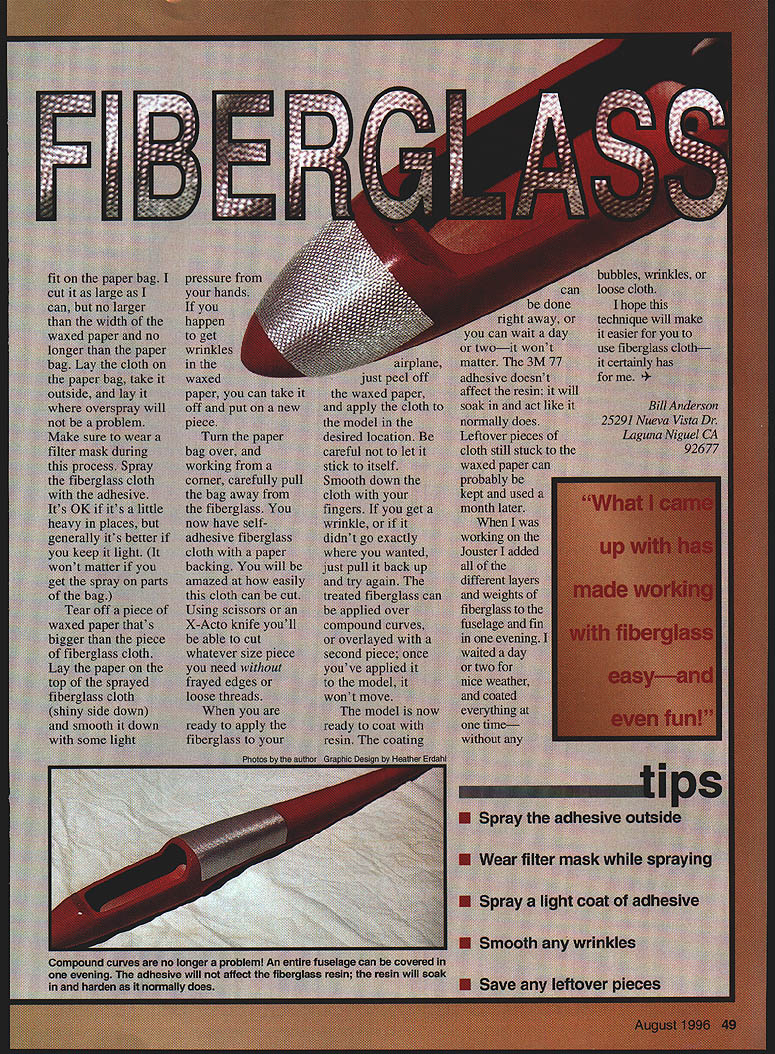
- When ready to apply, peel off the waxed paper and position the cloth on the model. Be careful not to let it stick to itself. Smooth the cloth down with your fingers. If you get a wrinkle or if it didn't go exactly where you wanted, simply pull it back up and try again. The treated fiberglass can be applied over compound curves or overlaid with a second piece; once applied, it won't move.
- Coat the model with resin. You can coat it right away or wait a day or two—the adhesive won't affect the resin. The 3M 77 adhesive soaks in and the resin will behave normally.
- Leftover pieces of cloth still stuck to the waxed paper can probably be saved and used a month later.
When I was working on the Jouster I added all of the different layers and weights of fiberglass to the fuselage and fin in one evening. I waited a day or two for nice weather and coated everything at one time—without any bubbles, wrinkles, or loose cloth.
I hope this technique will make it easier for you to use fiberglass cloth—it certainly has for me.
Bill Anderson 25291 Nueva Vista Dr. Laguna Niguel CA 92677
Tips
- Spray the adhesive outside.
- Wear a filter mask while spraying.
- Spray a light coat of adhesive.
- Smooth any wrinkles.
- Save any leftover pieces.
Transcribed from original scans by AI. Minor OCR errors may remain.

